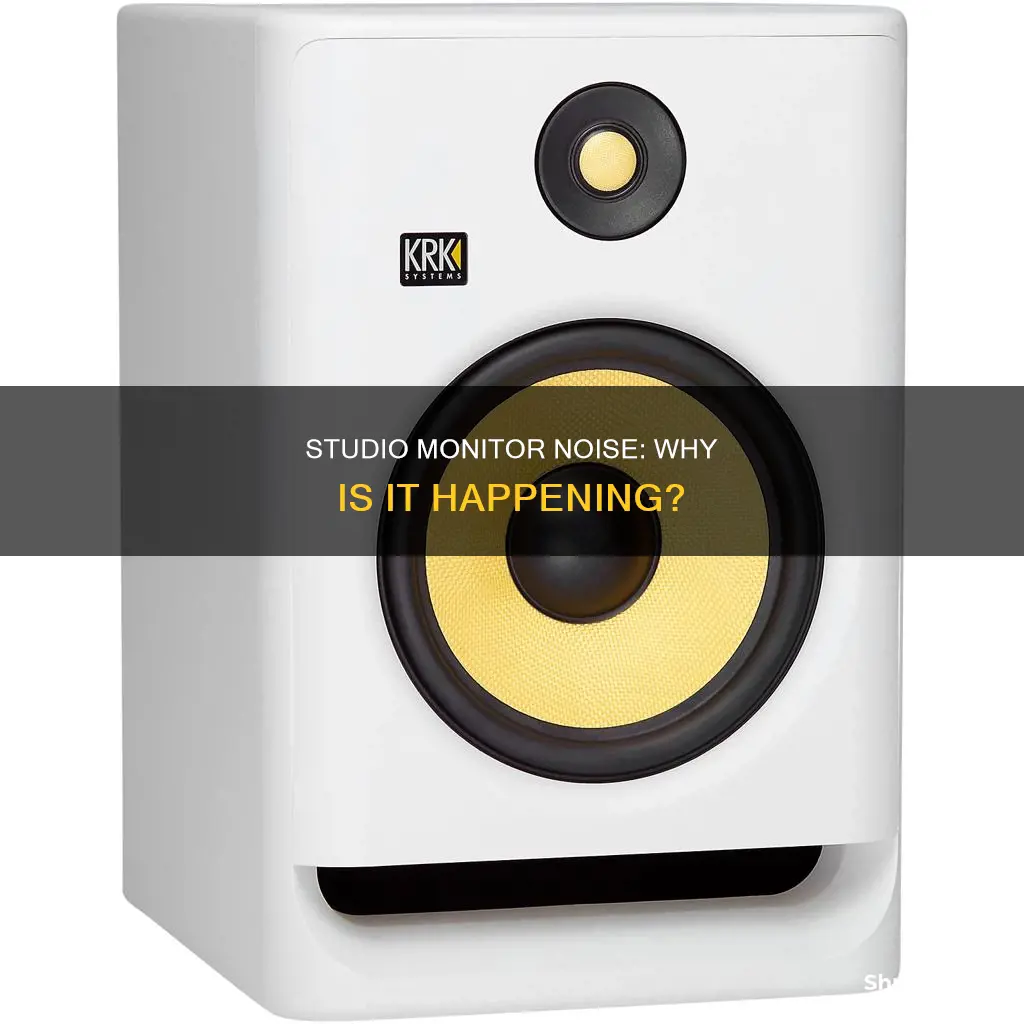
Studio monitors are an essential component of any recording setup, but they can sometimes introduce unwanted noise into your recordings. This noise can come in various forms, such as feedback, distortion, white noise, or crackling and popping sounds. The first step in troubleshooting is identifying the type of noise and then isolating the source. Once the source is identified, you can try different solutions, such as using balanced cables, ensuring proper grounding, adjusting gain settings, or using a power conditioner to regulate voltage. It's important to remember that noise can be introduced at different stages of the recording process, so a systematic approach to troubleshooting is necessary.
| Characteristics | Values |
|---|---|
| Type of Noise | Feedback, Digital Distortion, White Noise, Crackle and Pops, Electrical Interference, Not Enough Power, Ground Loop, Static Noise |
| Cause | Microphone placed too close to speaker, monitors connected to the same power source as the computer, over-amplification, unbalanced cables, power issues, faulty equipment |
| Solutions | Use headphones, record further away from the speaker, turn down the gain, use separate power sources, use balanced cables, get closer to the microphone, check minimum system requirements, use power conditioner, use USB cables |
What You'll Learn

Electrical interference when using unbalanced cables
Unbalanced cables are a common cause of electrical interference in studio monitor setups. These cables have two conductors: one for the signal and one for the ground. While the ground wire acts as a shield to prevent interference from outside sources, it can also act as an antenna, picking up noise from the environment, especially if the cables are long.
When using unbalanced cables, you may experience noise interference from surrounding devices and transmissions, such as radio and TV signals. This interference can result in unwanted sounds, such as buzzing or grinding, in your studio monitors.
To minimise electrical interference when using unbalanced cables, keep the cables as short as possible, preferably less than 5 feet in length. Additionally, try to avoid running speaker and power cables in parallel, as this can increase noise levels. If possible, arrange the cables perpendicularly to reduce interference.
However, the most effective way to reduce electrical interference is to switch to balanced cables. Balanced cables have three wires: two signal wires with reversed polarity and a ground wire. This design allows for the cancellation of external noise, resulting in a cleaner audio signal. Balanced cables are highly recommended for studio monitor setups to ensure optimal sound reproduction and reduced noise interference.
Abbott Precision Xtra Glucose Ketone Monitor: Buying Guide
You may want to see also

Over-amplified equipment
Over-amplification is a common issue that can cause buzzing in your studio setup. When this happens, a component in your setup is amplified to the extent that any artifacts in the sound become audible. Even the cleanest audio can have enough artifacts to create a noticeable buzz. This is especially true for extra-sensitive equipment.
You may not hear ambient noise from things like an air conditioning system or loud pipes because of habituation. Older equipment or equipment that’s overloaded might have noisy mechanical parts, like a loud fan on a computer.
If you hear a small, unchanging noise frequently, your brain will eventually filter it out, and you won’t hear it. However, your equipment could still be picking up these sounds and amplifying them, creating the annoying buzz you’re trying to avoid.
The Solution
The solution to over-amplification is to adjust your levels. You may need to use the process of elimination to figure out which part of your setup is causing the buzz. It could be the monitor, the audio interface, or even a low-quality cable.
Test each piece of equipment, one by one, to find the source of the problem. Start by turning the amplification down, one channel at a time, one piece of equipment at a time. If all of your levels are in the correct zone and changing them doesn’t fix the buzzing, listen closely to your environment to check for ambient noise you’ve overlooked.
If you can’t control background sounds, you may need to turn your microphones down even further than you normally would. When possible, turn off anything making extra noise in the studio or soundproof it with acoustic foam panels to keep noise from bleeding in.
Additionally, don't over-amplify! Turning anything up too high will bring the "noise floor" to the front of your mix. Every electronic audio device with variable gain can be "turned up" to a level where inherent noisy artifacts become audible. Make sure that you are not recording too hot; additionally, make sure that your speakers or interface output volume are not turned up too high.
Identifying HDMI Ports and Cables on Your Monitor
You may want to see also

Insufficient power
Potential Issues with Insufficient Power
Firstly, providing insufficient power to your playback system can lead to damage, especially to highly sensitive microphones. This issue can cause microphones to malfunction and introduce unwanted noise into your recordings. In some cases, insufficient power can even lead to a short circuit in the entire power strip your equipment is connected to, which can be dangerous and damaging to your setup.
Symptoms of Insufficient Power
You may notice that your output device, such as your studio monitor, starts to malfunction and produce unusual sounds. This can range from a squealing noise to other types of distortion in the audio. These sounds are indicators that your equipment is not receiving enough power to function optimally.
Troubleshooting Insufficient Power
To address insufficient power issues, you should ensure that your equipment is connected to a reliable power source. This may involve plugging your devices into a power strip, providing a separate power source for each component. This approach will reduce the stress on your electronics and lower the risk of power-related issues.
Additionally, consider investing in a power conditioner, which can regulate voltage and provide better quality power to your audio devices. A voltage regulator is another option that offers similar benefits and also acts as a surge protector, safeguarding your equipment from power spikes. However, it is important to note that connecting multiple power strips or conditioners in tandem should be avoided, as it may lead to overloading and short-circuiting.
Comparison with Over-Amplification
While insufficient power can cause issues, it is important to note that over-amplification can also lead to problems. When studio equipment is over-amplified, it can raise the noise floor, introducing unwanted noise such as buzzing or hissing. Therefore, it is crucial to find the right balance in power and amplification to ensure optimal sound quality without risking damage to your equipment.
Ankle Monitors: Landline Requirement and Surveillance Technology
You may want to see also

Feedback loops
To prevent feedback loops, it is recommended to maintain a minimum distance of 2 to 3 feet between the microphone and the speaker. Additionally, using the 3:1 rule can be helpful, which states that for each microphone, the distance from the source (such as a singer or instrument) should be three times the distance to the microphone. This helps to ensure that the microphones are not feeding back into each other.
Another strategy to minimise feedback loops is to use headphones instead of speakers during tracking or recording. This prevents the microphone from picking up any audio from the speakers, resulting in a clean signal. If headphones are not an option, alternative approaches include increasing the distance between the microphone and the speakers, or turning down the gain on the microphone.
In some cases, feedback loops may be caused by issues with the monitor's phase settings. Adjusting the phase of the monitors relative to the microphones can help reduce feedback. However, this technique may not always be effective, as it depends on the specific positioning of the microphones and speakers.
It is important to note that feedback loops can also be influenced by room acoustics and the presence of reflective surfaces. Treating the room with sound-absorbing materials or adjusting the positioning of the speakers and microphones relative to reflective surfaces may help mitigate feedback issues.
HP V212 Monitor: Know the Exact Dimensions
You may want to see also

Ground loops
A ground loop is an electrical issue that can cause unwanted noise in your studio monitors. It occurs when there are multiple paths to ground between your equipment, creating a loop that causes electrical interference or unwanted current. This interference can lead to a constant low-frequency buzz, a hum, or glitches in audio that occur with mouse movement or hard-disk activity.
To resolve ground loop issues, you can try the following:
- Disconnect your devices: Unplug all peripherals from your main device (computer, mixer, or audio interface) one by one to identify which device is causing the ground loop.
- Use balanced connections: Use balanced audio cables to connect your audio devices, mixers, and/or active loudspeakers. Balanced cables have better interference rejection capabilities than unbalanced cables.
- Use a ground loop isolator: Devices like the ART Cleanbox can be placed between your interface output and monitor inputs to prevent ground loop noise.
- Lift the ground: In some cases, you may need to "lift" the ground on your monitors or audio cable. This can be done using a 3-prong to 2-prong power plug adapter or by modifying the audio cable. However, always consult the manufacturer before lifting the ground to ensure it is safe for your device.
- Use a DI box: If you're recording unbalanced sources, use a DI box to convert the unbalanced signal into a balanced one. DI boxes can also break the ground of the audio connection and most models feature a ground lift switch.
- Connect devices to the same power outlet: Ensure all devices that are physically connected are plugged into the same power outlet, preferably using a multi-outlet power strip.
- Consult an electrician: If you're unable to identify or resolve the ground loop issue, it may be due to improper grounding in your electrical system. Consult a qualified electrician to inspect and address any issues.
Ankle Monitors: Probation and Surveillance
You may want to see also
Frequently asked questions
There are several reasons why you might be hearing noise in your studio monitors. It could be due to electrical interference, loud ambient noise, or insufficient power. To fix this, identify the type of noise, use balanced cables, regulate your power input, and adjust your audio interface settings.
Different types of noise indicate different issues. Line noise is intermittent but frequent and sounds electrical, while ground noise is more persistent and buzzes. Feedback creates a high-pitched squeal or whine, and distortion produces an unnatural grinding or buzzing noise. White noise sounds like a constant hiss, while crackles and pops are random or rhythmic.
To maintain your studio monitors, cover the speakers with dust caps when not in use, use power conditioners to regulate electricity, and opt for USB or balanced cables for better power transmission and reduced interference. Additionally, ensure your setup meets the minimum system requirements and regularly clean and organise your cables.


