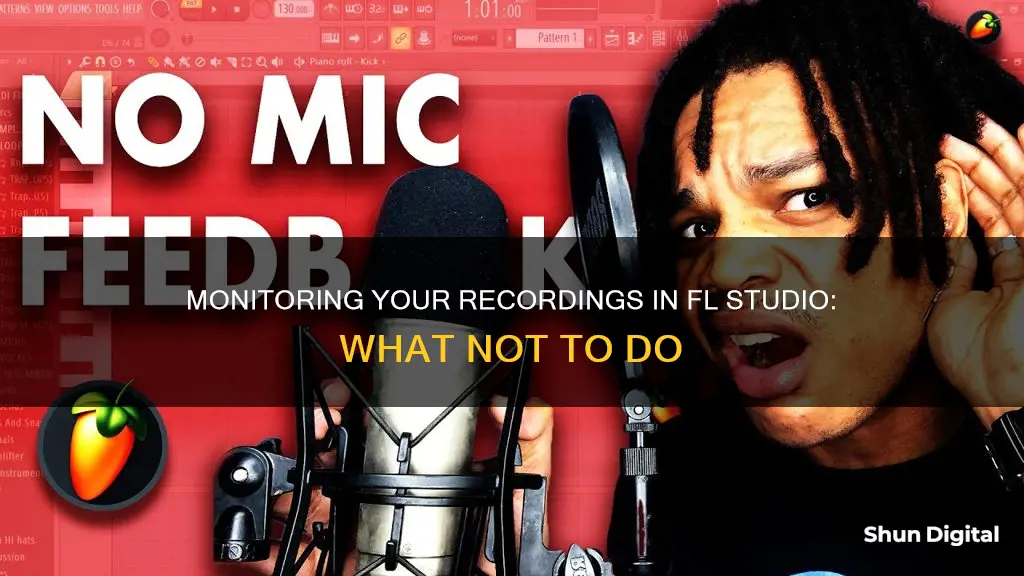
If you want to record without monitoring in FL Studio, you need to disconnect the Insert Track from the Master Channel. This will remove the sound from the insert being sent to the Master Channel. To do this, follow the green line at the bottom of the Insert Track to the Master Channel and left-click on the end that is connected to the Master Channel. However, it is recommended to get used to hearing yourself sing in the microphone, so an alternative is to simply turn down the level that is being sent to the Master Channel.
| Characteristics | Values |
|---|---|
| Step 1 | Choose an empty insert channel to record on |
| Step 2 | Disconnect from the master channel |
| Step 3 | Select the mic input from the drop-down menu |
| Step 4 | Arm the track for recording and select the file location |
| Step 5 | Set up the transport controls |
| Step 6 | Set up the monitoring on the audio interface |
| Step 7 | Record |
What You'll Learn

Choose an empty insert channel
To record external audio in FL Studio, you must first choose an empty insert channel. This is because, by default, all new instrument channels are routed to the Master Mixer Track, which is not the ideal place to record external audio inputs. The recording will mix with all other project audio.
To record external audio, you should choose an unused Mixer Track. This is because instruments, audio clips, and other Mixer Tracks that are routed to the Mixer Track you record on will be mixed with the external audio input.
To choose an empty insert channel, follow these steps:
- Go to the Channel Rack.
- Click on the Channel Settings icon to open the Channel Settings (if it is not already open).
- Click on the Mixer Track routing display and drag up/down to set the destination Mixer Track.
- Alternatively, you can use the Auto-assign function by clicking on the 'TRACK' label below the Track routing selector. This will automatically assign the Channel to the first free Mixer Track.
Remember, when choosing an empty insert channel, it is important to select a Mixer Track that is not already routed to other audio sources or instruments. This will ensure that your external audio input is recorded cleanly without any unwanted audio signals being mixed in.
Disassembling LCD Monitors: Step-by-Step Guide for Beginners
You may want to see also

Disconnect from the master channel
Disconnecting from the master channel in FL Studio is a crucial step to prevent unwanted audio signals from being recorded. Here are some detailed instructions to achieve this:
Understanding the Basics
Firstly, it's important to understand the fundamentals of the FL Studio interface. The software utilizes a mixer view, represented by the F9 keyboard shortcut, where channel routing is managed. The mixer view can also be accessed through the view selected in the top hot bar. Within this mixer view, you will see various channels, and the connections between them are denoted by green lines at the bottom of the mixer. These lines indicate the routing of audio signals from one channel to another.
Selecting the Correct Channel
To disconnect from the master channel, you must first select the channel that is being routed to it. Ensure that you choose the send or sound source and not the destination, as undoing routing from the destination channel is not possible. You can identify a selected mixer track by its highlighted appearance.
Locating the Routing
Once you've selected the correct channel, you will see the green connecting lines at the bottom of the mixer, indicating the channels to which it is routed. These lines are helpful in tracing the path of the audio signal.
Disconnecting from the Master Channel
Just above the wet/dry channel send knob at the bottom of the mixer track, you will find a small arrow. Clicking on this arrow will remove the routing to the master channel. This action will ensure that the selected channel is no longer connected to the master channel, and audio signals will not be passed through.
Alternative Approach
An alternative method to achieve the same goal is to utilize a Patcher on the Master channel. By setting up a Patcher, you can bypass Master effects, allowing you to disconnect specific channels from the master while keeping others intact.
Additional Tips
To enhance your workflow, consider color-coding your mixer tracks. This can be done by right-clicking on a track and selecting the 'Change Color' option. Additionally, if you find yourself with numerous mixer tracks, you can group route or bus similar channels together, such as drums, to keep your project organized.
Best Places to Buy Philips Monitors
You may want to see also

Select the mic input
To select the mic input when setting up a headphone mix in FL Studio, follow these steps:
First, make sure you are recording your vocals on one of the empty insert channels in the mixer. Do not set up your mic on the MASTER channel. For this example, we will use INSERT CHANNEL 5.
At the bottom of INSERT CHANNEL 5, you will see a neon green line running from the bottom of the channel to the MASTER channel on the far left of the mixer rack. Left-click on the knob at the end of the green line that is connected to the MASTER channel. This will disconnect INSERT CHANNEL 5 from the MASTER channel, meaning no audio will flow from INSERT CHANNEL 5 to the MASTER channel, and you won't hear your voice in your headphones.
Next, on the right side of INSERT CHANNEL 5, look at the top drop-down menu that says "IN." Choose the microphone channel that you are using on your audio interface. Select the mono input, not the stereo input, to prevent the audio from recording on just one side.
Then, dial in the mic preamp to ensure you are getting a good signal coming through the audio interface into the mixer channel. A good rule of thumb is to aim for about the halfway point on the meter.
Now, you can arm the track for recording. Right-click on the circle at the bottom of INSERT CHANNEL 5 to bring up the file browser, where you can name the file and choose the location you want it to be saved to.
Finally, make sure that audio is set to be recorded when you press the record button in the transport bar in FL Studio. Right-click on the record button, and ensure that the selection for audio is checked.
If you are using a USB microphone, you will need to follow a few additional steps. On Windows, use FL Studio ASIO or ASIO4ALL to select independent input and output audio devices within the same audio device driver. On macOS, create an Aggregate Audio Device that includes the input from your USB Mic and Outputs from your regular audio interface.
Yamaha NS-10s: Unlikely Studio Standard
You may want to see also

Arm the track for recording
To arm a track for recording in FL Studio, follow these steps:
- Select the Mixer Track: Choose the specific mixer track you want to record on. For example, if you're recording vocals, select the mixer track labelled "Vox".
- Right-Click the Arm Disk Icon: Right-click the arm disk icon in the mixer window to bring up the menu. This will allow you to title the track for easy organisation and specify the folder where the recordings will be saved.
- Enable "Record on Play": In the Edison plugin, enable the "Record on Play" setting. This will automatically start recording when you press play on the transport panel.
- Select the Input Device: Choose your input device (microphone, guitar, etc.) from the "IN" drop-down menu in the mixer track.
- Arm the Disk Icon: Click the disk icon on the mixer track to arm it for recording. The icon will light up to indicate that it's ready for recording.
- Start Recording: Press the play button on the transport panel to begin recording.
By following these steps, you can arm a track for recording in FL Studio. Remember to save your project and backup your recordings to avoid losing any data.
Eliminating Monitor Glare That Affects Glasses: Practical Tips
You may want to see also

Set up transport controls
Setting up transport controls in FL Studio requires additional software, such as MIDI Translator Classic, and a compatible MIDI controller like the Komplete Kontrol Mk2 or MASCHINE. Here's a step-by-step guide to setting up basic transport controls using these tools:
Step 1: Install MIDI Translator Classic
First, download and install MIDI Translator Classic, a software tool that translates MIDI events on MIDI channel 16 into keyboard shortcut presses in FL Studio. This enables you to control various functions in FL Studio using your MIDI controller.
Step 2: Configure MIDI Settings in FL Studio
Open FL Studio and go to the MIDI settings. Set the "Song Marker Jump" MIDI Channel to 16 for playlist navigation. This allows you to jump between different parts of your song using your MIDI controller.
Step 3: Set Up the Komplete Kontrol Software
Open the Komplete Kontrol software and navigate to the MIDI section. Here, you'll create a new template or use the default template. Select the "Buttons" tab and customize the buttons to your preferred functions. For example, you can assign the Play/Stop function to a button and map it to the SPACE key in FL Studio.
Step 4: Configure the MASCHINE Controller (if using MASCHINE)
If you're using a Native Instruments MASCHINE controller, open the Controller Editor application. Load the Mackie Control template from the Factory Template drop-down menu. Enable Host Transport Control. For MASCHINE MK1, MASCHINE MIKRO MK1, and MASCHINE JAM, select FL Studio under Factory Templates.
Step 5: Set Up FL Studio for Host Transport Control
Launch FL Studio and insert your MIDI controller as an instrument plugin. Go to Options > MIDI Settings. In the Output section, select your MIDI controller. Then, in the Input section, select the same controller. Change the Controller type to "Mackie Control Universal" (or select your controller type if using MASCHINE MK1, MIKRO MK1, or JAM). Click the Enable button.
Now, your MIDI controller should be configured to use the transport controls in FL Studio. You can control your plugin when the controller is in its default mode, and switching to MIDI mode will allow you to use the Host Transport Control.
Additional Controls and Customization
With this setup, you can control various functions in FL Studio, including triggering scenes, navigating the playlist, adding time markers, and more. You can also use the knobs on your controller to adjust mixer volume and panning by setting up the "Override Generic Link" function in FL Studio. Additionally, you can use the time marker functions to trigger "scenes" for live performances, similar to Ableton.
Blind Spot Monitoring: Is it a Standard Feature on Model Y?
You may want to see also
Frequently asked questions
Disconnect the Insert Track that you have set up to record on from the Master Channel. Do this by following the green line at the bottom of the Insert track to the Master Channel and left-clicking on the end that is connected to the Master Channel.
Left-click on the "Monitor external input" option and set it to "Off".
Arm a mixer track for recording and then mute that track.
Unroute the track that's recording from the master track.


