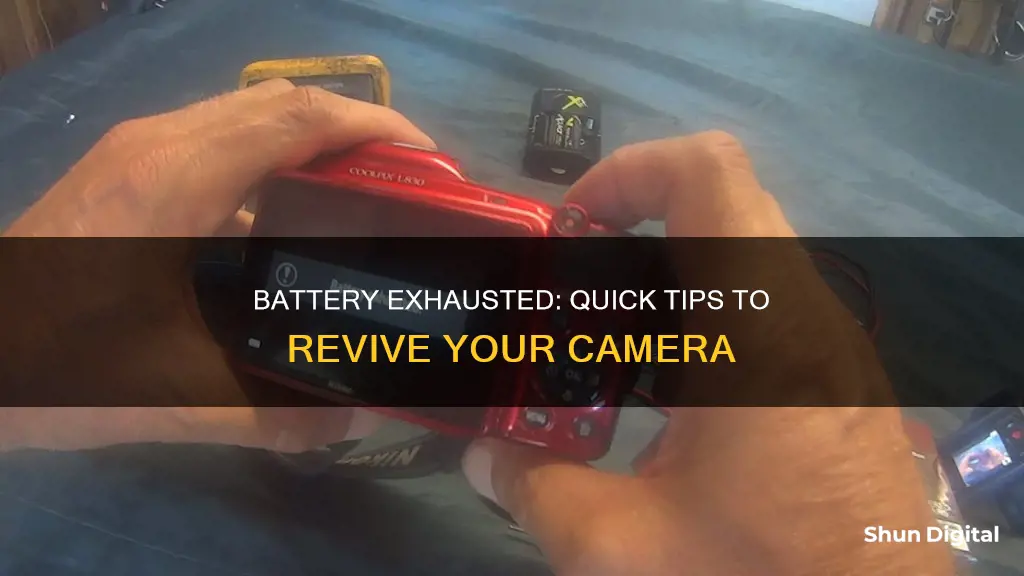
If your camera says battery exhausted, don't panic! There are several things you can do to troubleshoot and resolve the issue. Firstly, check if the battery is properly inserted and ensure that your battery settings are correct. If the problem persists, try recharging the battery or replacing it with a new one. It's important to use the correct type of battery for your camera, such as alkaline or lithium batteries, and to follow the recommended charging procedure. In some cases, the issue may be caused by dirty battery terminals or a damaged battery door cap, which may require repairs. If basic troubleshooting doesn't work, you may need to contact the camera manufacturer or seek professional advice.
| Characteristics | Values |
|---|---|
| Cause | Depleted battery, incorrect settings, dirty battery terminals, improper handling, physical damage, or battery fault |
| Solution | Check and adjust settings, recharge or replace battery, clean battery terminals, fix physical damage, seek professional advice |
What You'll Learn
![]()
Check your battery settings
If your camera displays a "Battery Exhausted" message, it could be due to incorrect battery settings. Here are some detailed steps to check and adjust your battery settings:
Identify the Correct Battery Type:
Before adjusting any settings, it's crucial to identify the specific type of battery your camera uses. This could be alkaline, lithium, zinc, or rechargeable batteries. Refer to your camera's user manual or the battery compartment for guidance on the recommended battery type.
Adjust Battery Settings:
Once you've identified the correct battery type, follow these steps to adjust the settings:
- Power on your camera and access the Menu.
- Navigate to the Setup or Tools menu. This could be indicated by a wrench icon.
- Locate and select the "Battery Type" option.
- Choose the appropriate battery model from the available options.
- Confirm your selection by pressing OK.
Rechargeable Battery Settings:
If you're using rechargeable batteries, ensure they are properly charged before use. It's recommended to charge them for an extended period, typically around 6 to 8 hours, or longer depending on your battery capacity. Additionally, make sure to maintain proper battery care and storage practices.
Charging Order:
Some camera models, such as certain Nikon Coolpix variants, require you to connect the charger in a specific order. Here's the correct sequence:
- Connect the USB cable to the charging adapter.
- Plug the adapter into a wall outlet.
- Ensure your camera is turned off.
- Connect the USB cable to your camera.
- Battery Door Cap:
Inspect the battery door cap to ensure it's secure and properly closed. If the door cap is damaged or compromised, it could affect battery performance and trigger the "Battery Exhausted" message. In such cases, consider taking your camera to an authorised repair centre for replacement.
By following these steps and checking your battery settings, you can help resolve the "Battery Exhausted" issue and restore your camera's functionality.
Charging Camera Batteries: How Frequently Should You Do It?
You may want to see also
![]()
Replace the batteries
If your camera displays a "battery exhausted" message, replacing the batteries is a good troubleshooting step. This is often a quick fix, but it's important to ensure you're using the right type of replacement batteries for your camera. Here's a step-by-step guide to replacing your camera batteries:
Step 1: Choose the Right Replacement Batteries
Before purchasing replacement batteries, it's crucial to check your camera's user manual to identify the compatible battery types and brands. Some cameras are designed to work with specific battery models, so selecting the correct replacement is essential. Additionally, different cameras use different battery chemistries, such as lithium-ion, alkaline, or zinc batteries. Check your camera's settings or user manual to determine the appropriate battery type.
Step 2: Purchase High-Quality Batteries
When buying replacement batteries, opt for reputable brands and authorised dealers to ensure you're getting genuine, high-quality products. This will help you avoid issues related to poor-quality or counterfeit batteries. Best Buy and Battery Mart are examples of retailers that offer replacement camera batteries from leading manufacturers.
Step 3: Insert the New Batteries Properly
Once you have the correct replacement batteries, carefully insert them into your camera, ensuring they are aligned correctly and securely in place. Refer to your camera's user manual if you're unsure about the proper battery installation procedure.
Step 4: Check the Battery Settings
After inserting the new batteries, turn on your camera and navigate to the settings. Confirm that the selected battery type in the settings matches the batteries you just inserted. This step is crucial because using the wrong settings can lead to the "battery exhausted" error message.
Step 5: Test the Camera
With the new batteries in place and the correct settings selected, test your camera to see if it's functioning properly. Take a few photos or videos to ensure the camera is working as expected. If the issue persists, you may need to explore other troubleshooting steps or consult a camera repair specialist.
Charging 1080p Camera Batteries: A Step-by-Step Guide
You may want to see also
![]()
Check the battery door cap
If your camera displays a 'battery exhausted' error, it is important to check the battery door cap to ensure it is secure and properly closed. A loose battery door cap can cause the batteries to arc, increasing the heat inside the camera and leading to the error message.
If the battery door cap is damaged, it is recommended to take it to an authorised repair centre for replacement. Alternatively, you can try using a wall charger to charge your batteries.
- Inspect the battery door cap: Open the battery compartment and carefully examine the condition of the battery door cap. Look for any signs of damage, such as cracks or deformation.
- Ensure proper closure: If the battery door cap appears intact, ensure that it is properly and securely closed. Check if there is a specific mechanism to lock or secure the door in place.
- Test the camera: After ensuring the battery door cap is intact and closed securely, turn on the camera and observe if the 'battery exhausted' error message still appears.
- Address damage: If the battery door cap is damaged, do not attempt to repair it yourself as you may cause further damage. Instead, contact an authorised repair centre or the camera manufacturer's customer support for guidance on replacement or repair options.
- Consider a wall charger: While waiting for the repair or replacement, you may want to consider using a wall charger to charge your batteries externally, as suggested by some camera users facing similar issues.
By following these steps and ensuring the battery door cap is in good condition and properly closed, you can help prevent the 'battery exhausted' error from occurring due to this specific issue.
Low Battery, Low Quality: Camera Performance Impact
You may want to see also
![]()
Charge the battery
If your camera is displaying a "battery exhausted" message, it may be time to charge your battery. Here are some detailed instructions on how to charge your camera battery:
First, check your camera's settings to ensure that your battery type is selected correctly. This can be done by navigating to the Setup section in your camera's menu and choosing the appropriate battery type.
Next, make sure you have the correct charging equipment. Most cameras come with a compact power adapter or a USB charging cable. If you are unsure, refer to your camera's user manual for guidance. It is important to use only the recommended charging equipment to avoid any damage to your camera.
Now, let's go through the steps for charging your camera battery:
- Install the battery: Insert the battery into your camera, ensuring that it is facing the correct way. The battery should click into place.
- Turn off the camera: It is important to turn off your camera before charging. The battery may not charge properly if the camera is turned on.
- Connect the USB cable: Open the cover that hides your camera's connections and ports. Connect the USB cable to your camera, and then connect the other end to your power source, such as a USB wall adapter, power bank, or computer.
- Begin charging: Plug your power source into a wall outlet if necessary. A charging light should turn on, indicating that your battery is charging.
- Charging time: The charging time will vary depending on the battery capacity and charging conditions. On average, it takes around 3 hours to fully charge a camera battery. Do not leave the battery charging for more than 24 hours, as it can degrade the battery life.
- Charging complete: The charging light will turn off once the battery is fully charged. Now you can disconnect the USB cable from your camera and power source.
It is important to note that you should only charge your camera battery using the methods recommended by the camera manufacturer. Always refer to your camera's user manual for specific instructions and safety guidelines.
Charging Camera Batteries: A Global Guide
You may want to see also
![]()
Try a different battery type
If your camera displays a 'battery exhausted' error, it might be time to try a different battery type. This is especially true if you've already tried recharging your batteries for several hours and the issue persists.
First, check what type of battery you are currently using—Alkaline, Lithium, etc. Next, switch on the camera, press the menu button, and select the "Battery Type" option from the Setup Menu. Now, choose a different battery type from the list of options. Select the new battery model and confirm with "OK."
For example, several users have reported that the issue was resolved after switching to Lithium batteries. Others have found success by replacing their batteries with Alkaline batteries and then inserting rechargeable batteries.
It's important to ensure that your camera's battery type setting aligns with the battery in use. This simple step may resolve the error if the settings were incorrect.
Restarting Li-ion Camera Battery: Quick Guide
You may want to see also
Frequently asked questions
First, check if your battery is charged. If it is not, charge it for 6-8 hours. If the problem persists, try replacing the battery.
Try adjusting your camera's settings. Make sure the battery type in your settings matches the type of battery you are using.
Check your battery door cap for any damage. If it is damaged, you may need to get it replaced at a repair center.
The issue could be caused by dirty battery terminals, improper handling, or a faulty battery. Try cleaning your battery terminals with a delicate cloth or cotton swab.
Contact your camera's customer support for further assistance.