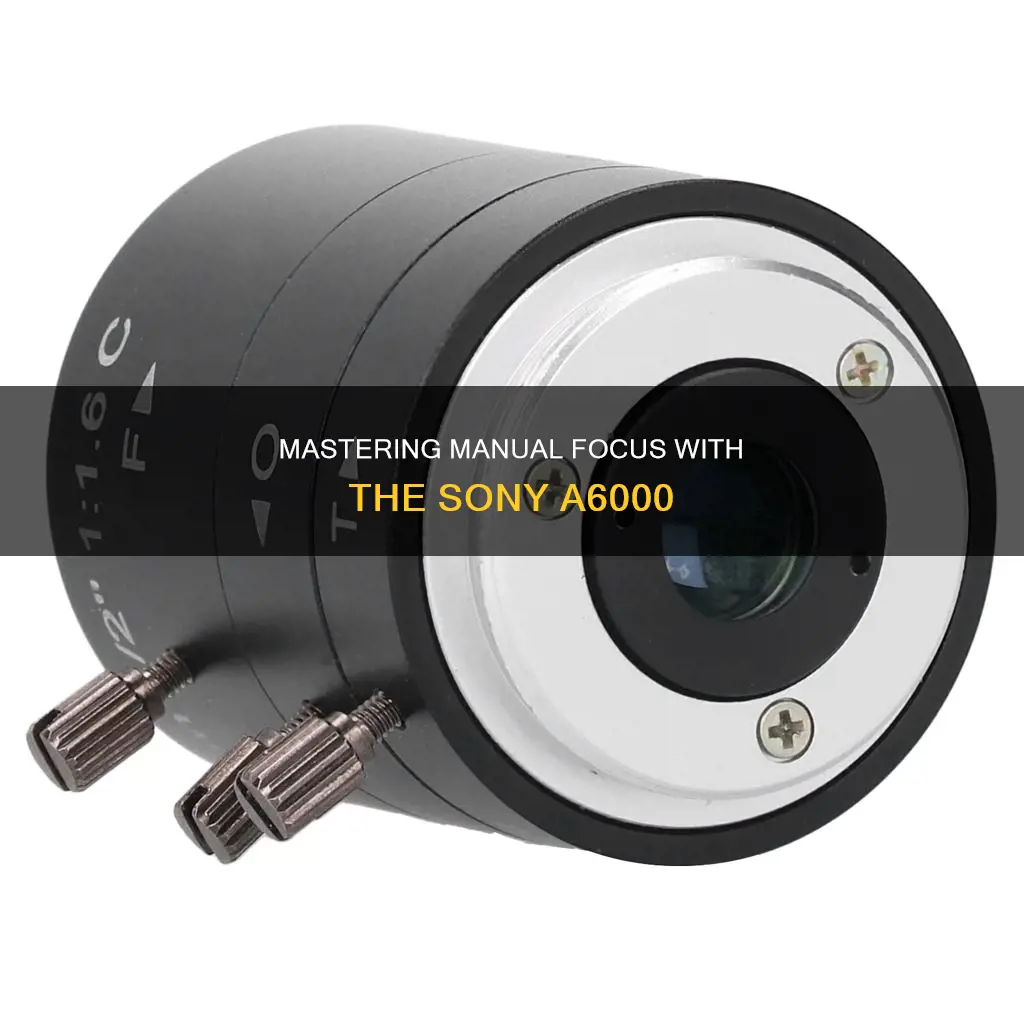
Manual focus is a feature on the Sony a6000 camera that allows the user to focus their lens manually. To do this, the user must slowly rotate the focusing ring on the lens, which brings the subject in the frame in and out of focus. The camera has a range of focus modes, including AF-S (Single), AF-A (Automatic), AF-C (Continuous), DMF (Direct Manual Focus), and MF (Manual Focus). The manual focus feature is useful when autofocus fails to perform due to extreme circumstances or simple machine error, or when shooting through glass or other transparent objects.
What You'll Learn

Manual focus vs autofocus
Manual focus and autofocus are two distinct methods of achieving a clear shot in photography. The Sony a6000 camera offers both autofocus and manual focus settings, allowing users to choose the most suitable option for their specific needs.
Autofocus (AF)
Autofocus is a function that enables the camera to automatically focus on a subject. Most modern digital cameras, including the Sony a6000, come equipped with autofocus capabilities. This feature simplifies the process of capturing clear images by allowing the camera to handle the technical aspects of focusing. The Sony a6000 offers several autofocus modes, including:
- AF-S (Single-shot AF): Suitable for stationary subjects like landscapes or snapshots. The focus locks once the subject is in focus.
- AF-C (Continuous AF): Ideal for capturing moving subjects like sports or railway photography. The camera continuously adjusts the focus as long as the shutter button is pressed halfway down.
- AF-A (Automatic): This mode automatically switches between single-shot AF and continuous AF depending on the subject's movement.
Manual Focus (MF)
Manual focus, on the other hand, puts the power of focusing in the photographer's hands. It offers greater creative control as the user can determine the precise point of focus. While it requires more effort and time, manual focus is advantageous in situations where autofocus may struggle, such as:
- Low-contrast scenes: Autofocus relies on contrast to identify subjects, so in low-contrast situations like heavy backlight, manual focus can ensure the desired subject remains in focus.
- Low-light conditions: Autofocus needs adequate light to function optimally, but in low-light environments, manual focus can help capture clear images by allowing precise control over the focus point.
- Scenes with many objects: Autofocus can be confused by foreground objects, but manual focus lets users selectively focus on the desired object, making it ideal for complex scenes.
- Macro photography: Autofocus struggles at high magnifications, but manual focus excels in this area, providing precise control over the focus point.
- Shooting through glass or transparent objects: Autofocus may focus on the glass or raindrops instead of the intended subject, but manual focus ensures the photographer can direct the camera's attention to the intended subject.
The choice between manual focus and autofocus depends on the photographer's needs and shooting conditions. Autofocus is generally faster and more convenient, making it suitable for action photography and capturing moving subjects. On the other hand, manual focus offers greater precision and creative control, making it ideal for situations where autofocus struggles, such as low-light conditions, macro photography, and complex scenes. Ultimately, both autofocus and manual focus have their strengths, and a skilled photographer will know when to employ each technique to capture the perfect shot.
Focusing Camera on GameObjects in Blender: A Quick Guide
You may want to see also

Focus modes: AF-S, AF-A, AF-C, DMF, MF
The Sony a6000 offers a range of focus modes, including AF-S, AF-A, AF-C, DMF, and MF. Each mode serves a different purpose and is suitable for capturing different types of subjects or scenes.
AF-S (Single-Shot Autofocus): This mode is ideal for stationary subjects. When you half-press the shutter button, the camera locks the focus. You can then recompose your shot by moving the camera around, and the focus will remain locked. To capture the image, fully press the shutter button. AF-S is the most commonly used focus mode on the a6000, especially for static subjects.
AF-A (Automatic Autofocus): This mode combines the functionality of AF-S and AF-C. When you half-press the shutter button, the camera will lock focus on a stationary subject. However, if it detects subject movement, it will automatically switch to continuous autofocus (AF-C) to track the subject. While this mode can be convenient in certain situations, it is generally considered unreliable.
AF-C (Continuous Autofocus): AF-C is suitable for capturing moving subjects. When you half-press the shutter button, the camera continuously tracks the subject, allowing you to capture fast action or motion. This mode is often used for photographing fast-moving objects like cars or runners, but it can also add a sense of motion to portrait shoots. AF-C can be paired with the continuous shooting drive mode for more effective action photography. However, it consumes battery power quickly due to the constant refocusing.
DMF (Dynamic Manual Focus): DMF is a smart mode that defaults to autofocus (AF-S) but seamlessly switches to manual focus when you turn the focusing ring. This mode can be useful, but it may also be accidentally activated by unintentionally bumping the focusing ring.
MF (Manual Focus): In manual focus mode, the autofocus system is disabled, and you need to physically turn the focusing ring on your lens to adjust the focus. While manual focus may seem intimidating at first, it becomes easy and powerful once you get the hang of it. It is particularly useful in situations where autofocus struggles, such as shooting through glass or in low-light conditions. Additionally, manual focus opens up a world of low-cost, fully manual lenses that can enhance your creative options.
The Evolution of Wyze Cameras: Battery or Plug-In?
You may want to see also

Manual focus setup
Manual focus is a feature that allows you to focus your camera lens manually. While modern autofocusing systems are very reliable, they can sometimes struggle with complicated scenes, such as shooting through glass, or focusing on the wrong object. Manual focus gives you more control over the focus of your image.
To set up manual focus on the Sony a6000, you need to adjust the settings in the camera menu. Here is a step-by-step guide:
- Release w/o lens setting: Go to the gear icon in the menu, then to tab three, and enable "release w/o lens". This setting allows the camera to release the shutter and take a photo when using manual lenses, which don't have electrical contacts.
- Focus peaking: Turn on focus peaking, which highlights the part of the image that is in focus using small coloured lines. You can adjust the sensitivity and colour of the lines. This setting makes it easier to compose images as you get instant feedback on what is in focus. To turn on focus peaking, go to the gear icon, then to tab two, and set your peaking level and colour.
- Focus magnifier and custom buttons: Turn on focus magnification and assign it to a custom button. This feature lets you digitally magnify your shot to ensure perfect focus. To set this up, go to the gear icon, then to the first tab, and choose "focus magnif. time" and set it to "no limit". Then, go to the gear icon, tab six, and open "custom key settings". Here, you can assign the focus magnification function to any button on the camera.
In addition to the above steps, you can also adjust other settings to improve your manual focus experience. These include:
- Focus Mode: In the Camera Settings 3 menu, select Focus Mode and choose Manual Focus. This setting is required if you want to use the focus magnifier feature.
- Select activation time: Choose how long you want the focus magnifier to zoom in on your image. You can select 2 seconds, 5 seconds, or No Limit. If you select No Limit, the image will remain zoomed until you take a picture or press the shutter release button halfway.
- Choose an activation button: Assign the focus magnifier function to a custom key to avoid having to visit the Camera Settings 4 menu each time you want to activate it.
- Turn on MF Assist and/or Peaking Level: These additional manual focus aids can be useful when attempting to manually focus in dark or dim conditions.
With these settings configured, you're now ready to start practising manual focus on your Sony a6000!
Lumix Cameras: How Long Before a Recharge?
You may want to see also

Focus magnifier
The focus magnifier is a feature on the Sony a6000 that allows you to digitally magnify your shot. This is especially useful for manual focusing as it lets you zoom in to ensure that your focus is perfect. You can also adjust the focus while the image is magnified.
To set up the focus magnifier, go to the gear icon in your settings, then to the first tab. Choose "focus magnif. time" and set it to "no limit". This will allow you to use the magnifier for as long as you need to without any time restrictions.
Next, you need to set up the custom button. Go to the gear icon, then to tab six. Open "custom key settings" and set your focus magnification button to any button on the camera. It is recommended to bind it to the AEL button as it is in a convenient, easy-to-access spot. However, you can assign it to any button you prefer.
With the focus magnifier, you can magnify your image by pressing on the centre of the control wheel. You can then use the up/down/left/right side of the control wheel to select the position you want to enlarge. Each time you press the centre, the magnifier scaling will change, allowing you to zoom in even closer. When you are ready to take the shot, simply press the shutter button fully down.
The focus magnifier is a great tool to help you achieve precise focus, especially when combined with the focus peaking feature.
Are Camera Tickets Still Issued?
You may want to see also

Manual focus lenses
When it comes to choosing a manual focus lens, there are several excellent options available. The Rokinon 12mm F2.0, for example, is a popular choice for wide-angle enthusiasts and astrophotographers due to its sharpness, compact build, and reasonable price. Another excellent option is the Laowa 65mm F2.8, which offers 2:1 magnification and spectacular sharpness, making it a favourite among macro photographers. For those on a budget, the Meike 35mm F1.7 is a solid choice, offering good sharpness, a great focusing ring, and a compact build at a very affordable price.
It is worth noting that manual focus lenses also come with some drawbacks. They can slow down the photographer and reduce the accuracy of photos, especially in fast-paced situations or when capturing action shots. Therefore, it is essential to consider the type of photography or videography being done and choose the most suitable lens for the situation.
How Oregon Handles Camera-Based Traffic Tickets
You may want to see also
Frequently asked questions
Manual focus is the art of manually focusing your lens. You slowly spin the focusing ring on your lens, and the subject(s) in your frame will fall slowly in and out of focus.
First, turn on the "release w/o lens" setting. Next, turn on focus peaking, which highlights the part of the image that is currently in focus with small coloured lines. Then, turn on focus magnification and assign it to a custom button.
Autofocus isn't flawless and can fail in certain conditions or due to machine error. Manual focus is useful for shooting through glass or other transparent objects, in low-light situations, and for close-ups and macro subjects.


