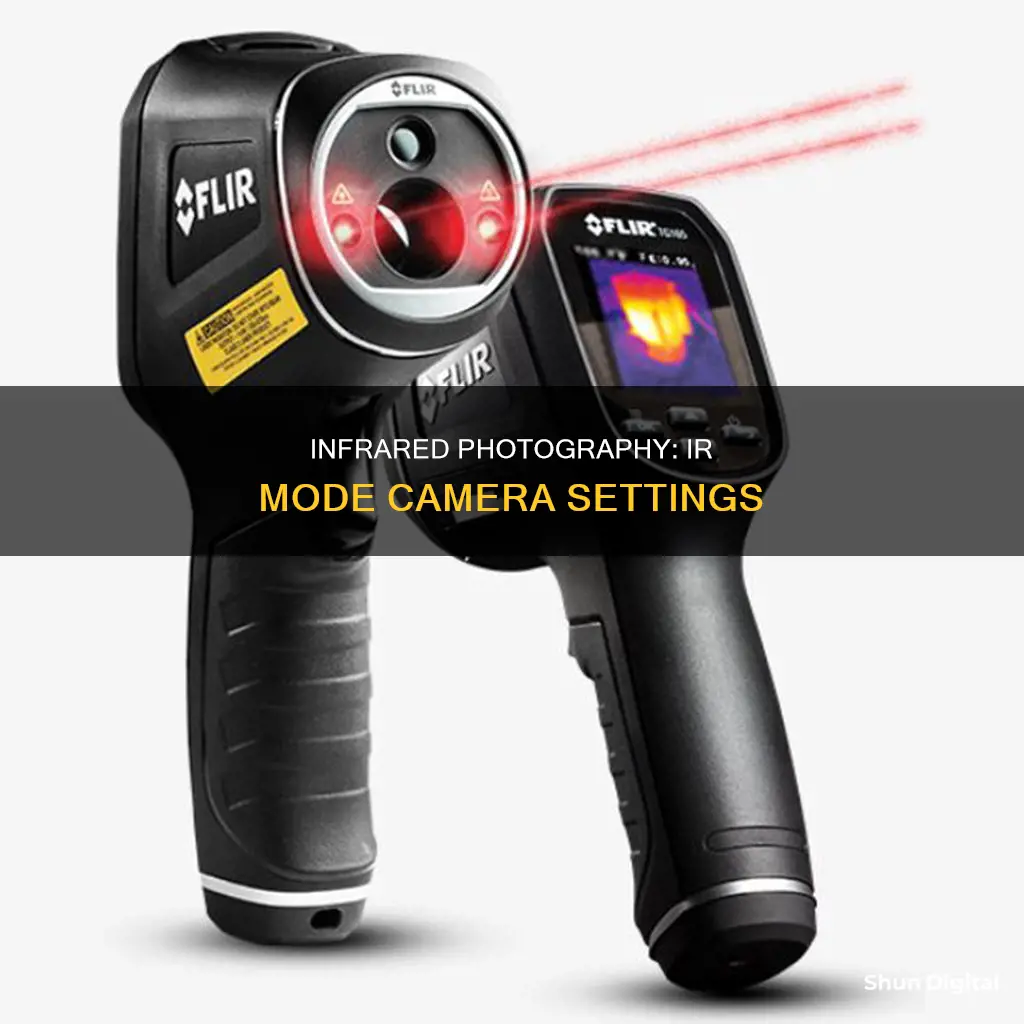
Infrared (IR) mode is a setting available on many modern cameras that allows them to capture images in low-light or no-light conditions. IR light is invisible to the human eye, but IR camera sensors can detect it and use it to create images. This technology is particularly useful for security cameras, which often need to capture clear footage at night or in dark environments. IR mode is also advantageous because it is not limited by obstructions like fog or darkness, and it can be used for temperature screening in workplaces and home inspections in real estate.
| Characteristics | Values |
|---|---|
| Wavelength range | 700-1000 nm |
| Light type | Invisible to the human eye |
| Use | Night vision, temperature screening, medical imaging, etc. |
| Image type | Black and white or colour, depending on lighting conditions |
| Filter type | IR-cut filter, reflection or absorption |
| Function | Blocks or delivers IR light to enable true colour reproduction |
| Control | Motor or electromagnet |
| Image sensor | Absorbs enough light to enable black-and-white mode, enhancing IR light sensitivity |
| LED function | Bathes the area in front of the camera in IR light |
| Image translation | Translates IR perception into the visible range of light for human users |
| Image enhancement | Dynamic smart IR reduces the "whiteout" effect by automatically adjusting the light |
What You'll Learn

IR-cut filters
When purchasing an IR-cut filter, it is important to consider the wavelength range that the filter blocks. For example, some filters may cut off infrared light above 700 nm, while others may have a cut-off wavelength of 710 nm or higher. It is also essential to ensure that the filter is compatible with your specific camera model and lens size.
In addition to IR-cut filters, there are also UV-cut filters that specifically target ultraviolet rays. These filters can be used separately or in combination with IR-cut filters, depending on the specific requirements of the photography application.
Aslain's Free Camera Mod: Unleashing Dynamic Perspectives
You may want to see also

True Day Night (TDN)
During the day, when there is an abundance of physical light, the IR cut filter slides in front of the sensor, blocking the IR light radiation and allowing only visible light to pass through the lens. This prevents IR light from distorting the colours of recorded images during the daytime.
At night, or in low-light conditions, the IR filter is removed or moved away from the sensor, allowing IR light to reach the sensor and enhancing the camera's ability to capture details in black and white images. This is because black and white imagery is better at distinguishing features in the dark, as it enhances the visibility of objects by reducing the complexity of colours.
The IR cut filter enables IR for night vision while ensuring clear, accurate colours during the day. This allows the TDN camera to produce clear video in both light and dark situations.
Activating Camera Mode in Blender Without Using Zero
You may want to see also

Infrared light and colour distortion
Infrared light is invisible to the human eye. It is a type of electromagnetic radiation with wavelengths longer than those of visible light but shorter than microwaves. The infrared spectral band typically refers to wavelengths from around 700-750 nanometres (nm) to 1 millimetre (mm).
Infrared light is used in photography to achieve certain effects, such as very dark skies and the penetration of atmospheric haze. This is achieved through the use of infrared-sensitive film or image sensors, along with filters that block all or most of the visible light spectrum.
However, the use of infrared light in photography can also lead to colour distortion and other issues. One such issue is chromatic aberration, which occurs when a lens fails to focus all colours to the same point. This results in "fringes" of colour along boundaries separating dark and bright parts of an image. Chromatic aberration can be minimised through various techniques, such as using an achromatic lens or radially scaling the affected colour channels.
Another issue that can arise when using infrared light in photography is hotspots, which manifest as blurry bright spots in the centre of an image. These are caused by internal reflections of light inside the lens, as the coatings on lens barrels that are designed to absorb light do not always work in the infrared spectrum. Hotspots can often be avoided by using lenses that are not prone to this issue or by changing the aperture.
Additionally, lenses designed for visible light may suffer from distortion and a shift in the focal plane when used for infrared photography. This is because glass has a different refractive index for infrared light, causing the light to bend in a way that was not intended during the lens design. This issue is particularly prominent in ultra-wide-angle lenses, which have many glass elements and limited room for error.
False-colour infrared photography can also be achieved using specific filters, such as the 590nm, 665nm, and 720nm filters. These filters allow some visible light to be picked up by the camera, and since infrared light in the 720nm range registers mostly on the red pixels of the sensor, variable data in the red and blue channels can be used for post-processing to produce blue skies.
Infrared photography has been used by enthusiasts since the 1930s, with notable artists such as Jimi Hendrix, Donovan, Frank Zappa, and the Grateful Dead featuring infrared photos on their album covers in the 1960s.
GoPro 4 Charger Cord: What Size Do You Need?
You may want to see also

IR cameras in low-light conditions
IR cameras are often referred to as 'night vision' cameras, but this is a misconception as most IR CCTV cameras have built-in infrared technology, allowing footage to be captured during the day and at night. In low-light conditions, IR cameras use built-in IR LEDs, which emit infrared light. This light is then reflected by objects and collected by the camera lens. The number of built-in IR LEDs in a CCTV camera influences the camera's night vision range and will also impact the resolution of the footage.
When light is available, the camera will usually give a coloured picture, but as it gets darker, the IR will switch on and the camera will begin to record in black and white. IR technology only allows for black-and-white footage and has limitations on the range of distance that can be captured (generally up to 50 metres). It can also function poorly if there is a mix of close and far objects in the camera's field of vision.
The performance of IR cameras in low-light conditions can be influenced by a number of factors, including the sensitivity and size of the sensor used in the camera, the aperture of the lens fitted on the camera, and the shutter speed supported by the camera. A larger sensor will deliver better image/video quality, and a larger aperture will allow more light to pass through.
In terms of lens selection, auto-iris lenses are recommended for surveillance requirements where the source of light is ambient lighting or where the area under surveillance is likely to have multiple levels of lighting. Fixed-iris lenses are ideal for artificial lighting situations where there is a consistent level of lighting throughout the surveillance period.
Shutter speed also plays a role in low-light performance. A higher shutter speed translates to sharper individual frames (but with the downside of jerky movement), while a lower shutter speed results in blurred images when objects move within the frame (but with the benefit of smooth frame transitions). In low-light conditions, a slower shutter speed may show a brighter image.
While IR cameras are a popular choice for low-light conditions, there are other options available, such as starlight IP cameras, which use very low levels of ambient light to create a colour image, and thermal imaging cameras, which detect the infrared energy emitted by objects and create an electronic image.
Mastering Lumix G7: Camera Modes Explained
You may want to see also

IR camera best practices
IR cameras are useful in a wide range of industries, from medicine to security. Here are some best practices to get the most out of your IR camera:
Location
Place your cameras strategically. High, wide, and unobstructed views will give you the best results.
Avoid Glare
Reflective surfaces like windows or metal can bounce the IR light back into the camera lens, creating a whiteout effect. Be mindful of the range of your IR camera and avoid placing it too close to reflective surfaces.
Keep it Clean
A dirty lens can ruin your footage. Regularly wiping your lens will keep your footage crisp and clear.
Know the Limitations
Infrared light has range limits, so make sure the IR range of your camera matches or exceeds the area you need to monitor.
Understand Emissivity
Emissivity is the rate at which infrared energy is emitted by an object. Different objects have different emissivity values, which can affect the accuracy of your IR camera. You can adjust for this in your camera settings.
Environmental Conditions
Infrared cameras measure radiated heat, so external factors like the sun, shadows, cold temperatures, rain, or wind can affect your images. Make sure to consider these factors when setting up your camera.
Use the Right Tools
Not all IR cameras are created equal. Make sure to choose a camera that is designed for your specific use case, whether it's industrial, medical, or something else.
Battery Cells for Camera Drones: How Many Do You Need?
You may want to see also
Frequently asked questions
IR mode, or Infrared mode, on a camera is a setting that allows the camera to capture images in low-light or no-light settings. IR light is invisible to the human eye but can be detected by IR camera sensors.
IR cameras use infrared light to illuminate dark settings. IR cameras have infrared LEDs that transmit infrared light, which reflects off objects in the field of view and is then captured by the camera's sensors.
IR mode enables your camera to capture clear images in low-light or no-light conditions, making it ideal for nighttime photography or videography.


