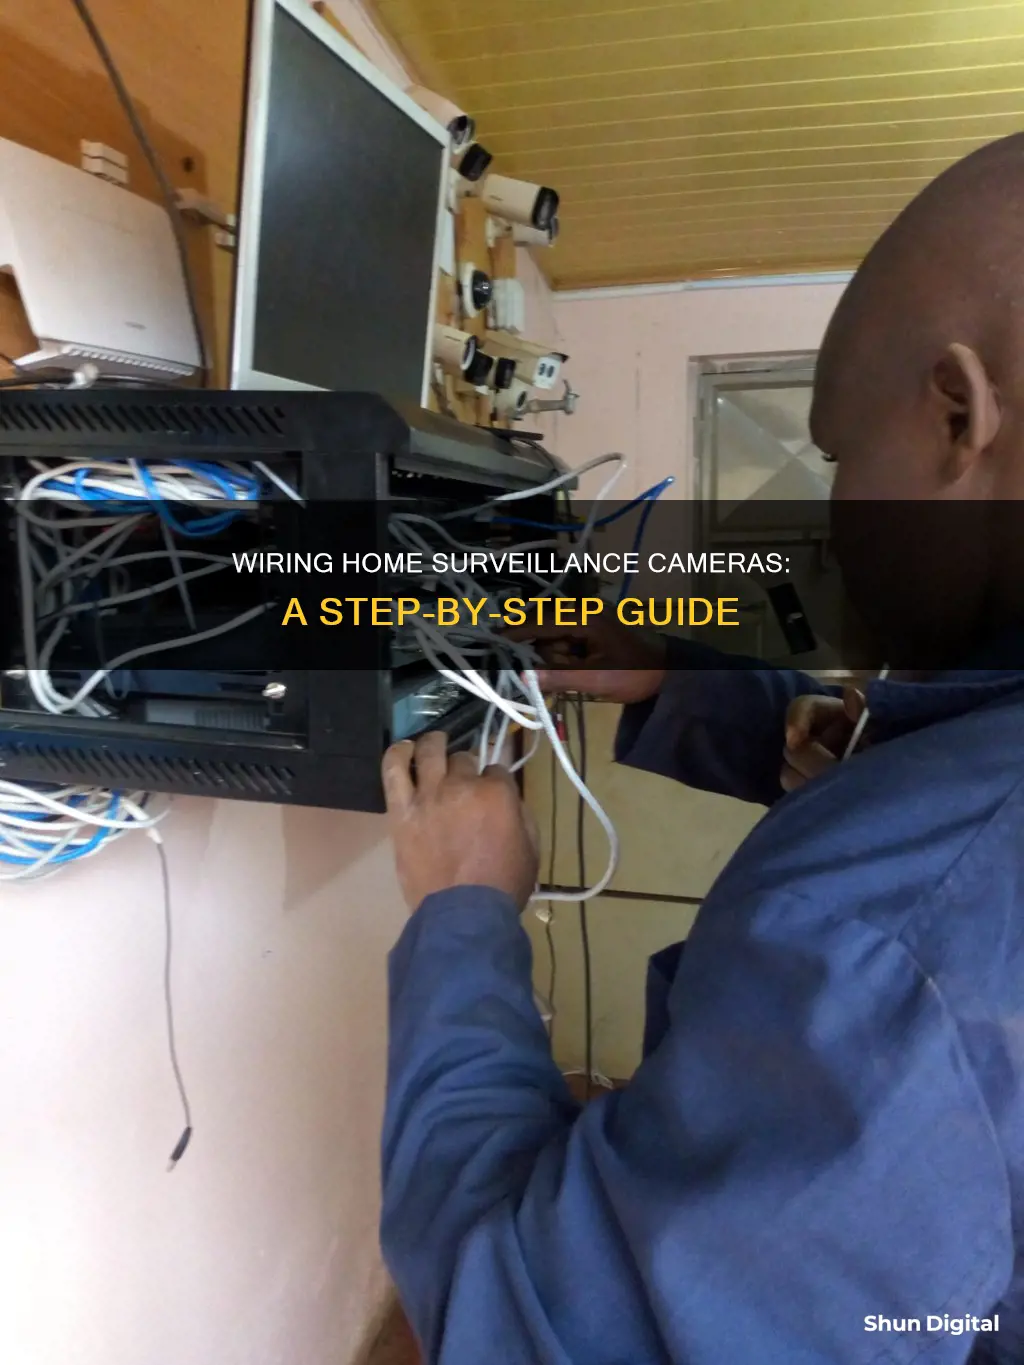
Installing a wired home surveillance system is a more complex process than a Wi-Fi system, but it will provide a more reliable setup. The first step is to decide on the type of camera system, whether IP or CCTV, and the number of cameras required. The next step is to plan the camera locations and how the cables will be routed to the DVR box. After that, it's a case of drilling holes, feeding cables, and connecting everything together. The DVR box can then be set up to record and monitor the footage.
| Characteristics | Values |
|---|---|
| Camera type | IP or CCTV |
| Cable type | CAT-5, RG59 Siamese coaxial, BNC, RCA, Ethernet |
| Camera placement | Front and back doors, large common spaces, stairways |
| Camera angle | High and broad |
| Camera mounting | Sticky pads, screws |
| Power source | Power adapter |
| Recording device | DVR, NVR, VCR |
| Monitor | Computer screen, TV |
| Surveillance hub | Attic, office, near internet router |
What You'll Learn
![]()
Choosing the right cable
When choosing the right cable for your home surveillance cameras, there are a few key factors to consider: the type of camera you have, the distance between your camera and recording device, your budget, and whether you want to use cables that are pre-made or bought in bulk.
Type of Camera
The two overarching categories of security camera cables are IP cameras with ethernet cable and coaxial cable with analog cameras.
IP Cameras with Ethernet Cable
Ethernet cables are the modern standard, used in most IP (Internet Protocol) cameras. They support high-speed data transfer, ensuring smoother and higher-quality video footage. They are also flexible and scalable, making them ideal for network-based camera systems. Many ethernet cables can also power cameras directly via Power over Ethernet (PoE), reducing the need for separate power lines.
The "cat" in ethernet cable naming refers to its "category". The most common types are Cat5, Cat5e, and Cat6. The main difference is that Cat6 offers faster data transfer than Cat5, but it is also more expensive.
Coaxial Cable with Analog Cameras
Coaxial cables are commonly used in analog CCTV systems and are compatible with most legacy systems. They can transmit signals over longer distances without significant loss of quality or the need for boosters, but they are more limited in terms of data transmission speed.
Distance
Ethernet cables have a distance limitation of about 100 meters; beyond that, you will need extenders or switches. Coaxial cables, on the other hand, can transmit signals over longer distances without significant loss of quality.
Pre-made vs Bulk Cable
Another consideration is whether to use pre-made cables or buy cable in bulk. Pre-made cables are convenient, especially for those without prior cable installation experience, as they are already cut to specific lengths and have connectors attached. However, they are more expensive and sold in fixed lengths, which may result in a less professional-looking finish.
Buying cable in bulk is more cost-effective and allows for a tailored, professional finish, but it requires specialised knowledge and equipment.
Budget
Finally, your budget may also influence your choice of cable. While ethernet cables are typically cheaper than coaxial cables, the equipment required for an IP camera system tends to be more expensive.
Unlocking Your Camera: Powering On Without the Cover
You may want to see also
![]()
Camera placement
- Ground-floor doors and windows: Place cameras on all ground-floor doors and windows, both inside and outside your home. This is because burglars typically enter through these access points.
- Main stairs or hallway: Install a camera in areas that burglars would have to pass through to access most of your home, such as a first-floor hallway or main stairway.
- Common areas: Consider securing frequently used areas like the living room or kitchen to monitor daily activities.
- Driveway: Position an outdoor camera to cover the entire driveway. Burglars often have to cross the driveway to reach the front door.
- Yard: Secure both your front and back yards with outdoor cameras to prevent thieves from using them as hiding spots.
- Second floor: If you keep valuables upstairs, consider installing an indoor camera in the main second-floor hallway to monitor valuable items while maintaining privacy in bedrooms and bathrooms.
- Basement: Add a camera to the basement if you store anything valuable there. Point it towards the door connecting the basement to the garage to monitor another potential entry point.
- Garages or detached buildings: Install a camera in your garage to watch over expensive items like cars and tools. Use a range extender or a camera without Wi-Fi if your Wi-Fi doesn't reach the garage.
- Avoid certain areas: Refrain from placing cameras in bedrooms, bathrooms, and areas that capture your neighbour's property to respect privacy and comply with legal boundaries.
- Secure all points of entry: Ensure you have cameras on all potential entry points, including windows, not just the main doors.
- Monitor the inside and outside: Don't forget to monitor the outdoors as well as the inside of your home. Outdoor cameras can help prevent crimes before they happen.
- Place cameras high: Install cameras eight to ten feet off the ground to maximise coverage and make them harder to disable or steal.
- Utilise corners: Place cameras in corners to capture an entire room, especially if the camera has a small field of view.
- Test cameras before mounting: Ensure the camera connects with your mobile app and motion tests work properly before permanently installing it.
- Eliminate blind spots: Test your cameras for blind spots that a thief could exploit to move through your home unseen.
- Clean outdoor cameras: Regularly clean the lenses of outdoor cameras to maintain clear footage, especially if you have a 4K security camera.
Focus Camera LLC: Legit or Scam?
You may want to see also
![]()
Running cables to cameras
Firstly, it's crucial to decide on the type of security camera you will use, as this will determine the kind of cable you need. For IP camera systems, you'll require CAT-5 cables, while coax cable is typically used for CCTV cameras. If you're unsure, it's possible to run both types of cables to each camera location, giving you the flexibility to choose later.
Next, plan where you will mount your cameras. Consider the areas you want to monitor, such as front and back doors, large common spaces, and stairways. Mark the spots where the cameras will be installed, ensuring they have a clear view and are near a power source.
Now, you can start running the cables. If you're drilling through walls or ceilings, use a power drill to create holes for the cables. Steel fish tape can be extremely helpful in guiding the cables through tight spaces, like attic edges. Tape the cable to the fish tape and pull it through the hole. Repeat this process for each camera location.
If you're using Ethernet cable, you may need to crimp your own connectors if they're not already installed. Ensure you have enough cable length to reach the camera locations and the DVR box.
Finally, connect the cables to the cameras. Feed the cable through the hole near the camera mount and connect it to the camera. You can use electrical tape to secure the connection. Then, mount the camera to the wall or ceiling using the provided screws and adjust its position as needed.
Remember, if you're uncomfortable with drilling or running cables, it's best to consult a professional or opt for a wireless camera system.
Charging Your Lumix Waterproof Camera: A Step-by-Step Guide
You may want to see also
![]()
Connecting to a power source
Connecting your home surveillance cameras to a power source is a crucial step in ensuring their functionality and reliability. Here's a comprehensive guide on how to connect your cameras to a power source:
Power Source Options
Before delving into the installation process, it's important to understand the different power source options available for your home surveillance cameras. The two most common options are Power over Ethernet (PoE) and local power supply:
- Power over Ethernet (PoE): PoE technology allows both data connection and power transmission through a single Ethernet cable. This method simplifies the wiring process by eliminating the need for separate power cables. PoE is widely used in IP camera systems and offers a convenient way to power multiple cameras simultaneously.
- Local Power Supply: Some cameras, especially those with higher power requirements, may need a dedicated power supply. This typically involves plugging the camera into a nearby power outlet or using a plug-in power adapter.
Step-by-Step Guide to Connecting Power
Now, let's go through the steps to connect your home surveillance cameras to a power source:
- Determine the Type of Camera: The first step is to identify the type of camera you have. Different camera systems, such as IP cameras and HD over coax cameras, use different wiring methods. IP cameras typically use CAT5/6 cables, while HD over coax cameras use RG-59 siamese coax cables or plug-and-play power/video cables.
- Gather the Necessary Tools and Materials: Ensure you have all the required tools and materials before starting the installation. For IP cameras, you'll need CAT5/6 security camera wires, a fish tape (optional), and a PoE injector if you're using longer cable runs. For HD over coax cameras, you'll need RG-59 BNC connections and RG-59 video power combo cables.
- Prepare the Connections: If you're using bulk cable, you may need to splice connectors at each end to match the camera and power source. Consult an electrician if you're unfamiliar with cable splicing. The most commonly used connectors are BNC connectors and RCA connectors.
- Connect the Camera to the Power Source: Follow the appropriate wiring method for your camera system. For IP cameras, connect one end of the Ethernet cable to the camera and the other end to the network video recorder (NVR) or a PoE injector. For HD over coax cameras, use the BNC or RCA connectors to connect the camera to the power source and the digital video recorder (DVR).
- Test the Camera: Before permanently installing the camera, it's crucial to test its functionality. Connect the camera to the power source and the DVR or NVR, and check the monitor to ensure you're receiving a clear image. Repeat this testing process for each camera in your system.
- Mount the Camera: Once you've confirmed that the camera and connections are working properly, it's time to mount the camera in your desired location. Typical mounting locations include the front door, back door, children's rooms, outdoor pool areas, and places where valuables or firearms are stored.
- Run and Conceal the Cables: After mounting the camera, carefully run the cables to the power source. You can staple the cables to walls and ceilings, or for a neater appearance, drill holes and fish the cables through walls, floors, or ceilings to conceal them. Ensure that you leave some extra length on each side of the cables for future reorganisation and cable termination.
- Protect Outdoor Cables: If you're installing cameras outdoors, it's important to protect the cables from the elements and potential tampering. Use wire guards, PVC conduits, or metal conduits to safeguard the cables. Additionally, bury the cables underground at a sufficient depth to deter interference.
- Finalise the Installation: Once you've connected and mounted all the cameras, take some time to tidy up the installation. Conceal any wire holes with waterproof materials like silicone or duct seal, especially if the cameras are installed outdoors. Test the entire system again to ensure all components are functioning correctly.
By following these steps and taking the necessary precautions, you can successfully connect your home surveillance cameras to a power source, ensuring they operate effectively and provide the desired level of security for your home.
Olympus E-M5 II: How Many Shots Per Battery Charge?
You may want to see also
![]()
Concealing cables
When installing home surveillance cameras, it is important to conceal the cables for aesthetic and security reasons. Here are some detailed instructions on how to achieve this:
Paint the cables
One option is to paint the cables to match the colour of your walls. Choose a paint colour that matches your wall colour and use a paintbrush to apply paint over the camera wires, ensuring adequate coverage. This will make the cables less noticeable.
Use cord covers or raceways
If you want to avoid painting, you can use cord covers or cable guards to conceal the cables. Buy cable covers that match the colour of your walls and are long enough to shield the cables from the outlet to the device. Fasten the cable covers to the wall using adhesive backing. Alternatively, you can slip the cables into the hole if the channel cover cannot be removed.
Hide cables behind large furniture
You can also hide the cables behind or underneath large pieces of furniture such as bookshelves, mantels, or carpets. Plan the wiring route and then fasten the hanging wires with binder clips or zip ties behind the furniture.
Use false ceilings
If your home has false ceilings, you can take advantage of the gaps or channels to pass the cables through. Insert the cables through the space and secure them with glue or cable wires. Make sure to hire a professional if you are unsure about this method, as there is a risk of damaging the false ceiling.
Run cables through walls or ceilings
If the power source or monitor is on the other side of a wall or ceiling, you can drill holes and thread the cables through. Turn off the power source before starting and use a straightened metal coat hanger to check for any obstructions inside the wall. This method will keep the camera visible while concealing the wires.
Use plastic tubes
Another option is to feed the cables through walls using plastic tubes, which will also protect them from harsh weather conditions and external damage. This method involves drilling through studs and threading the tube, so consider contacting an experienced installer if you feel it is beyond your capabilities.
Infinity Focus: How to Check Your Camera's Focus
You may want to see also
Frequently asked questions
The type of cable depends on the camera system you have. For IP camera systems, use CAT-5 cable. For CCTV cameras, use coax cable. If you're unsure, it's best to run both types of cables to each camera location.
Place cameras in areas you want to monitor, such as front and back doors, large common spaces, and stairways. Install cameras high up, out of reach, and ensure they have a broad field of view.
Wired cameras typically use BNC cables to connect to the DVR. Wireless cameras connect to your Wi-Fi network and are accessed via an app on your smartphone or computer.
Basic tools include a power drill, masking tape, a monitor, mouse, and keyboard. For drilling through brick or masonry, you'll need a hammer drill and masonry drill bits.
You can install the cameras yourself if you have basic DIY skills. However, if you're uncomfortable with drilling, wiring, or working at height, consider hiring a professional installer.