Synchronising surveillance cameras is a crucial aspect of setting up a reliable security system. This process involves connecting multiple cameras to a network and configuring them to work together seamlessly. There are several methods to achieve this, including network configuration, time synchronisation, ensuring camera compatibility, and software integration. Each method plays a vital role in ensuring that the cameras function optimally, providing accurate and synchronised footage for effective monitoring and surveillance.
What You'll Learn
![]()
Ensure cameras are on the same network
To ensure that your surveillance cameras are on the same network, you should connect them to a router or switch using Ethernet cables. This will create a Local Area Network (LAN) and allow the cameras to communicate with each other and with a central monitoring system.
Each camera should be assigned a unique IP address and configured to use the same network protocol. This will ensure that they can communicate effectively and that the system performs optimally.
In addition, it is important to configure the cameras to use the same time zone and time settings. This can be done by accessing the camera's settings and adjusting the time zone and time to match the other cameras. This is crucial for accurate recording and playback of footage.
Another aspect to consider is network security. It is recommended to use strong passwords, enable encryption, and regularly update firmware to protect the cameras from cyber threats and hacking attempts.
By following these steps, you can ensure that all your surveillance cameras are on the same network, improving system performance, security, and functionality.
Focusing LG V10 Camera: Tips and Tricks
You may want to see also
![]()
Sync time settings
To synchronise the time settings of your surveillance cameras, you need to ensure that all cameras are connected to the same network and have the same time settings. This can be done by accessing each camera's settings and adjusting the time zone and time settings to match the other cameras.
- Ensure all cameras are connected to the same network: Use Ethernet cables to connect each camera to a router or switch.
- Configure basic settings: Log in to the web interface of each camera. Go to Setup > System > General > Date & Time. Set the date and time, ensuring that the time zone and time format are correct.
- Modify the GMT setting: If you are not in the Eastern Time Zone, adjust the Greenwich Mean Time (GMT) setting. For example, Central Standard Time is GMT-6, Pacific Standard Time is GMT-8, and so on.
- Configure Daylight Saving Time (DST): Set up DST for your area. The start date is the second Sunday in March at 02:00, and the end date is the first Sunday in November at 02:00.
- Set up a Network Time Protocol (NTP) server: The NTP server provides accurate time information to all cameras in the network. You can set the NTP server to any time server that is local to your setup. It is recommended to use an update interval of less than 24 hours, with 60 minutes being ideal.
- Finalise settings: Press "Manual Update" next to the NTP server and then "OK" or "Save" to apply the settings.
By following these steps, you will ensure that all your surveillance cameras are synchronised with the correct time settings, allowing for accurate recording and playback of footage.
Surveillance Camera Streams: Dark Web's Disturbing Entertainment
You may want to see also
![]()
Use a central management system
Using a central management system is an effective way to sync your surveillance cameras, especially if you have multiple locations to monitor. This method allows you to manage multiple cameras from a single interface, making it easier to sync and monitor your cameras.
A central management system simplifies the process of syncing cameras and ensures they work together seamlessly. It also allows for remote access, enabling you to monitor your premises from anywhere. This is particularly useful if you are responsible for businesses in multiple locations. With a central management system, you can view cameras from different sites side-by-side and cycle through all your cameras efficiently, without the hassle of remembering multiple logins and switching between different apps.
To set up a central management system, you will need to ensure that all your cameras are connected to the same network and have the same time settings. This can be done by accessing each camera's settings and adjusting the time zone and time settings to match the others. You may also need to assign each camera a unique IP address and configure them to use the same network protocol.
Additionally, when setting up a central management system, it is important to consider the security of your network. This includes using strong passwords, enabling encryption, and regularly updating firmware to protect your cameras against cyber threats.
Unlocking Free Camera Mode in World of Tanks Replays
You may want to see also
![]()
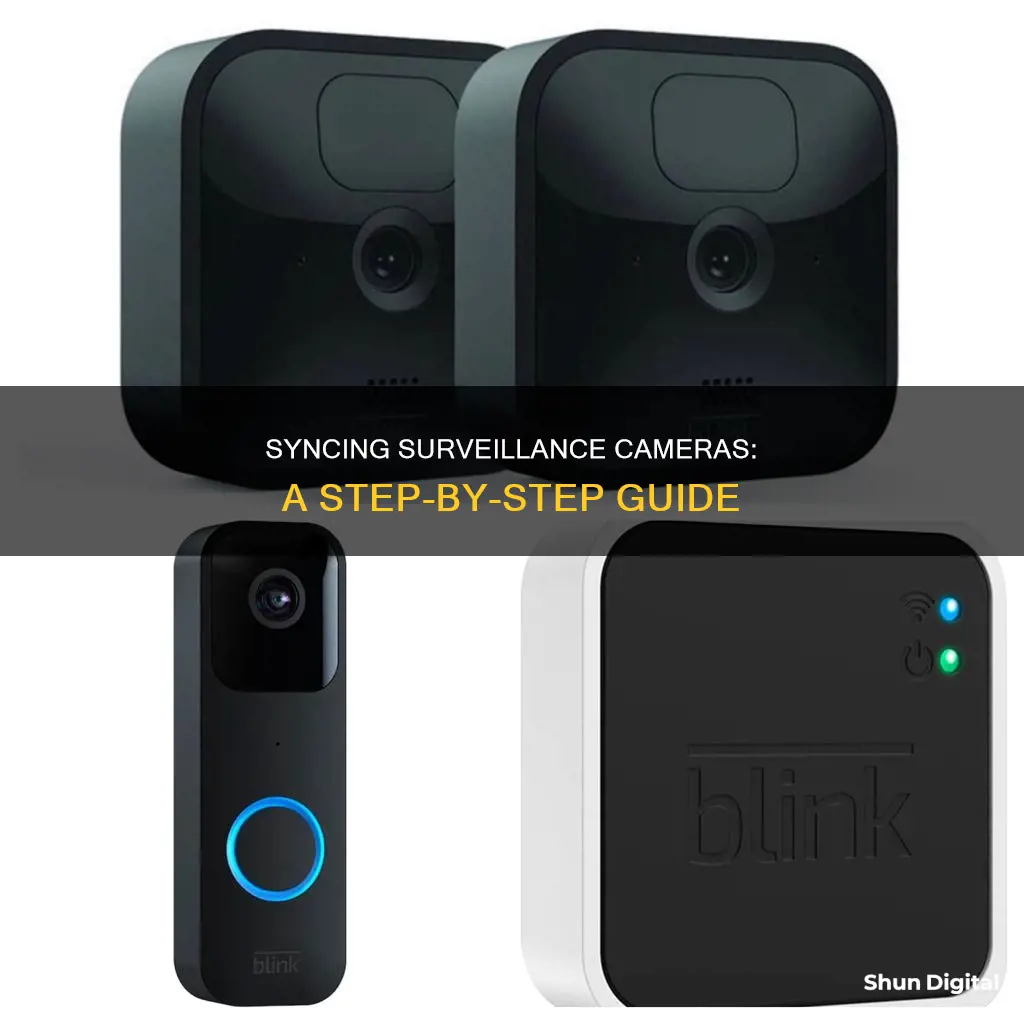
Use a sync module
Using a sync module is a great way to enhance your surveillance system's functionality and coverage. Sync modules, such as the Blink Sync Module, act as a central hub, allowing your cameras to communicate with each other and your home network. This enables you to access footage from anywhere, at any time, and to control all your cameras from one place. Here's a comprehensive guide on how to use a sync module for your surveillance cameras:
Preparing for Installation
Before you begin, ensure you have all the necessary materials, including the sync module, the camera(s) you wish to add, and a stable internet connection. The camera's unique ID and the installation of the relevant mobile app on your smartphone will also facilitate the setup process.
Ensuring Connectivity
Once you have gathered the required materials, check the signal strength of your Wi-Fi network where you intend to place the camera(s). A stable connection is crucial for reliable performance. Ensure the sync module is powered and connected to your Wi-Fi network.
Installing the Sync Module
Choose an optimal location for the sync module that is within range of your Wi-Fi network and accessible to a power source. Plug the power adapter into an outlet and connect it to the sync module. Ensure the sync module is securely placed and has a stable power supply.
Connecting to Wi-Fi
Open the mobile app and navigate to the device settings. Select the option to connect a new device and choose the sync module from the available devices. Follow the on-screen instructions to input your Wi-Fi network details and complete the connection process.
Adding Cameras to the Sync Module
Open the mobile app and access the home screen. Tap the "+" icon to add a new device. Select the option to add a new camera and follow the on-screen instructions to pair your camera with the sync module.
USB Drive Insertion (Optional)
If you wish to store your camera footage locally, you can insert a USB drive into the sync module. Locate the USB port on the sync module and insert the USB drive. Ensure it is securely connected. Follow any additional prompts on the mobile app to configure the USB drive.
Troubleshooting
If you encounter any issues during the setup process, there are several troubleshooting steps you can take. These include checking the Wi-Fi signal strength near the sync module, ensuring the cameras are within range, rebooting the sync module and camera, and updating the mobile app and camera firmware.
By following these steps, you can effectively use a sync module to integrate your surveillance cameras and enhance the functionality and coverage of your surveillance system.
Unlocking Your Camera: Powering On Without the Cover
You may want to see also
![]()
Use software integration
Software integration is a crucial aspect of ensuring that your security system is functioning optimally. This method is becoming increasingly popular due to its convenience and efficiency, especially with the rise of smart homes and the Internet of Things (IoT). Software integration allows for the integration of cameras with other devices and software, such as alarms, access control systems, and video management software.
To sync surveillance cameras through software integration, you need to choose a software platform that is compatible with your cameras and meets your specific needs. Some popular options include Milestone XProtect, Genetec Security Center, and Avigilon Control Center. These software platforms can connect and manage multiple cameras from different manufacturers, synchronizing the cameras' timestamps to allow for seamless playback and analysis of footage.
For example, integrating access control systems with security cameras through software integration marries visual verification with access control. This ensures that every access event, whether authorized or denied, is visually recorded and verified, enhancing incident response and post-event analysis. This integration creates a seamless security network where each component amplifies the other.
In addition to choosing compatible software, it is essential to ensure that your cameras are connected to the same network and have the same time settings. This can be achieved by accessing the camera's settings and adjusting the time zone and time configurations to match the other cameras. By syncing your surveillance cameras through software integration, you can enhance the functionality and effectiveness of your security system.
Troubleshooting 101: Camera and Charger Malfunctions
You may want to see also