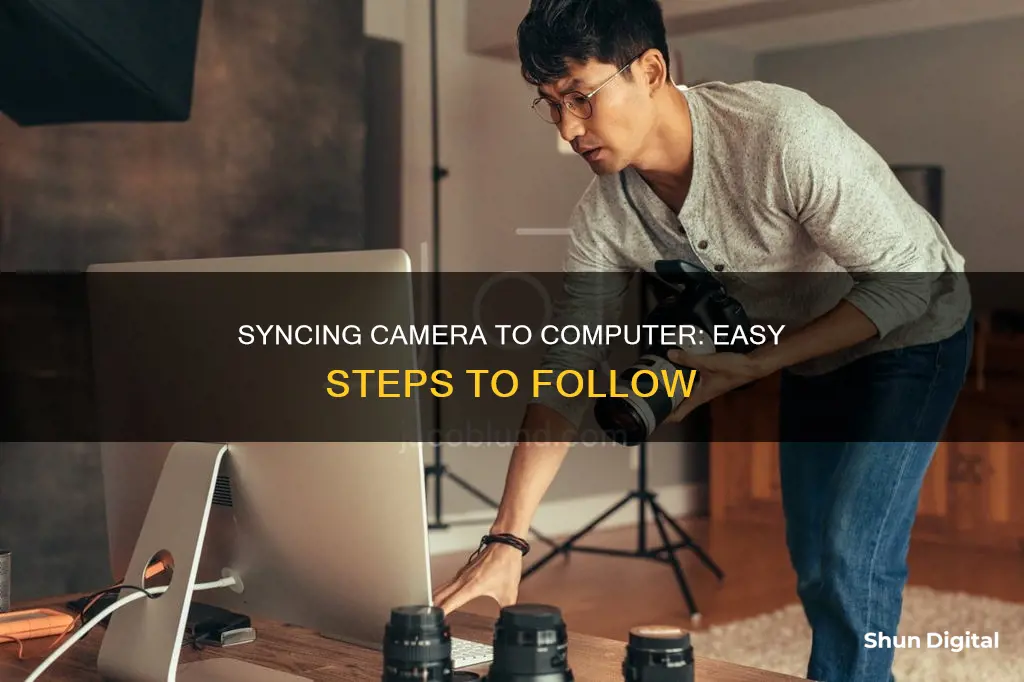
Syncing your camera to your computer is a quick and easy process. There are several ways to do this, including using a USB cable, inserting an SD card into your computer, or connecting wirelessly through an app. Most cameras come with a USB cable that can be used to connect to your computer. Simply turn on your camera and plug the small end of the cable into the camera and the larger end into your computer. Once connected, you can open your photos app and import your photos. If you're using an SD card, simply insert the card into the built-in SD card reader on your computer or purchase an external SD card reader if your computer doesn't have one. For wireless transfer, you can use an app or a synced phone to send photos to your computer.
| Characteristics | Values |
|---|---|
| Connection type | USB cable, SD card, wireless connection |
| Camera type | DSLR, action, point-and-shoot, phone |
| Computer type | PC, laptop |
| Required equipment | USB cable, SD card reader, tethering software |
| Transfer process | Plug in the camera, open the photos app, select photos to import |
| File management | Add notes, star ratings, keywords |
What You'll Learn

Using a USB cable
To sync your camera to your computer using a USB cable, you will need to follow a few simple steps. First, ensure that your computer is turned on. Next, locate the USB port on your camera, which is usually hidden behind a small flap with the label "Video Out". Plug the small end of the USB cable into this port. Then, connect the other end of the cable, which is rectangular, into a USB port on your computer.
With the cable connected, turn on your camera. Depending on your camera model, you may need to set it to a specific mode, such as "Playback" or "PC" mode, for it to be recognised by your computer. Your camera's drivers should then install automatically, and you may see a pop-up window asking what action you would like to take.
From here, you can access your camera's storage folders and review, copy, or delete your photos as needed.
Miami Traffic Camera Tickets: Payment Process Simplified
You may want to see also

Inserting an SD card into your computer
Once you have located the memory card slot, insert the SD card into it. You may need to push the card in gently until you hear a clicking sound, indicating that it has been properly inserted.
Now that your SD card is inserted, you can access your files by opening the File Explorer on your PC. If you are using a Windows operating system, click the Start menu (the Windows icon) and then select File Explorer. From there, you should be able to see your SD card listed under "Devices and Drives." If you don't see it, try clicking on "This PC" or "My Computer," and then look for the "Devices and Drives" section.
Once you have located your SD card in the File Explorer, click on it to open it. You should now be able to view, save, move, or delete any data on the memory card.
When you are done working with the files on your SD card, remember to properly eject the card before physically unplugging it from your computer. On a Windows PC, go to the bottom right of your desktop toolbar, and click on the flash drive icon with a checkmark next to it. Select the option to eject your SD card, and then you can safely remove the card from the card reader.
Activating Camera Mode in Dino Storm: A Quick Guide
You may want to see also

Using a wireless connection
There are several ways to sync your camera to your computer wirelessly. One common method is to use a Wi-Fi-enabled SD card, which allows you to transfer photos from your camera to your computer without the need for a cable. These cards typically come with software that you need to install on your computer. You may also need to connect to your Wi-Fi network and enter your password.
Another option is to use a wireless transfer feature built into your camera. Some cameras, such as certain Sony Cyber-shot models, have a "Send to Computer" option in their menus. This allows you to wirelessly send pictures to your computer, but you may need to install specific software on your computer first.
Additionally, some cameras have built-in Wi-Fi support, which enables wireless transfer of photos to your local network for storage, post-processing, or uploading to social media. This feature is becoming increasingly common, so if you're in the market for a new camera, it's worth considering one with built-in Wi-Fi.
Finally, if you're using a smartphone or tablet, there are also SD cards designed to instantly transfer photos from your camera to your mobile device. This can be a convenient option if you want to edit and share photos directly from your phone or tablet.
Charging the Vantop Moment 4: A Step-by-Step Guide
You may want to see also

Using a card reader
First, ensure your camera is powered off before removing the memory card. If your computer has a built-in card reader, simply insert the memory card. In most cases, the card will appear as a drive letter (removable drive) in "My Computer" or "Computer" (in Vista and Windows 7). If you're using a Windows operating system, a dialog box will appear, asking you to select a program to launch for working on the pictures.
If your computer doesn't have a built-in card reader, you can purchase an external card reader. These are usually USB card readers and can be found at electronics stores or online shops. External card readers are inexpensive (typically under $20 USD) and support various memory card types, such as SD and CF cards. Once you've connected the external card reader to your computer, insert the memory card.
After inserting the memory card, open the destination folder on your computer where you want to store your pictures. This could be the Desktop, the primary Pictures folder, or a sub-folder. A message should pop up, asking what you want to do. Select "Import pictures to my computer" and then choose the specific images you want to transfer. You can manually transfer the images by dragging and dropping the files or using copy and paste shortcuts.
Understanding Your Camera's Metering Modes
You may want to see also

Using a camera as a webcam
Required Equipment:
You will need the following equipment to use your camera as a webcam:
- Mount or Tripod: A small tripod, a monopod that clamps to your desk, or another type of mount to position your camera.
- Power Source: A wired power input option or a dummy battery to connect your camera to power. Using battery power may drain quickly.
- Capture Device: If using an HDMI output camera, you'll need an HDMI-to-USB capture device to connect your camera to your computer.
Software:
Depending on your camera and computer setup, you may need specific software:
- Webcam Software: If your camera has a USB output port, check your camera manufacturer's website for webcam software. Download, install, and run this software before connecting your camera.
- Streaming Software: If using a capture device with an HDMI output camera, you can use streaming software like OBS (Open Broadcaster Software).
Camera Setup:
Follow these steps to set up your camera as a webcam:
- Connect Camera: Use a USB cable to connect your camera to your computer. Ensure the correct USB mode is selected on your camera (e.g., Webcam or Tethering).
- Power On: Turn on your camera and set it to video mode.
- Select Video Source: Open your video conferencing app or streaming software. Navigate to the video input settings and select your camera as the video source.
Tips for Optimal Video Quality:
To get the best video quality when using your camera as a webcam:
- Positioning: Place your camera on a tripod or mount to frame yourself favorably and capture a straight-on shot.
- Autofocus: Enable autofocus or face/eye detection if available on your camera to ensure you stay in focus during your video calls or streams.
- Lighting: Consider using a video light to improve lighting conditions and enhance video quality.
- Audio: Use an external microphone for better audio quality. Unlike HDMI, USB connections do not provide access to your camera's microphone.
Camera Stabilization: Power Drain or Creative Gain?
You may want to see also
Frequently asked questions
The simplest way to sync your camera to your computer is by using a USB cable. Simply plug the USB cable into your camera and computer, and open the photos app on your computer. You can then import your photos and start editing and sharing.
Most cameras come bundled with software that you can use to download and manage your pictures. However, you can also use the built-in software on your computer, such as Windows XP.
Syncing your camera to your computer allows you to easily transfer, edit, and share your photos and videos. You can also free up space on your camera by deleting the photos after they have been transferred to your computer.
Yes, you can sync your camera to your computer wirelessly through an app or a synced phone. Some cameras also have built-in Wi-Fi that allows you to send photos directly to your computer.
If your computer doesn't recognise your camera, make sure that your camera is turned on and set to the correct mode. This may be called "Play mode" or something similar, and it can vary depending on your camera model. You may also need to update your camera's firmware or try using a different USB cable.


