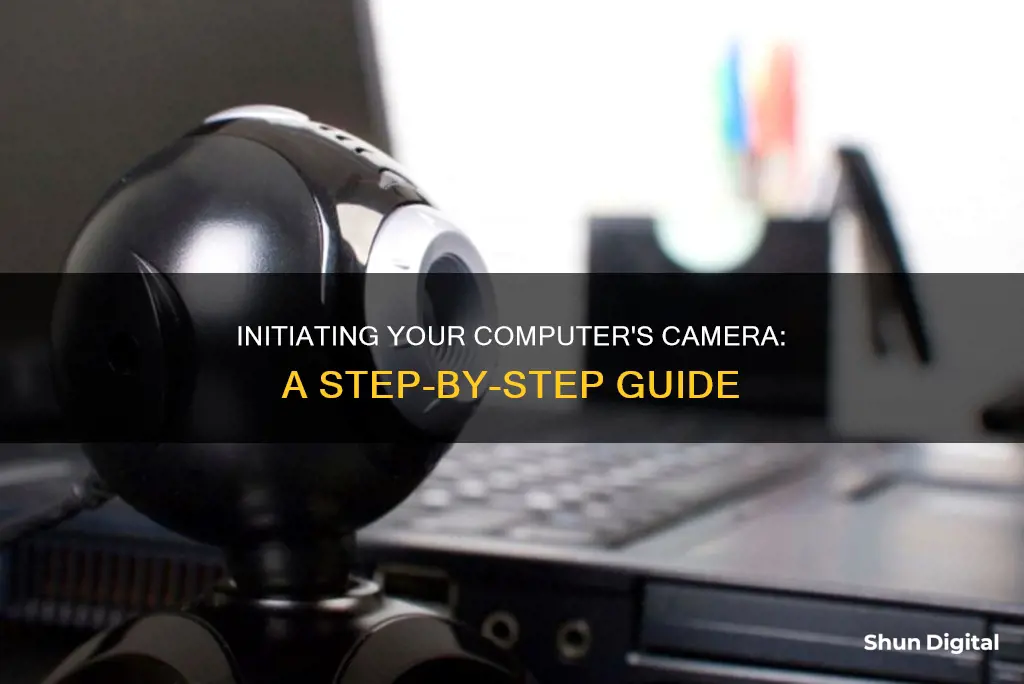
If you're looking to start your computer's camera, you're in the right place. In this guide, we'll walk you through the steps to activate your webcam on Windows and Mac. Whether you're using a built-in camera or an external one, we'll show you how to get it up and running in no time. So, whether you're looking to video chat with a friend or family member, or need to jump on a video call for work, read on to get started.
What You'll Learn

Enabling camera access for specific apps
If you're using a Windows device, here's how you can enable camera access for specific apps:
- Click on the Start button, then click on "Settings".
- Select the "Privacy" option.
- In the window that appears, scroll down to "Privacy" and click on it.
- On the left side of the menu, scroll down to "Camera" and click on it.
- From here, you can enable or disable the use of your camera with other applications.
- Find the specific app you want to give camera access to and turn on camera access for that app.
If you're using an iPhone or iPad, follow these steps:
- Go to Settings and scroll down to the list of apps.
- Find the app you want to manage and tap on it.
- You'll see the permissions it wants. You can enable or disable camera permissions for this app.
Alternatively, you can manage app privacy permissions:
- Go to Settings > Privacy.
- Tap on Camera to see which apps have access to it.
- You can allow or block apps from accessing your camera from here.
Surveillance Camera: Re-installation and Optimization Guide
You may want to see also

Using the Windows Camera App
To start your computer camera in Windows, you can use the built-in Camera app. Here's a step-by-step guide on how to use the Windows Camera App:
Opening the Camera App
- Click the Start button on your Windows taskbar.
- Select "All Apps" from the menu.
- Find and select "Camera" from the list of apps to launch the Camera app. Alternatively, you can simply type "Camera" into the Windows search bar to find the app.
- If you have multiple cameras connected to your device, you can switch between them by selecting "Change Camera" at the top right of the Camera app.
Taking Photos and Videos
- Once the Camera app is open, you can start taking photos or videos. Simply select the "Photo" or "Video" button, and then select it again to start recording.
- To finish recording a video, select the "Video" button again.
- To view your captured photos or videos, select "Start" > "Photos" and then choose the collection you want to view.
Changing Camera Settings
- You can adjust various settings in the Camera app to customise your photo and video capture experience.
- To access the settings, open the Camera app and swipe in from the right edge of the screen, or right-click within the app if you're using a mouse.
- From the settings menu, you can adjust options such as the photo aspect ratio, video quality, location info, grid lines, video stabilisation, microphone, and video lamp.
- You can also change what happens when you tap the screen by selecting "Aspect Ratio" and choosing from the preset options or customising the borders.
Switching Cameras
- If you have multiple cameras, such as a front-facing and rear-facing camera, you can easily switch between them.
- Open the Camera app and swipe in from the bottom edge of the screen to see the app commands. If using a mouse, right-click within the app.
- Select "Change Camera" to switch between the available options.
- You can also zoom in or out using pinch or stretch gestures on the screen if your device has a touchscreen.
Saving Photos and Videos to OneDrive
- The Camera app allows you to automatically save your photos and videos to OneDrive, making them accessible from any of your devices.
- To set this up, swipe in from the right edge of the screen and select "Settings" > "Change PC Settings".
- Navigate to OneDrive and then "Camera Roll".
- Adjust the settings to your preferred upload quality.
Including Location Information
- If you want to include location information in your photos, ensure that your device's location services are turned on.
- Open the Camera app and swipe in from the right edge of the screen to access settings.
- Set "Location Info" to "On".
Best Sensor Sizes for Outdoor Surveillance Cameras
You may want to see also

Checking for updates
Windows 10:
- Press the Windows key + X on your keyboard to open the Quick Access Menu, then select "Device Manager" from the menu.
- In the "Device Manager" window, locate and expand "Imaging devices", "Cameras", or "Sound, video and game controllers".
- Find your camera in the list, right-click on it, and select "Update Driver".
- Choose "Search automatically for updated driver software". This will initiate a search for any available updates for your camera.
- If Windows finds a newer driver, follow the prompts to install it.
- After installing the update, restart your computer for the changes to take effect.
Windows 11:
- Go to the Start menu, then select "Settings".
- In the Settings window, click on "Windows Update".
- In the Windows Update section, click on Check for updates.
- If there are any available updates for your camera, they will be listed here. Install any available updates.
- If there are no updates, try selecting Advanced options and then Optional updates. Look for any optional driver updates for your camera and install them if available.
- After installing updates, restart your PC.
It is important to keep your camera drivers and software up to date to ensure compatibility and fix any potential issues. Additionally, updating your operating system regularly can also help improve the overall performance and security of your computer, including peripheral devices such as your camera.
Extracting Raw Files: Unlocking Your Camera's Full Potential
You may want to see also

Troubleshooting external webcams
Troubleshooting an external webcam can be frustrating, but there are a few things you can try before needing to replace it. Here are some steps to help get your external webcam working again:
Check the Connection
First, check the physical connection of the webcam to your computer. Unplug the webcam and plug it back in, trying a different USB port. This may be all that is needed for your computer to recognise the webcam. If you have access to another computer, try plugging the webcam into that device to ensure it is not a problem with the webcam itself.
Check Your Settings
Ensure that your webcam is enabled in your device manager. If you have a built-in camera and an external webcam, your applications may get confused about which one to use. Check the application's settings and select your preferred device.
Update Your Driver
Check your webcam's driver to see if there is a newer version available. If your driver is faulty, missing, or outdated, this may be causing the issue. Update your driver if a newer version is available.
Software Compatibility
Some applications are only compatible with newer webcam models. Try your webcam with other apps to see if it is a software compatibility issue. Don't forget to grant access to the camera in the app's settings.
Antivirus Software
If you have recently installed new antivirus software, this may be preventing your camera from launching. Check the settings of your antivirus software to see if there are any blocks on your camera or permissions.
Consult the Manufacturer
If all else fails, consult the user manual or the manufacturer's website for further guidance. Many manufacturers offer troubleshooting applications that can help diagnose the issue.
If none of these troubleshooting steps work, your webcam may be defective, and it is recommended to contact the manufacturer for further support.
Ohio Camera Tickets: Do I Have to Pay?
You may want to see also

Privacy settings
Privacy is a major concern for many computer users, and it is important to understand the privacy settings related to your device's camera. Here are some detailed instructions and tips to help you secure your privacy when using your computer camera:
Windows 10 Privacy Settings:
If you are using Windows 10, go to the Start menu and select Settings (indicated by a gear icon). From there, you can access the Privacy tab, and then select Camera from the left-hand menu.
Allowing Camera Access:
To allow apps to access your camera, toggle the "Camera access" or "Allow apps to access your camera" setting to the "on" position. This will give any user on the device the option to allow apps to access the camera.
Managing App Permissions:
Scroll down to find the list of apps and use the toggles to choose which apps can access your camera. It is generally recommended to only allow access for apps that you use and require camera permission.
Desktop Apps:
Note that you cannot change camera access settings for individual desktop apps. If you use desktop apps that require camera access, such as Microsoft Edge or Microsoft Teams, you will need to ensure that the "Let desktop apps access your camera" setting is turned on.
Exceptions:
If you use Windows Hello to sign in, your PC will sign you in even if the "Camera access" setting is turned off. If you do not want your PC to access your camera, ensure that Windows Hello is also turned off.
Windows 11 Privacy Settings:
For Windows 11, the process is similar. Go to Start > Settings > Privacy & Security > Camera. Ensure that "Camera access" is turned on, then manage app permissions for camera access.
Microsoft Edge and Other Browsers:
If you are using Microsoft Edge, you will need to give individual websites permission to use your camera, even if you have enabled camera access in your Windows settings. Go to Settings > Cookies and Site Permissions > Camera to manage permissions for specific websites.
For other browsers, refer to their respective settings or privacy sections to manage camera permissions.
Disabling Camera Access:
If you want to disable camera access completely, you can do so by going to Device Manager. Right-click on the camera in the Imaging Devices section and select "Disable".
Additionally, you can prevent the camera from being used when your PC is locked by going to Settings > Change PC Settings > PC and Devices > Lock Screen and turning off "Swipe down on the lock screen to use the camera".
Other Tips:
- Keep your camera covered when not in use.
- Regularly review and adjust your privacy settings as needed.
- Be cautious when granting camera access to apps or websites. Only allow access if you trust the source and it is necessary for the app's functionality.
- Stay informed about privacy-related updates and changes from Microsoft and other software providers.
Library Computers: Cameras Watching or Not?
You may want to see also
Frequently asked questions
Press Win + S, type "Camera", and select the Camera App from the list of apps.
Ensure your camera is enabled in your settings. If it is, try restarting your computer. If it still doesn't work, you may need to update your drivers or install software updates if you're using an external webcam.
Open Settings, click on Privacy, and then click on Camera from the left-hand panel. Toggle the slider to enable the camera.
Open the Camera app, and select "Change Camera" in the top right corner.


