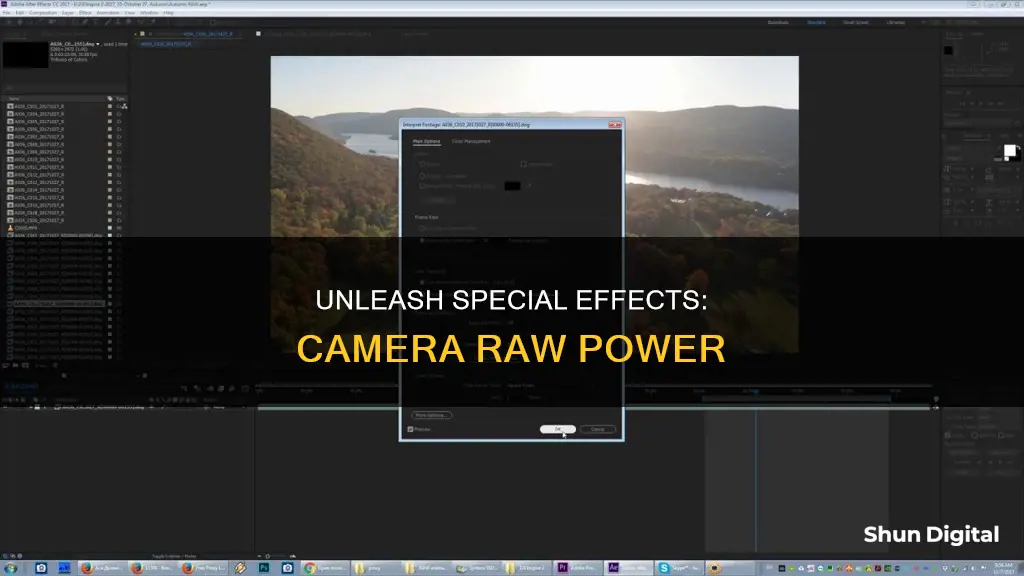
Adobe Camera Raw is a powerful tool for photographers and designers looking to enhance their images with special effects. It offers various features, such as the ability to decrease or increase haze, apply vignettes, and adjust grain and colour saturation. One popular effect is to have one part of the image in colour and the rest in black and white, while another is to create a soft spotlight effect by painting with light. Camera Raw also allows for non-destructive editing, meaning you can always reprocess the file and try out new adjustments.
| Characteristics | Values |
|---|---|
| Film grain | Size, Roughness |
| Postcrop vignette | Style, Amount, Midpoint, Roundness, Feather, Highlights, Color Priority |
| Dehaze | Amount |
| Radial filters | Radial Filter, Dehaze, Graduated Filter, Adjustment Brush |
| Image repair and restoration | Enhanced Spot Removal, Content-Aware Fill, Content-Aware Patch and Move |
| Image enhancement and transformation | Replace Sky, Crop, Rotation, Canvas Size, Panoramic Images, Warp, Transform, Drawing and Painting |
| Color adjustments | White Balance, Tone, Saturation, Temperature, Tint, Exposure, Highlight, Shadows |
| Image corrections | Sharpening, Noise Reduction, Lens Defects, Retouching |
| Image settings | Presets, Default Image Settings, Camera Model, Camera Serial Number, ISO Setting |
| Workflow options | Color Profile, Color Depth, Color Space, Output Sharpening, Pixel Dimensions, Resolution, Smart Objects |
What You'll Learn
![]()
Simulate film grain
Simulating film grain in your digital photos can be done in a few different ways. One way is to use the Photoshop Camera RAW filter. This method can be used during the RAW conversion process or as a filter in Photoshop after the conversion.
To simulate film grain during RAW conversion:
- Open Photoshop but don't open your image.
- Select "File | Open As..." from the menu and navigate to your desired image.
- Set the file type to "Camera Raw" in the drop-down list.
- Open your image, which will now open in the Camera RAW application.
- Select the "Fx" tab, which contains the Grain effect adjustment.
- In the FX Tab, you will find the "Grain" panel on the right. This panel has three settings: Amount, Size, and Roughness.
- Adjust the Amount slider to control the intensity of the grain effect.
- Adjust the Size slider to control the size of the individual grain particles. Increasing this setting to higher levels will also soften the image.
- Adjust the Roughness slider to prevent the grain pattern from appearing too regular. Moving the slider to the right can improve the appearance and make the grain look more like film grain.
- When you're happy with the adjustments, click the "Open Image" button to close Camera RAW and open the adjusted image in Photoshop.
Alternatively, you can apply the Camera RAW filter to a new layer in Photoshop:
- Open your image in Photoshop.
- Create a duplicate image layer from the background layer or create a new Stamp Layer (a combination of all other layers) if you have applied other adjustments.
- Click the Filters menu item and select "Camera RAW Filter" from the menu.
- Apply your desired changes in the Camera RAW filter as described above.
- Convert the new layer to use Smart Filters before applying the Camera RAW filter to retain the ability to tweak your adjustments in the future.
Another method to add film grain is to use the Grain section of the Effects tab in Adobe Camera Raw. This method provides controls for simulating film grain and includes Amount, Size, and Roughness sliders. Together, the Size and Roughness controls determine the character of the grain, so it is important to check the grain at varying zoom levels to ensure the desired appearance.
When simulating film grain, consider your intended processing and the final output of the image. If you plan to reduce the resolution of the image, it is best to add the film grain simulation after resizing, as reducing the size of an image with grain can lessen the effect. On the other hand, if the image will be enlarged, the film grain will also be enlarged, which may make it appear too strong unless viewed from a distance.
Charging Your ADT Doorbell Camera: Quick and Easy Steps
You may want to see also
![]()
Apply a vignette
A vignette is a decorative border that can be added to a photo to enhance the focus of interest. It is a reduction of light from the centre of the image, or a light fall-off, which draws the viewer's attention to the centre of the image. Vignettes can be darker or lighter, and soft-gradual or hard-edged.
Adobe Camera Raw has a Post Crop Vignette feature, which allows you to apply vignettes that will shrink or expand with the photo, no matter how it is cropped. To access this feature, launch a photo into Camera Raw and click on the Effects tab. Here, you will find the controls in the Post Crop Vignetting section. There are eight available controls, including three in a drop-down menu and five sliders.
The Highlight Priority option in the drop-down menu will remove parts of the vignette in favour of the highlights in the photo. The Colour Priority option takes the photo's colour hues into consideration when applying the vignette, and the Paint Overlay option blends the original colours with either pure black or pure white.
The Amount slider controls the darkness or lightness of the corners of the image. The Midpoint slider controls the size of the area the vignette will be applied to. The Roundness slider controls the shape of the vignette, and the Feather slider controls the softness of the border effect. Finally, the Highlights slider controls the strength of the highlights that will show through the vignette.
Another way to add a vignette in Adobe Camera Raw is by using the Radial Filter tool. First, press J on your keyboard to activate the Radial Filter tool. Then, click on the small menu in the top right corner of the Radial Filter panel and select the Reset Local Correction Settings option. Next, move the Exposure slider to the left to reduce exposure. Then, begin to draw the radius with the tool. Go to the Effect section at the bottom of the Radial Filter panel and select Outside to reverse the effects of the filter so that the changes are applied outside the sphere. Now, you can stretch and resize the radial filter to achieve the desired vignette effect.
Battery Chargers: Are They Included With Cameras?
You may want to see also
![]()
Adjust saturation
Adjusting saturation in Camera Raw is a great way to enhance the colours in your images. Saturation affects all colours in your image, whereas vibrance targets midtone colours.
The Saturation slider in Camera Raw allows you to increase or decrease the saturation levels of all colours in the image, from +100 (monochrome) to +100 (double saturation). Moving the slider to the right increases all colour saturation, and moving it to the left decreases all colour saturation.
If you want to adjust the saturation of a specific range of colours, you can use the controls in the Colour Mixer panel. For example, if a red object in your image looks too vivid, you can decrease the reds in the Saturation section.
The Saturation slider in Camera Raw offers finer adjustments than Photoshop's Hue/Saturation command, but it doesn't allow you to address different colour ranges selectively.
One source suggests that you should only use Saturation for removing colour, never for adding it. This is because saturation increases the saturation of all colours in the image, so an image can end up looking too colourful.
You can also use the Adjustment Brush to paint Saturation onto your image. To do this, get the Adjustment Brush from the toolbar or press 'K' on your keyboard. Then, click the '+' sign to the right of the Saturation slider. This will reset the other sliders to zero and increase the amount of the Saturation slider to +25. Each time you click, it will increase by +25 until you hit +100. You can then paint over the areas of your image that you want to bring out the colours in.
Another way to adjust saturation in Camera Raw is by using the Point Colour control. First, select the Colour Mixer > Point Colour tab. Then, use the picker to select a specific colour in the photo. You can create and store up to eight swatches at a time. You can also use the Hue Shift, Saturation Shift, and Luminance Shift sliders to make refinements to the specific colour.
Cleaning Exploded Camera Batteries: Step-by-Step Guide
You may want to see also
![]()
Reduce noise
Reducing noise in Adobe Camera Raw is a straightforward process. The Detail panel provides tools to reduce two types of noise: luminance (light and dark) and colour. The Detail slider allows you to target the results into smoother (low setting) or more textured (high setting) areas.
Luminance noise reduction can be further modified by adjusting the Contrast slider. A higher setting will only affect high-contrast noise, while a lower setting will also affect closely matched values. The effects of colour noise can be modified with the Smoothness slider, which creates a more aggressive effect at a higher setting.
To reduce noise, zoom into your image at 100% magnification and move the sliders until the noise is minimised without compromising image quality. It is generally better to preserve a little noise than to blur the image. All noise reduction blurs images, so sharpening after noise reduction during RAW conversion is recommended.
Luminance noise can be reduced by adjusting the Luminance slider. This will reduce noise resulting from over- or underexposed pixels, which is common in high-ISO images. The Luminance Detail and Luminance Contrast sliders can then be used to fine-tune the results, preserving detail and contrast. However, increasing these values will decrease the strength of the noise reduction, leading to more visible noise.
Colour noise can be reduced by adjusting the Colour slider, which is often found in underexposed shadow areas. The Colour Detail and Colour Smoothness sliders can be used to fine-tune the results. Increasing the Colour Detail slider will add more detail to the photo, while boosting the Colour Smoothness slider will blur the remaining colour noise. However, adjusting these sliders may reduce the overall saturation of the image.
While there is no one-size-fits-all approach to noise reduction, it is generally recommended to increase Luminance and Colour to about 50 and then adjust from there. Sliding each option up and down while zoomed in at 100% will allow you to see the impact of each change.
Charging the Polaroid Spectra System Camera: A Step-by-Step Guide
You may want to see also
![]()
Create a spotlight effect
Adding a spotlight effect to your images in Camera Raw can be done in a few simple steps. Here is a detailed guide on how to achieve this effect:
Open Your Image in Camera Raw
First, you need to open your chosen image in Camera Raw. This can be easily done using Adobe Bridge, which is a file browser included with your Creative Cloud subscription. Adobe Bridge allows you to open not just raw files but also JPEG and TIFF images into Camera Raw.
Access Camera Raw's Masking Options
Once your image is open in Camera Raw, click on the Masking icon in the toolbar on the right side of the interface. This will allow you to add the spotlight to the image and place it in front of your chosen subject.
Choose Radial Gradient
In the Create New Mask options, select Radial Gradient. This will open the Masking panel on the left side of the main panel, where you can make adjustments to the area selected by the mask.
Draw a Radial Gradient Across Your Subject
Click in the centre of your subject and drag out a radial gradient selection. Hold the Shift key while dragging to force the radial gradient into a perfect circle. Expand the selection outward until it covers not only your subject but also some of the background, as this is where the spotlight will appear.
Adjust the Exposure to Brighten the Spotlight
To create the spotlight effect, use the Exposure slider in the Light section of Camera Raw's main panel. Drag the slider to the right to increase the brightness of the selected area. You can adjust the intensity of the spotlight to create drama or change the colour of the light to evoke different moods or emotions.
Subtract Your Subject from the Mask
In the Masking panel, click on the Subtract button, and then choose Select Subject. This will remove your subject from the mask, ensuring that the spotlight appears only on the background behind them.
Make Final Adjustments to the Spotlight
Select the Radial Gradient in the Masking panel to adjust the size, position, and intensity of the spotlight. You can also change the colour of the spotlight by clicking on the colour swatch in the Colour section of Camera Raw's main panel.
Compare and Save Your Work
Toggle the Preview button on and off to compare the spotlight effect with the original image. When you're happy with the result, click Done to save your changes and exit Camera Raw, or Open to send the image to Photoshop for further editing.
Extending Black Magic Camera Battery Life: Top Tips
You may want to see also
Frequently asked questions
To create a spotlight effect, you can use the Adjustment Brush tool. First, set the brush so it paints in black and white by clicking the – (minus sign) button to the left of Saturation four times to reset all the other sliders to 0 and set the Saturation to –100. Then, turn off the Auto Mask checkbox and make your brush size big. Paint over most of the image, being careful not to get too close to the area you want to remain in colour. Next, make your brush size smaller and turn the Auto Mask checkbox back on. Paint close to the area you want to remain in colour, being careful not to let the plus-sign crosshair in the centre of the brush touch it.
First, set up your composition and camera. Then, set the exposure for the bright side of the image without blowing out any highlights. Hold an ND filter in front of the lens to darken the other half of the image. Finally, add a flash to the dark half of the image, using a grid to keep the light focused.
To add a vignette effect to your image, use the Post Crop Vignetting feature. Crop your image, then choose a Style in the Post Crop Vignetting area of the Effects tab. Adjust the sliders to refine the effect.