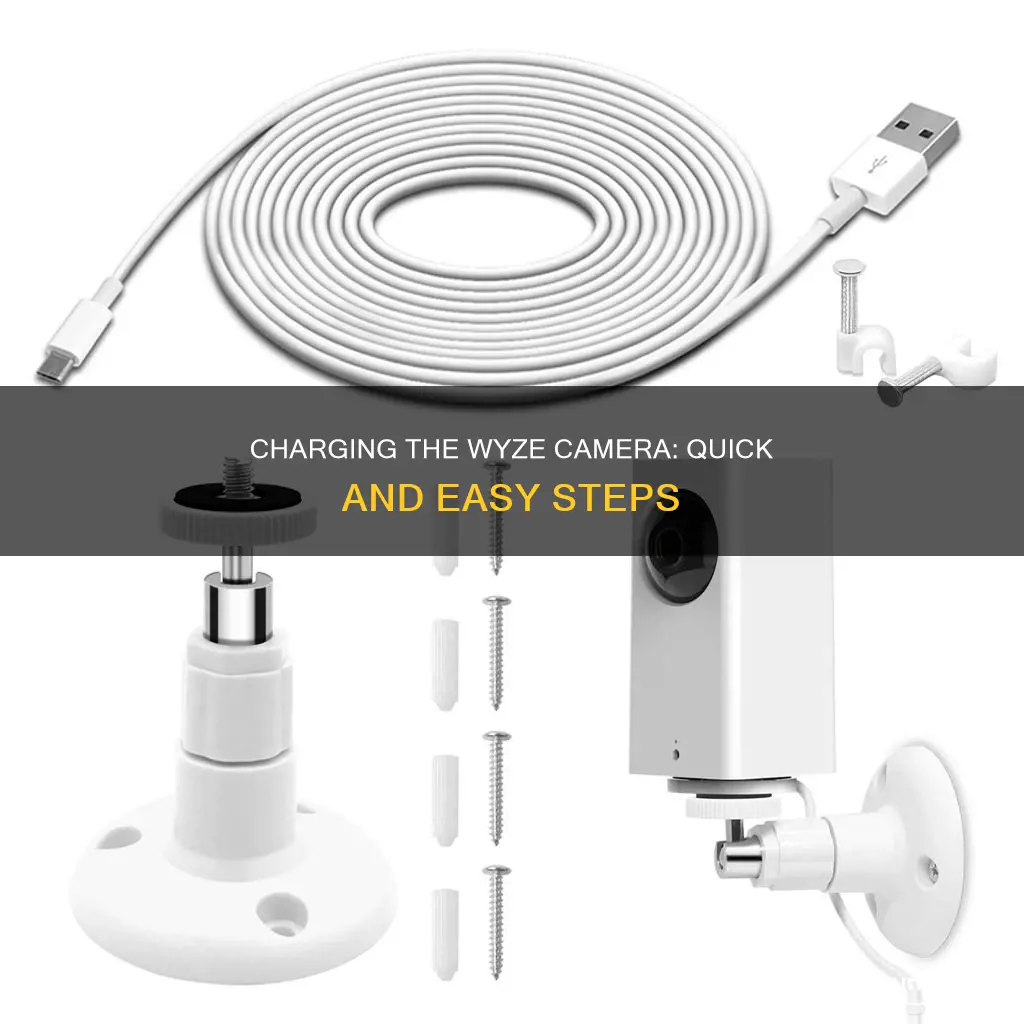
Charging your Wyze camera is simple. First, download the Wyze app on your smartphone or tablet and connect to a 2.4 GHz or 5 GHz Wi-Fi network. Then, unpack your camera and remove all plastic and packing materials, including the plastic film from the lens. Use the included charging cable to charge the battery pack. It takes 9 hours to fully charge the battery from 0 to 100%. When charging, one status light will be green; when fully charged, both status lights will be solid green.
| Characteristics | Values |
|---|---|
| Time to fully charge the battery | 9 hours |
| Status light(s) when charging | One green light |
| Status light(s) when fully charged | Both lights solid green |
What You'll Learn
![]()
Charging cable
The charging cable that comes with the Wyze Cam Outdoor is used to connect the camera to the Base Station, which is plugged into a power source. The included charger is rated for 5V 2A and the power adapter input is 110-240V AC. The camera can be charged with the Base Station only and charging from 0% to 100% takes about 4 hours.
The Wyze Cam Outdoor can also be powered through its Micro USB port. The Wyze Outdoor Power Adapter is IP67 weather-resistant, allowing for safe outdoor use of the camera. The power adapter comes with a 12.5 ft cable and is compatible with the Wyze Cam v3/v4 and the Cam OG series. The Wyze Cam Pan v3 and Cam v3 Pro require both the Outdoor Power Adapter and an L-shaped Micro USB Adapter, while the Battery Cam Pro requires the Outdoor Power Adapter and a USB-C adapter.
Additionally, there are USB extension cables available for the Wyze Cam that are 20 ft in length. These extension cables are compatible with the Wyze Cam v2/v3/v4, Wyze Cam v3 Pro, Wyze Cam Pan v2/v3, Wyze Cam OG Standard, and Wyze Cam OG Telephoto.
Charging Your Camera in Europe: What You Need to Know
You may want to see also
![]()
Status lights
The Wyze Battery Cam Pro has several status lights to indicate its current state. When charging the battery pack, there should be one green status light. If the battery pack is fully charged, both status lights will be solid green. When the camera is powered on, the status light will be solid yellow. When the camera is ready for setup, the status light will flash blue and yellow.
The status lights are a useful indicator of the camera's current state and can help you determine if the camera is functioning correctly. For example, if the camera is powered on but the status light is not solid yellow, this could indicate an issue with the camera. Similarly, if the camera is in setup mode and the status light is not flashing blue and yellow, this could indicate a problem with the setup process.
It's important to note that the status lights may not be the only indicator of the camera's state. The camera may also provide audio or visual cues, such as beeps or on-screen messages, to indicate its current state or any issues that may be occurring. However, the status lights are a quick and easy way to get an overview of the camera's current status and functionality.
Understanding the status lights and their meanings can help you effectively use and troubleshoot your Wyze Battery Cam Pro. It is recommended to refer to the official Wyze documentation or support channels for detailed information on the status lights and any necessary actions to take based on their indications. Regularly checking the status lights and keeping an eye on any changes can help ensure that your camera is functioning optimally and that you are able to promptly address any potential issues.
Charging Casio Exilim: A Step-by-Step Guide
You may want to see also
![]()
Battery pack
The Wyze Cam Outdoor has an internal battery that allows it to work without being plugged in. The battery life is up to 3-6 months with normal use, and it takes about 4 hours to charge from 0% to 100%. You can also improve your battery life by following the tips listed on the Wyze website.
If you want to use a battery pack as a backup power source for your Wyze camera, you can purchase a Wyze Removable Battery Pack. This battery pack is designed for the Wyze Battery Cam Pro and provides 6200mAh of rechargeable battery power, which can last up to 6 months on a single charge. It is equipped with a built-in USB-C charging port, allowing you to charge it using a standard USB-C charger.
You can also use any kind of battery bank from Amazon as an external power source. Simply plug the camera into the battery pack and then plug the battery pack into a charger. Make sure to read the reviews and confirm that the battery bank will supply power to the outputs while charging. Additionally, you can enable continuous recording by inserting a microSD card.
Another option for extending the battery life of your Wyze camera is to use a solar panel, such as the Wyze Solar Panel. This solar panel is designed to be weather-resistant and can be mounted anywhere. It converts sunlight into electrical energy to charge the Wyze Cam Outdoor or Wyze Battery Cam Pro.
Focus Camera: Tax-Free Shopping?
You may want to see also
![]()
Charging time
The Wyze Battery Cam Pro takes 9 hours to fully charge from 0 to 100%. While the battery pack is charging, there should be one green status light. When the battery pack is fully charged, both status lights should be solid green.
It is recommended that you use the charging cable that comes with the camera. To begin charging, unpack your Wyze camera and remove all plastic and packing materials, including the plastic film from the lens. Then, simply connect the charging cable to the battery pack.
The camera's status light will turn solid yellow when powered. When flashing blue and yellow, it is ready for setup.
To set up your Wyze camera, download the Wyze app on your smartphone or tablet and connect to a 2.4 GHz or 5 GHz Wi-Fi network. In the app, tap 'Home', then tap the '+' sign on the top right. On the 'Add' menu, tap 'Device', then 'Cameras', and select 'Wyze Battery Cam Pro'.
Best Buy's Camera Battery Charger Options Explored
You may want to see also
![]()
Setup
To set up your Wyze camera, you will first need to download the Wyze app on your smartphone or tablet and connect to a 2.4 GHz or 5 GHz Wi-Fi network. Next, unpack your camera, removing all plastic and packing materials, and remember to take off the plastic film from the lens. You can then charge the battery pack using the included charging cable. It takes 9 hours to fully charge the battery from 0 to 100%. When charging, there should be one green status light. If both lights are solid green, the battery is fully charged.
Once charged, you can insert the battery pack into the camera. To do this, open the battery compartment on the bottom of the camera, locate the arrow on the battery pack, point it down into the compartment, and push the battery in until you hear a click. The camera’s status light will be solid yellow when powered on. When it starts flashing blue and yellow, it’s ready for setup.
Now, open the Wyze app and tap Home, then the + plus sign in the top right corner. On the Add menu, tap Device, then Cameras > Wyze Battery Cam Pro. Under the battery door, press and hold the SETUP button. The camera will say “ready to connect”. In the app, check the box next to "It said, 'Ready to connect'" and tap Next. If Bluetooth is not already enabled, you will be prompted to allow Bluetooth access. If it is already enabled, it will skip to the next step.
The Wyze app will then search for and pair with your camera. Select your Wi-Fi network, enter your password, and tap Next. After the camera is set up and connected, the app will say "setup completed". You can now tap Mounting Tips for recommendations on where to place your camera, or tap Skip if you have already mounted it.
Charging Your Coolpix Camera: A Step-by-Step Guide
You may want to see also
Frequently asked questions
To charge your Wyze camera, use the included charging cable. It takes 9 hours to fully charge the battery from 0 to 100%.
If the battery pack is charging, there should be one green status light.
When the battery pack is fully charged, both status lights should be solid green.
First, open the battery compartment and insert the battery pack, pointing the arrow down into the compartment. Then, press and hold the SETUP button under the battery door. Follow the remaining setup steps in the Wyze app.