If you want to keep your camera running while it's charging, you can try using an AC adapter kit, which allows your camera to run on AC power. However, it's worth noting that some cameras have a recording time limit, so you may need to stop and start recording every 17 to 29 minutes. Additionally, charging times may vary depending on the remaining battery capacity and charging conditions, such as temperature. It's also important to follow the manufacturer's guidelines for charging to avoid any malfunction or deterioration in battery performance.
| Characteristics | Values |
|---|---|
| Can you use a camera while it's charging? | No, but you can buy an AC adapter kit that allows the camera to run off AC power. |
| How long does it take to charge a camera battery? | Approximately 150 minutes using the AC adapter. |
| What is the appropriate temperature range for charging a camera battery? | 10°C to 30°C (50ºF to 86ºF). |
| How can you charge a camera and phone at the same time? | Use a micro USB splitter. |
What You'll Learn
![]()
Using a portable charger
When choosing a portable charger for your camera, there are a few factors to consider. Firstly, ensure that the charger's voltage matches your camera's voltage requirements. Different camera models have different voltage needs, so this is an important specification to check.
Secondly, consider the types of input and output ports available on the portable charger. AC, DC, and USB ports are common, and you may need different ports to accommodate multiple devices. The EcoFlow RIVER 2, for example, offers four types of input functions: solar, AC, car, and USB-C, making it a versatile option.
The weight and size of the portable charger are also important considerations, especially if you plan to carry it in a backpack or outdoor gear. Look for a sturdy yet compact and lightweight design that won't weigh you down. The EcoFlow RIVER 2, weighing only 7.7 lbs, is a good choice in this regard.
Additionally, pay attention to the power capacity of the portable charger. As a rule of thumb, choose a charger that can hold at least twice the amount of capacity needed to charge your camera fully. This ensures you have enough power for multiple charges and can also use the charger for other devices.
Finally, consider safety features. Choose a portable charger with electronic protection, such as overcharge protection, overvoltage protection, and short-circuit protection, to prevent potential damage to your camera's battery. Lithium-ion phosphate (LFP) batteries are known for their safety, long cycle life, fast charging, and high energy density, so look for chargers that use this battery type.
By selecting a suitable portable charger and following safe charging practices, you can ensure that your camera stays powered up and ready to capture those perfect shots, no matter where your photography takes you.
Charging Your Polaroid Z2300: A Quick Guide
You may want to see also
![]()
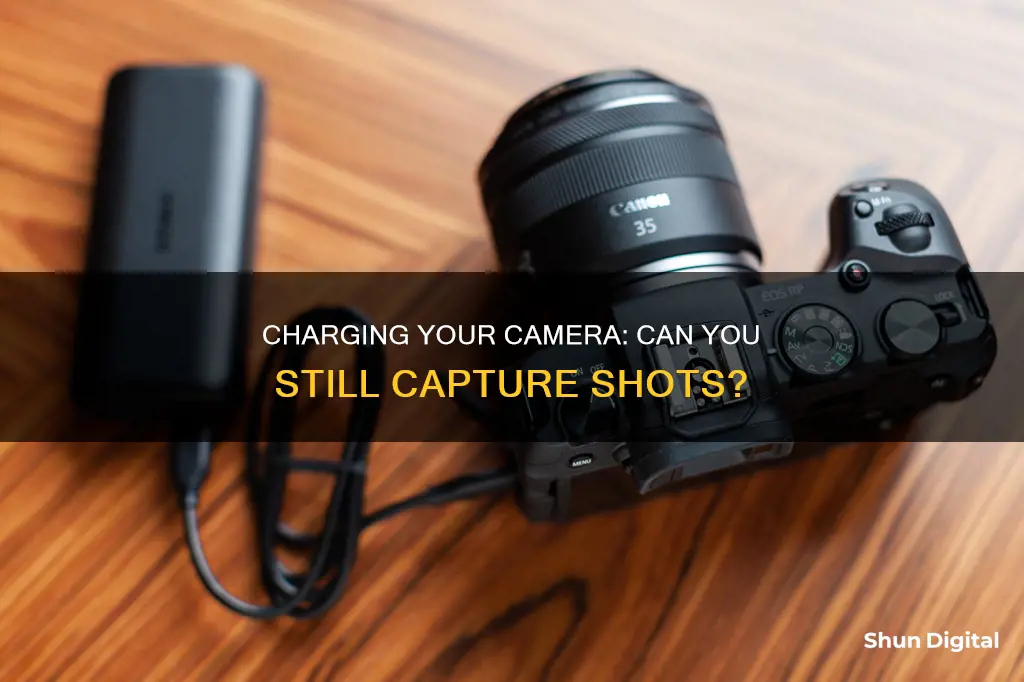
Using an AC adapter
If you have an AC adapter that's compatible with your camera, you can follow these steps to power your camera while it's charging:
- Turn off your camera. The battery pack will not charge if the camera is on.
- Connect your camera to the AC adapter: Plug the micro USB end of the cable into your camera and the other end into the adapter.
- Plug the AC adapter into a wall outlet.
- Allow the battery to charge. The charging time will vary depending on the remaining capacity of the battery pack and the temperature of your environment. Refer to your camera's manual for specific charging times and instructions.
- Once the battery is fully charged, you can turn on your camera and begin using it while it's plugged into the AC adapter.
It's important to note that while using an AC adapter can provide continuous power to your camera, it will not simultaneously charge the battery while you're using the camera. The camera's power source will be the adapter, but the battery will not be charging during this time.
If you don't have an AC adapter that's compatible with your camera, you may be able to create one with some basic electronics and woodworking skills. There are online guides and tutorials that can walk you through the process of making a custom AC adapter for your camera. This option may be more suitable for those who are comfortable with DIY projects and have the necessary skills and equipment.
Charging Vintage Camera Gear: 1990s Battery Revival
You may want to see also
![]()
Dummy batteries
When choosing a dummy battery, it is crucial to select one that is compatible with your camera's specific power requirements. Using the wrong dummy battery can result in damaging your camera's circuitry. Therefore, it is important to be cautious and well-informed about your camera's battery specifications and the power solution you intend to use.
Volts, amps, and watts are the key factors to consider when selecting a dummy battery. Volts refer to the speed at which power is delivered, amps refer to the amount of power that can be delivered in a set period, and watts refer to the actual power delivered. It is important to ensure that the volts, amps, and watts of the dummy battery match or exceed those of your camera's battery to prevent any issues.
Additionally, it is worth noting that USB devices may not always function as expected. Some USB chargers have a shared amp rating, which means that if multiple devices are plugged in, the amps will be divided among them, potentially resulting in insufficient power delivery to your camera. Therefore, it is advisable to opt for a dedicated power source for your dummy battery whenever possible.
Overall, dummy batteries are a convenient and cost-effective solution for photographers and videographers who require extended camera usage. By understanding the power requirements of your camera and selecting an appropriate dummy battery, you can ensure that your camera stays powered for long periods without any adverse effects.
Charging Exilim Cameras: A Quick Guide
You may want to see also
![]()
Using a car charger
If you have access to a car, a car charger can be a great way to charge your camera battery on the go. Here's a step-by-step guide on how to use a car charger to keep your camera powered up:
Step 1: Check Compatibility
Before you begin, it's important to ensure that your camera battery is compatible with a car charger. Not all camera batteries can be charged using this method, so refer to your camera's manual or specifications to confirm compatibility.
Step 2: Start Your Car Engine
Start your car engine to ensure a power supply to the car charger. This will provide the necessary power to charge your camera battery.
Step 3: Connect the Car Charger
Locate the appropriate port in your car, typically the cigarette lighter port or a USB port, and connect the car charger. Make sure it is securely plugged in to ensure a stable power connection.
Step 4: Connect the Camera Battery
Using the provided cables, connect your camera battery to the car charger. Ensure that the connections are secure and that you are connecting the correct polarity (positive and negative terminals).
Step 5: Allow Time for Charging
Leave your camera battery connected to the car charger until it is fully charged. The charging time will vary depending on the type of car charger and the specifications of your camera battery. Be patient and allow sufficient time for the battery to reach a full charge.
Step 6: Disconnect and Reinsert the Battery
Once your camera battery is fully charged, safely disconnect it from the car charger. Then, reinsert the charged battery into your camera, and you're ready to start capturing photos or videos again!
It's important to note that charging a camera battery using a car charger may take longer than using a standard charger. Always refer to the instructions provided by the manufacturer for specific guidelines related to your camera model and car charger. Additionally, always exercise caution when handling batteries and electrical equipment, and ensure proper ventilation during the charging process.
Charging Your Minolta Camera: A Step-by-Step Guide
You may want to see also
![]()
Using a computer
To use your camera while charging it with your computer, you will need to bypass the default file transfer mode that your camera enters when connected to a computer. This can be done by using a USB cable that is for charging only (no data pins). You can purchase such a cable or modify an existing cable by cutting the green and white wires.
- Turn on your camera.
- Plug the small end of the USB cable into your camera.
- Plug the other end of the USB cable into a USB port on your computer.
- Your camera should now be charging, and you can use it while it is connected to the computer.
Note that this method may not work with all camera models, and you should refer to your camera's user manual for model-specific information. Additionally, keep in mind that you cannot simultaneously record video and charge your camera. If you need to record for an extended period, consider using an interchangeable extra battery or an AC adapter kit that allows your camera to run on AC power.
Charging Your Link-S LTE Camera: A Quick Guide
You may want to see also
Frequently asked questions
Connect your camera with the battery pack inserted to the AC Adaptor using the micro USB cable, and connect the AC Adaptor to the wall outlet. The charge lamp will light up once and then turn off when the battery is fully charged.
No, the camera will stop charging as soon as it is turned on. However, you can buy an AC adapter that fits in the battery slot, allowing you to use the camera while plugged into a power supply.
The charging time is approximately 150 minutes using the AC Adaptor. The time may differ depending on the remaining capacity of the battery pack and the charging conditions.