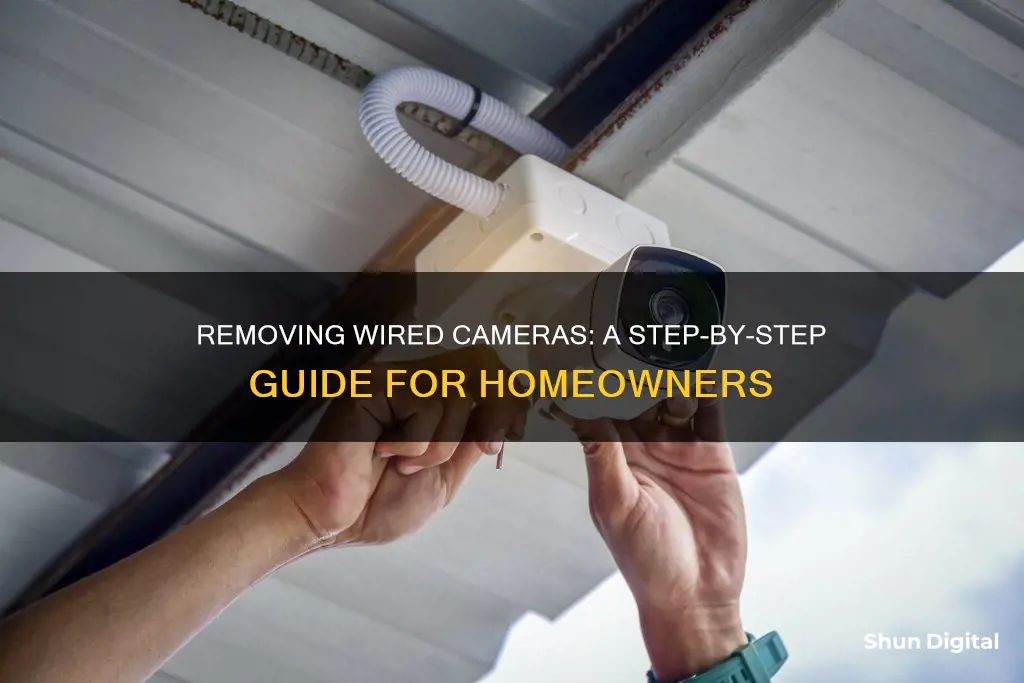
Removing wired cameras from your home can be a tricky process, especially if you're dealing with legacy devices or transferring ownership. For instance, Google Nest cameras require a full factory reset, which can only be initiated by the previous owner. On the other hand, Ring doorbells can be removed with a screwdriver, but you'll need to disconnect the wires and fill the holes to prevent bugs and leaks. It's important to understand the specific model and brand of your wired camera to effectively remove it from your home.
What You'll Learn

Removing a Nest Cam Indoor from a wall plate
To remove a Nest Cam Indoor from a wall plate, you must first ensure that you are gripping the base of the camera and not the camera head. Once you have a firm grip on the camera's base, proceed to turn the camera counterclockwise. You should hear a clicking sound, indicating that the camera has detached from the wall mount. If your camera does not have a power cable, you will need to remove it periodically to charge the battery.
If you have a secure loop installed, you will need to open the loop by pulling down on its tab until it slips off the wall mount. The loop can then be used as a wrist strap for safe and convenient camera transport.
If you have attached your camera to a tripod, be sure to grip the camera's base when removing it.
The Nest Cam Indoor can also be attached to a metal surface using its magnetic base. To detach the camera from a metal surface, simply grip the base of the camera and pull it away.
Mastering the Art of Spy Camera Wristwatches
You may want to see also

Taking off a Nest Cam IQ Indoor from a magnetic stand
To take off a Nest Cam IQ Indoor from a magnetic stand, you'll need to follow a few simple steps. Firstly, it's important to note that if you've placed your Nest Cam IQ Indoor on a surface like a shelf, you won't need to detach it from the stand or base as they are not separable from the camera head. However, if you've installed your camera with a wall mount, you'll need to rotate the camera's base until it unscrews from the mount.
- Grip the metal ring at the top of the stand.
- Turn the metal ring to unscrew it from the mount.
- If your camera is attached to a wall mount, rotate the camera's base to unscrew it from the mount.
- Once the camera is detached from the stand or wall mount, you can proceed to remove the screws that hold the mount in place on your wall or ceiling.
Remember to handle the camera with care and maintain a gentle grip while turning and unscrewing the camera to avoid any accidental damage.
Clear Vision: Eliminating Reverse Camera Interference
You may want to see also

Detaching a Ring Video Doorbell from a wall
To detach a Ring Video Doorbell from a wall, you will need to gather the necessary tools and supplies, prioritise safety precautions, and plan out your work area. Here is a step-by-step guide:
Step 1: Disconnect the Power
Turn off the power source connected to the Ring Doorbell. For hardwired doorbells, locate and turn off the corresponding doorbell breaker in the electrical panel. If your Ring Video Doorbell is battery-powered, ensure the battery is removed or disconnected.
Step 2: Remove the Faceplate
The Ring Doorbell's faceplate cover protects its internal components, such as the battery and wiring, and also serves an aesthetic purpose by concealing the screws that secure the doorbell to the wall. The process of removing the faceplate may vary depending on the model.
If you have a battery-powered Ring Doorbell (2-4), Ring Doorbell (2nd Generation), Pro, or Pro 2, the faceplate covers the bottom three-fourths of the doorbell and is attached using a star-shaped "security screw" at the very bottom of the unit. Use the provided Ring screwdriver with a two-sided bit – one side has an X-shaped Phillips head bit, and the other has a star-shaped Torx bit. If you no longer have the provided screwdriver, you can use a T6 Torx bit on an alternative screwdriver or power drill.
For wired and Elite units, the faceplate wraps around the outer edges of the doorbell. Unlike models with a security screw, the faceplate is secured using plastic tabs that click in and out of place. Apply gentle pressure in the middle of the faceplate to detach it from the base, being careful not to use too much force.
Step 3: Detach the Doorbell from the Wall
The Ring Doorbell Wired, Pro, Pro 2, and battery-powered models 2-4 are attached to the wall using four Phillips-head screws, two on each side. To detach the doorbell, use the Phillips head bit on the provided screwdriver, or your screwdriver or power drill, to unscrew the entire doorbell.
If your Ring Doorbell has a mounting bracket, gently pull it upward and outward at a 45-degree angle. The Ring Doorbell (2nd Generation) and Elite models use a rectangular wall mount bracket anchored to the wall using four Phillips-head screws, one on each corner.
Step 4: Uninstall the Doorbell Wiring
For Wired Ring Doorbells, there will be two electrical wires connected to them. If your doorbell has a wall mounting bracket, the wires will be attached to the bracket. If your doorbell is directly attached to the wall, the wires will be connected to the back of the unit.
Use a Phillips-head screwdriver to gently loosen each screw and pull the wires out.
Post-Removal Steps:
Once the Ring Doorbell has been successfully removed, there are a few additional steps to consider:
- Secure Storage: If you are not planning to reinstall the Ring Doorbell immediately, store it in a secure and dry location to prevent damage.
- Disposal Options: If you do not intend to use the device in the future, research proper disposal methods or electronic waste recycling facilities in your area.
- Patch Wall Holes: If there are any holes or marks left on the wall after removal, consider patching or repairing them to restore the wall's appearance.
Stream Wyze Camera Footage to Your TV: Easy Steps
You may want to see also

Removing a Nest Cam IQ Outdoor from a wall
Step 1: Gather the Necessary Tools
The first step is to locate the hex key that came with your Nest Cam IQ Outdoor. The hex key is essential for detaching the camera from its base. If you cannot find the original hex key, you can easily purchase a replacement. The size you need is a 2.5 mm (3/32") hex key, which should be available at your local hardware store.
Step 2: Prepare the Camera for Removal
Before you begin the removal process, ensure that you have disconnected any power cables or wires attached to the camera. This will ensure that you don't accidentally damage the device during the removal process.
Step 3: Insert and Turn the Hex Key
With the hex key in hand, locate the hole on the camera's base. Insert the hex key into this hole and turn it counterclockwise. This will unlock the camera from its base and allow you to detach it from the wall.
Step 4: Detach the Camera from the Wall
Once the hex key is turned, gently grip the camera and pull it away from the wall. The Nest Cam IQ Outdoor uses a strong lock to attach to the wall, so you may need to apply some force, but be careful not to damage the camera or the wall.
Step 5: Remove Remaining Cables and Wires
After detaching the camera from the wall, you will need to remove any remaining cables and wires attached to the camera. Be sure to handle this step carefully to avoid damaging the cables or the camera itself.
Step 6: Fill Any Holes (Optional)
If you are removing the Nest Cam IQ Outdoor permanently, you may want to fill any holes left in the wall from the mounting screws. You can do this yourself or hire a professional, depending on your comfort level and skill set.
Removing Camera Grip: A Step-by-Step Guide
You may want to see also

Uninstalling a Nest Cam Outdoor from a metal plate
To uninstall a Nest Cam Outdoor from its metal plate, you will need to gather a few tools and follow a step-by-step process to ensure a smooth and safe removal. Here is a detailed guide to help you through the process:
Step 1: Gather the Required Tools
Before you begin, make sure you have the necessary tools on hand to make the removal process easier and safer:
- Screwdriver: You will need a screwdriver to remove the screws that secure the camera to the metal plate. Have both a Phillips head and a flathead screwdriver to accommodate different screw types.
- Step ladder or stool: If the camera is installed in a high location, you will need a ladder or stool to reach it safely.
- Power supply: Ensure the power supply to the camera is turned off to avoid any electrical accidents during the removal process.
- Personal protective equipment: Consider wearing gloves and safety glasses to protect your hands and eyes from any sharp edges or debris.
Step 2: Disconnect the Camera Base
Now, you can start the process of disconnecting the Nest Cam Outdoor from its metal plate:
- Locate the screws: Depending on your camera model, the screws may be at the bottom or sides of the camera base.
- Remove the screws: Use the appropriate screwdriver to carefully remove the screws.
- Gently pull the camera base forward: After removing the screws, gently pull the camera base forward to detach it from the metal plate. Be cautious not to use excessive force, as it may damage the camera or the mounting surface.
- Disconnect the cables: Once the camera base is detached, locate and carefully disconnect the cables connected to the base. Take note of their positions for future reinstallation.
Step 3: Remove the Camera Base from the Metal Plate
In this step, you will completely remove the camera base from the metal plate:
- Inspect the metal plate: Understand how the camera base is secured to the metal plate. There may be additional screws or locking mechanisms holding the camera in place.
- Remove any additional securing elements: If there are extra screws or locking mechanisms, use your screwdriver or another appropriate tool to loosen and remove them. Keep the screws and parts in a safe place for future reinstallation.
- Detach the camera base: Once all securing elements are removed, gently lift and detach the camera base from the metal plate. Be cautious of any cables still connected to the base and disconnect them if necessary.
Step 4: Finalise the Removal
With the camera base and cables now disconnected, you can finalise the removal process:
- Detach the power cable: Carefully unplug the power cable from its source or adapter. Ensure the power supply is turned off before disconnecting. Remove any protective caps or covers on the cable beforehand.
- Remove any cable clips or ties: If the power cable is secured to the mounting surface with clips or ties, use a small tool like pliers to carefully remove them.
- Clean the mounting surface: Once the camera and cables are fully detached, take a moment to clean the mounting surface. Remove any debris or residue to ensure a clean surface for future installations.
Now you have successfully uninstalled your Nest Cam Outdoor from the metal plate. Remember to store the camera, screws, and any other components safely in case you need them for future reinstallation or troubleshooting. Always follow manufacturer guidelines and prioritise safety during the removal process.
B-Link Camera Security: Who's Watching via Web Browser?
You may want to see also
Frequently asked questions
First, make sure you have the correct tools. If your Nest camera uses a hex key, insert it into the hole on the camera's base and turn it counterclockwise to loosen the screw. If your Nest camera uses a security screw, use the screwdriver provided to remove it. Once the screw is removed, pull the camera away from the mount.
Try leaving the camera unplugged from power for 48 hours to clear the stored video data. If that doesn't work, contact customer support and ask about performing a full factory reset.
First, use the screwdriver provided to remove the security screw holding the faceplate in place. Once the screw is out, pull the bottom portion of the faceplate down and toward you. Remove the faceplate, then press the small silver lever to release the battery. Finally, remove the screws holding the doorbell to the door frame or wall, and undo any wires connected to the screws on the back of the doorbell.


