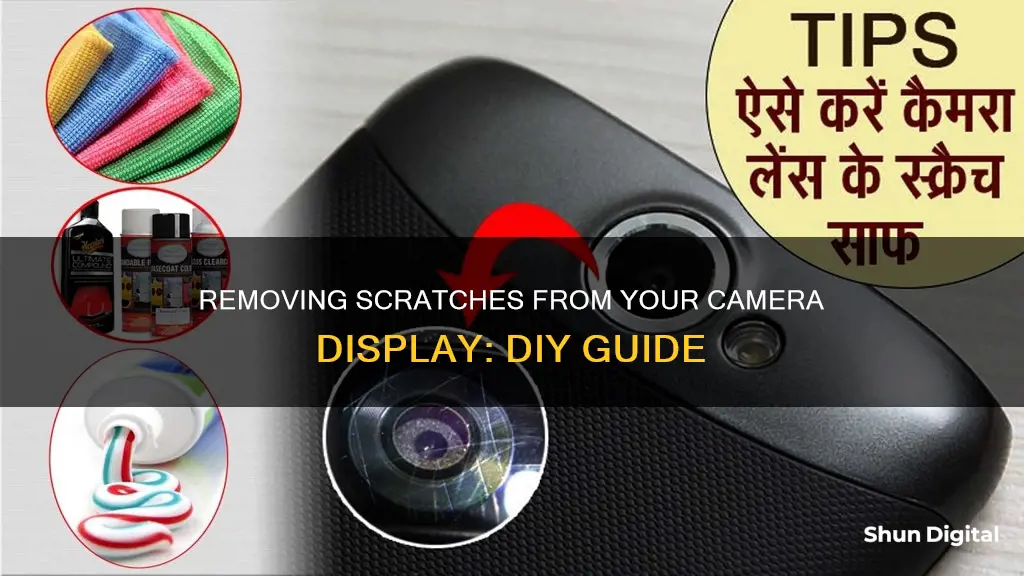
Scratches on a camera display can be annoying and frustrating. Luckily, there are several methods to remove them. However, it is important to assess the damage first. If the scratches are deep, it might be best to replace the screen. If they are light, you can try using a professional scratch repair kit or some DIY methods with items you may already have at home.
One DIY method is to use a small amount of non-gel toothpaste on the end of a cotton swab or soft cloth. Gently rub the toothpaste onto the scratch in a circular motion, and then wipe the screen with a slightly damp cloth to remove any excess. You can also try using a small amount of diluted isopropyl alcohol on a clean cloth to clear the screen of any dirt, and then fill in the scratch with Vaseline. Another option is to create a paste with two parts baking soda and one part water. Apply the paste with a soft cloth, rub it into the scratch, and then wipe the screen clean.
It is important to note that these methods may not work for all types of screens and may cause further damage, so it is always best to proceed with caution and consider consulting a professional.
| Characteristics | Values |
|---|---|
| Scratch removal methods | Toothpaste, diluted isopropyl alcohol, car scratch removal creams, baking soda, baby powder, banana and baking soda, screen replacement, Vaseline, Brasso, Silvo, glass coating polish, rubbing alcohol, egg and potassium aluminum sulfate, sandpaper, drill grinders, Magic Erasers, screen protector |
| Scratch repair kits | Displex Display Polish, Novus Plastic Polish |
| Scratch repair kit instructions | Spray a small amount of the solution onto the scratch, buff the solution into the scratch with a microfiber cloth in a circular motion until the screen appears dry |
| Scratch repair kit tools | Microfiber cloth |
What You'll Learn

Using toothpaste
Toothpaste can be an effective way to remove scratches from your camera display, but it's important to note that it may not work for deeper scratches and there is a risk of damaging the screen further. Here is a step-by-step guide on how to use toothpaste:
Step 1: Clean the Screen
Before applying toothpaste, make sure the camera display is clean and free of dust and debris. Gently wipe the screen with a microfiber cloth or a soft, slightly damp cloth.
Step 2: Choose the Right Toothpaste
Not all toothpastes are created equal when it comes to scratch removal. Look for a toothpaste that is an actual paste, rather than a gel, and avoid those with whitening agents or other additives. A cheap, white paste toothpaste is usually the best option.
Step 3: Apply the Toothpaste
Squeeze a small amount of toothpaste onto a soft cloth, cotton swab, or cotton bud. You only need a pea-sized amount, as too much will create a mess. Gently rub the toothpaste onto the scratched area of the camera display in a circular motion. Be careful not to apply too much pressure, as this could cause further damage.
Step 4: Remove the Toothpaste
After a few minutes of gentle rubbing, use a clean, damp cloth to wipe away the toothpaste. Make sure to remove all traces of toothpaste from the screen.
Step 5: Inspect the Results
Once the screen is dry, take a close look at the scratched area. Minor scratches should be less visible or completely removed. If the scratch is still noticeable, you can repeat the process. However, for deeper scratches, toothpaste may not be effective, and you may need to seek professional help or replace the screen.
Tips:
- Toothpaste works best on minor scratches and may not be effective on deeper scratches or cracks.
- Be gentle when applying and removing toothpaste to avoid damaging the screen further.
- Avoid using toothpaste on your camera display if it has a thin, flexible plastic covering, as this can cause more scratches.
- If you're unsure or the scratch is severe, consult a professional or contact the camera manufacturer for advice.
Toll Cameras: What They See and How?
You may want to see also

Using Vaseline
Vaseline is a useful, low-risk option for removing scratches from a camera display. It is an old-school, homemade DIY method that can be used to eliminate minor scratches on plastic surfaces. It can also be used to minimise the appearance of major scratches on plastic surfaces. However, it is important to note that Vaseline may not completely remove major scratches. Nevertheless, it is a safe solution that will not compromise your camera's optics.
Steps to Remove Scratches Using Vaseline:
Step 1: Start by cleaning the camera display with a microfiber cloth to remove any dust or dirt.
Step 2: Apply a small amount of Vaseline to the surface of the display.
Step 3: Use a clean portion of the microfiber cloth to gently rub the Vaseline in circular motions until the display is clear. Be careful not to use excessive force, as this may damage the display.
Step 4: Repeat the process semi-regularly, as the Vaseline will wear off over time.
Additional Tips:
- While Vaseline is a useful option, it may not work for all types of displays. It is known to work well on plastic surfaces, but its effectiveness on glass displays is uncertain.
- Always clean the display before and after attempting any scratch removal method.
- If you are unsure about using Vaseline, consider other DIY methods such as using toothpaste, rubbing alcohol, or windshield polish.
- If you are uncomfortable with DIY methods, consider sending the camera to a professional repair shop or using a lens repair kit.
Unveiling the Invisible: Capturing Auras with a Camera
You may want to see also

Using glass coating polish
If your camera display is made of glass, you can use a glass coating polish to remove scratches. Here's a step-by-step guide:
Step 1: Purchase a Cerium Oxide Polish
Look for a cerium oxide polish, which is recommended for removing scratches from glass surfaces. You can buy this type of polish as a soluble powder or in a pre-mixed form. The powdered form offers better value, but the pre-mixed option is more convenient.
Step 2: Mix the Powder (If Necessary)
If you purchased powdered cerium oxide, you'll need to mix it with water. Add approximately 50-100g of powder to a small container and slowly add water until you achieve a creamy consistency. Stir the mixture regularly to ensure a proper blend.
Step 3: Block Off Vulnerable Spots with Tape
Before you start polishing, it's crucial to protect other parts of your camera from potential damage. Cover the speaker, headphone jack, charger input, and any other vulnerable areas with tape. This step is important because the polish can seep into these areas and cause issues.
Step 4: Apply the Polish
Now, it's time to apply the polish to the scratched area. Dip a smooth polishing cloth into the cerium oxide mix and rub it vigorously over the scratch using circular motions. Check your progress every 30 seconds or so by wiping away the mix and inspecting the scratch. Reapply the polish as needed.
Step 5: Clean and Dry the Glass
Once you're satisfied with the results, thoroughly clean and dry the glass surface. Remove the tape you applied earlier, and wipe your camera display with a clean, dry polishing cloth to ensure no residue is left behind.
Tips and Precautions:
- Always test the polish on a small, inconspicuous area first to ensure it doesn't cause any adverse reactions.
- Be gentle during the application process to avoid causing new scratches or damage to your camera display.
- If you're unsure whether your camera display is made of glass or plastic, consult your device's user manual or look up the model online.
Removing the 2006 Murano's Camera: A Step-by-Step Guide
You may want to see also

Using rubbing alcohol
After diluting the alcohol, dampen a microfiber cloth or a clean cotton cloth with the alcohol solution. Gently rub the cloth over the scratch. Keep doing this, and the scratch should start to go away. Finally, use another clean microfiber cloth to dry off the lens.
It is important to note that rubbing alcohol may have adverse effects on your camera lens, so it is not recommended to apply it directly to the lens. Additionally, common materials like paper can create tiny scratches of their own when used to clean a lens, so be sure to use a microfiber cloth.
Removing the Beauty Camera Cover from Your Jeep Wrangler
You may want to see also

Using car scratch removal creams
Car scratch removal creams can be used to remove scratches from a camera display. However, it is important to note that these creams are designed for use on car surfaces and may not be suitable for the more delicate screen of a camera. It is also important to determine the type of screen on your camera, as different screens may require different treatments. For example, toothpaste can be used to remove scratches from plastic screens, but it is not suitable for glass screens.
If your camera display is made of glass, you may want to consider using a car scratch removal cream that is designed for use on glass surfaces. These creams typically contain fine abrasives that can help to buff out the scratches. It is important to follow the instructions on the product carefully and to test the cream on a small area of the screen first to ensure that it does not cause any further damage.
If your camera display is made of plastic, you may have more success with a car scratch removal cream that is designed for use on plastic surfaces. These creams often contain polishing compounds that can help to fill in and smooth out scratches. Again, it is important to follow the instructions carefully and to test the cream on a small area first.
In addition to car scratch removal creams, there are also dedicated plastic polish products available that may be better suited for removing scratches from camera displays. These products are designed to remove scratches from plastic surfaces and can be found in automotive supply stores or online.
When using any type of scratch removal cream or polish, it is important to work gently and to avoid applying too much pressure, as this can further damage the screen. It is also a good idea to clean the screen before applying any products, as dirt and grime can interfere with the removal process.
Finally, it is worth noting that while car scratch removal creams can help to improve the appearance of scratched camera displays, they may not completely remove all traces of the scratches. In some cases, it may be necessary to replace the screen or to use a screen protector to hide the scratches.
Finding Lorex Security Cameras on Your PC
You may want to see also
Frequently asked questions
If the scratches are light, you may not need to do anything. Trying to fix it might only draw more attention to it than is already present. If the scratches impair the visual presentation, it's time to consider a fix.
Before attempting any DIY methods, it's important to note that most modern lenses have a layer of lens coating that enhances optical quality and protects the glass from damage. Using the wrong products or techniques can remove this coating and damage the lens even more. Some DIY methods that people have reported varying levels of success with include:
- Using a small amount of toothpaste on a cotton swab or soft cloth to gently rub the scratch in a circular motion
- Using a small amount of diluted isopropyl alcohol on a cotton swab or soft cloth to gently rub the scratch
- Using Vaseline to fill in the scratch
- Using car scratch removal creams, such as Turtle Wax, 3M Scratch, and Swirl Remover, with a soft cloth to gently wipe the screen
- Using polishes such as Brasso and Silvo (warning: this method may remove the screen coating and result in larger scratches)
Yes, sending your camera lens back to the service center is the safest way to repair a scratched lens.
Consider purchasing a screen protector for your camera display to prevent scratches.


