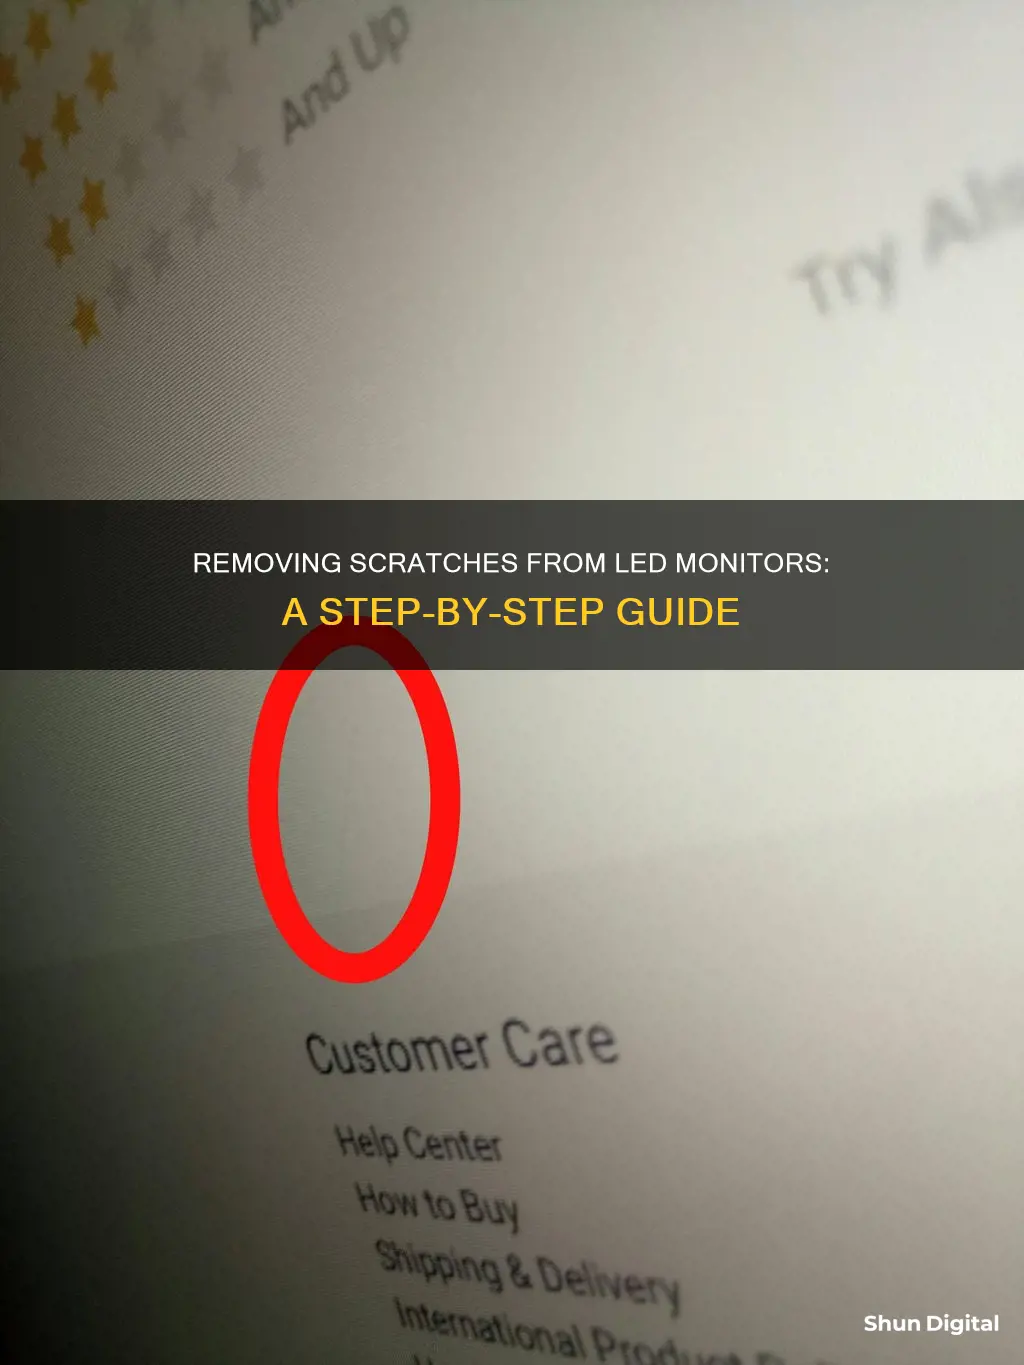
Scratches on LED monitors can be unsightly and annoying, but there are several DIY methods to remove them. While some of these methods may not be 100% effective, they are still worth trying as they are low-risk and do not cause further damage to the screen. One common method is to use a soft pencil eraser to gently rub over the scratch, which can be effective for light scratches. Other methods include using rubbing alcohol, toothpaste, petroleum jelly, windscreen polish, or a combination of baking soda and banana. It is important to note that some of these methods may only work on certain types of screens, such as matte plastic screens, and may not be suitable for glossy glass screens. Additionally, it is recommended to clean the screen before attempting any scratch removal techniques to avoid adding new scratches by rubbing dirt on the screen.
What You'll Learn

Using a soft pencil eraser
A soft rubbery pencil eraser is a common and easy way to remove scratches from LED monitors. It is a low-risk method that can be used to gently rub away light scratches and clean off stuck-on dirt. It is important to use a soft eraser, as rough or abrasive erasers may damage the screen further.
To use this method, start by ensuring that the eraser is clean and free of any graphite residue. Then, gently rub the eraser in the direction of the scratch. Don't press down too hard, but use enough pressure to create friction, which will soften the eraser and help fill in the scratch. You can also try rubbing the eraser back and forth for about 60 seconds, and then up and down for another 60 seconds.
If the scratch is relatively shallow, this method can be effective in removing it or at least making it less noticeable. The eraser works by removing small amounts of the screen around the scratch, effectively smoothing out the surface. However, it is important to note that this method may not completely remove deeper scratches.
After using the eraser, use a microfiber towel to remove any leftover residue and to buff the screen. This will help ensure that your monitor is clean and clear of any remaining marks.
While this method is low-risk, it is always a good idea to proceed with caution when attempting any DIY scratch repair on LED monitors.
Choosing the Right Monitor Size for Competitive CS:GO
You may want to see also

Applying isopropyl alcohol with a microfiber cloth
To remove scratches from an LED monitor using isopropyl alcohol and a microfiber cloth, follow these steps:
Firstly, turn off your monitor and let it cool down. This will make it easier to clean, as some of the static electricity will dissipate, helping to release dust.
Next, take your microfiber cloth and dampen it with isopropyl alcohol. Ensure you don't spray the alcohol directly onto the screen, as it could seep into areas it shouldn't and damage the electronics. Instead, spray the alcohol onto your cloth and then wring out any excess liquid. The cloth should be damp, not sopping wet.
Now, gently rub the cloth over the screen in a circular motion, focusing on areas that are particularly scratched or dirty. Be careful not to press down too hard, as LED screens are sensitive and you could end up cracking the screen.
If your cloth is no longer absorbing dirt, switch to a new cloth and repeat the process. You can also use cotton buds dipped in isopropyl alcohol to target stubborn spots and scratches.
Finally, go over the screen with a dry microfiber cloth to remove any remaining residue.
While this method can help remove light scratches, deep scratches may require a different approach, such as using an abrasive toothpaste or windscreen polish.
Keep Your Monitor Fly-Free: Simple Steps to Remove Pesky Insects
You may want to see also

Filling in scratches with hand lotion or petroleum jelly
If you have a scratch on your LED monitor, there are a few things you can try to fill it in and make it less noticeable. Firstly, it's important to determine the depth of the scratch. If it's a deep scratch, affecting the pixels underneath, then it's unlikely that a home remedy will fix it, and you may need to replace the screen. However, if it's a surface-level scratch, then you can try using hand lotion or petroleum jelly to fill it in and conceal it.
Take a small amount of hand lotion or petroleum jelly, such as Vaseline, and gently rub it into the scratch. This will help to fill in the gap and make the scratch less noticeable. It's important to note that this method seems to work better on matte plastic screens than on glossy glass ones. If you have a glossy screen, you may need to try a different method, such as buffing the screen with a fine abrasive.
After applying the hand lotion or petroleum jelly, use a soft cloth or tissue to wipe away any excess product. This will help to remove any greasy or sticky residue and ensure that your screen is clear and visible. It's important to note that this method is not a permanent solution, and the scratch may become visible again over time.
While this method is low-risk and unlikely to cause further damage, it's always a good idea to proceed with caution when applying any substance to your screen. Avoid pressing too hard, and be careful not to get any lotion or jelly inside the edges of the screen, as this could damage the electronics. Additionally, if you have sensitive skin or are allergic to any of the ingredients in the hand lotion or petroleum jelly, it's recommended to wear gloves or use a different method altogether.
Overall, filling in scratches on your LED monitor with hand lotion or petroleum jelly is a simple and relatively safe way to improve the appearance of your screen. By taking a gentle and cautious approach, you can effectively conceal surface-level scratches and restore your screen's aesthetic appeal.
Monitoring Memory Usage in IIS: A Comprehensive Guide
You may want to see also

Using abrasive toothpaste with a cleaning cloth
If you have a scratch on your LED monitor, one possible solution is to use an abrasive toothpaste with a cleaning cloth. This method can help reduce the appearance of very fine, shallow scratches. It's important to note that toothpaste isn't a specialised product for screen scratch repair, and its effectiveness may vary. Additionally, using the wrong type of toothpaste or technique could potentially make the problem worse, so proceed with caution.
- Clean the screen: Use a soft brush and a cleaning cloth to remove any dirt or dust from the screen. It is important to start with a clean surface to avoid adding more scratches by rubbing dirt on the screen.
- Choose the right toothpaste: Opt for a paste-based, non-gel toothpaste with mild abrasives. Toothpaste with polishing properties and a fine sandpaper-like texture is ideal. Avoid gel-based toothpaste and those designed for whitening, plaque removal, or sensitive teeth, as they tend to be more abrasive.
- Apply toothpaste to the screen: Squeeze a small amount of the selected toothpaste onto the cleaning cloth. You can also apply it directly to the screen and then use the cloth to spread it.
- Polish in circular motions: Gently rub the toothpaste over the scratched area in circular motions. This motion will help to polish the screen and reduce the appearance of scratches. Be patient and avoid applying too much pressure, as it may damage the screen.
- Wipe and inspect: Use a clean, slightly damp microfiber cloth to remove the toothpaste from the screen. Wipe gently, ensuring all residue is removed. Once the screen is dry, inspect it under a bright light to see if the scratches have improved.
- Repeat if necessary: If the scratches are still visible, you may repeat the process. However, it is important to note that toothpaste may not be effective for deeper scratches, and multiple attempts may not yield better results.
While this method may be useful for minor scratches, it is not a specialised solution. If the scratch on your LED monitor is deep or catches your fingernail, it is likely too severe to be repaired with home remedies, and you may need to replace the screen.
Taiwan's Utilities: Monitoring Residential Peak Usage?
You may want to see also

Commercial scratch removal kits
There are several commercial scratch removal kits available for purchase, which can be used to remove scratches from LED monitors. These kits typically contain a combination of polishing compounds, cloths, and coatings.
One such kit is the NOVUS-PK1-8OZ-PM, which includes a plastic clean and shine solution, a fine scratch remover, a heavy scratch remover, and extra polish mates. This kit has received many positive reviews and is available in 2-ounce and 8-ounce bottles.
Another option is the TechDiamondTools Phone Screen Scratch Remover Kit, which comes with three or four diamond polishing compounds and wool cloths. This kit is designed to remove scratches from smartphone screens, smartwatch screens, and phone glass.
For deeper scratches, the NOVUS 7082 Heavy Scratch Remover is recommended. This product is available in an 8-ounce bottle and has received positive reviews for its effectiveness.
In addition to these kits, there are also individual products that can be purchased for scratch removal, such as the Rolite Ultra Fine Scratch Remover, which is suitable for plastic and acrylic surfaces, including marine Strataglass and Eisenglass.
It is important to note that while these commercial kits can be effective, some scratches may be too deep to be removed completely. In such cases, it may be necessary to replace the entire screen.
Removing Monitor Heater Vent Pipes: A Step-by-Step Guide
You may want to see also
Frequently asked questions
Use a soft rubber pencil eraser to gently rub over the scratch. This method is commonly used by techies and is known to work well for light scratches.
Yes, you can try using a small amount of hand lotion or petroleum jelly. Gently push the lotion or jelly into the scratch with your finger or a cotton ball. Leave it on for a few minutes, then gently wipe away the excess with a microfiber cloth.
Yes, there are scratch remover kits available such as the NOVUS Plastic Polish Kit and Displex Display Polish. These products are designed to remove scratches from screens and have shown effective results.
While some sources suggest that non-gel toothpaste with polishing properties can help remove micro-scratches, others have found that it may not be effective and could potentially cause more scratches. It is recommended to test it on a small area first.
If the scratch is too deep, the above home remedies may not be effective. In such cases, it is best to consult a professional for repair options or consider upgrading to a new monitor.


