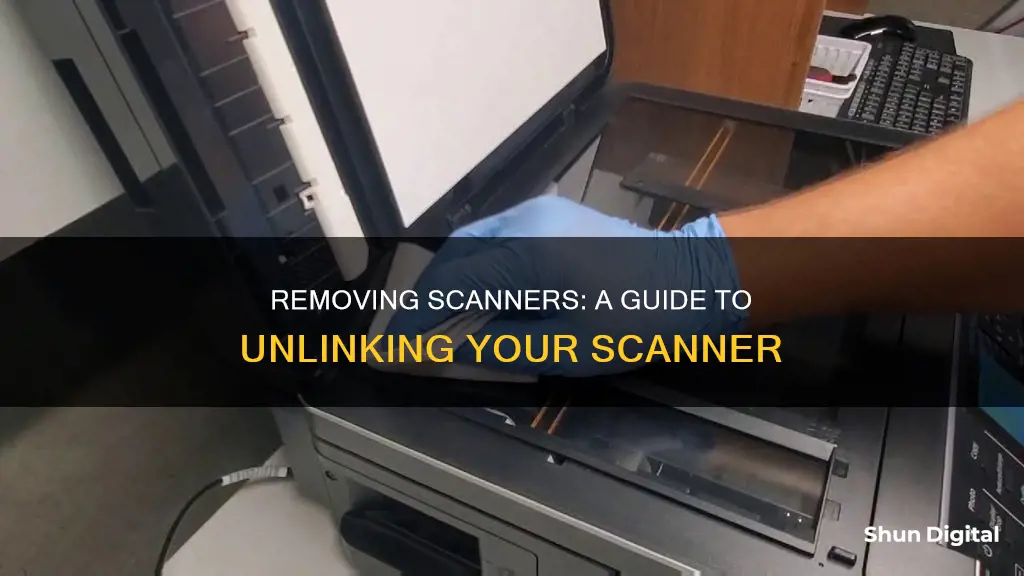
If you want to remove a scanner or camera from your computer, you can do so by using the Device Manager utility. This can be done by clicking on the Settings charm and then on Change PC Settings to open the PC Settings screen. From there, you can select Devices and then click on the scanner or camera you want to remove. Confirm the removal by clicking the - button and then Remove. Another way to do this is by opening the Device Manager window and uninstalling the device from the list of imaging devices.
Additionally, if you have a Canon scanner, you will need to remove all Canon scanner programs that were installed on your system. This can be done by going to the Control Panel and clicking on the Uninstall a program link. Find the Canon scanner software and click Uninstall.
For Brother scanners, you can disable or configure the scanner by accessing the Scanner's properties/DeviceSelector and following the instructions provided by the manufacturer.
What You'll Learn

Removing a scanner from Windows 8
To remove a scanner from Windows 8, you can use the PC Settings utility or the Device Manager utility.
- Move your cursor to the upper- or lower-right corner of the computer screen.
- Click the "Settings" charm to open the Settings sidebar.
- Click "Change PC Settings" to open the PC Settings screen.
- Click "Devices", then click the scanner in the Devices list that you want to remove.
- Click the "-" button, then click "Remove" to confirm that you want to remove the device.
To remove a scanner using the Device Manager utility, follow these steps:
- Press the "X" and "Windows Logo" keys on your keyboard simultaneously to open the Quick Link menu.
- Select "Device Manager" to open the Device Manager window.
- Double-click "Imaging Devices" to open the list of imaging devices.
- Right-click on the scanner and select "Uninstall."
- Click "OK" to confirm that you want to uninstall the device from your computer.
In addition to the above methods, you can also try uninstalling the scanner software and then reinstalling it to solve certain problems. Here are the steps to do this:
- Turn off the scanner and disconnect any interface cables.
- Navigate to the Apps screen and select Control Panel > Programs > Programs and Features.
- Select the scanner software program and click Uninstall/Change.
- Follow any on-screen instructions, then restart your computer.
If you are encountering issues with duplicate scanners in Microsoft Fax and Scan, you can try the following:
- Disconnect and then reconnect the scanner.
- Run the Hardware and Devices troubleshooter: Click on the search bar next to the Start Menu, type "Troubleshooting", click on Troubleshooting, click on View All, click on Hardware and Devices, then click on Next and follow the prompts to run the troubleshooter.
- Install the latest Windows updates: In the search bar, type "Windows Updates", click on Windows Updates, then click on Check for updates and install the latest updates.
- Perform a Clean Boot and uninstall the scanner driver: Press "Windows Key + X", type "msconfig" in the Run box and hit Enter, on the Services tab, select the "Hide all Microsoft services" checkbox, click "Disable all", then click "OK" and restart the computer.
Removing CCTV Cameras: A Step-by-Step Guide from the Ceiling
You may want to see also

Removing a Canon scanner
To remove a Canon scanner from your computer, you will need to uninstall the Canon scanner programs that were installed on your system when you set up the scanner. This will help to reduce program clutter and prevent conflicts on your computer.
Firstly, close all running applications and remove the USB cable connecting the Canon scanner to your computer. Then, follow these steps:
- Click the Windows "Start" button and click "Control Panel" to open the Control Panel.
- Click the "Uninstall a program" link to view a list of all programs installed on your system.
- Locate the Canon scanner software and click the "Uninstall" button in the Control Panel window.
- Follow the instructions on your screen to remove the Canon software.
- Open the Control Panel again and click "Hardware and Sound," then click "Device Manager" in the Devices and Printers section to open the Device Manager.
- Double-click the "Imaging Devices" node to expand it.
- Right-click the Canon scanner and select "Uninstall" from the context menu.
- Select the "Delete the driver software for this device" option and click "OK" to confirm the action and uninstall the scanner and its drivers.
- Restart your computer.
Your Canon scanner should now be uninstalled from your computer.
Charging Your Eufy: Removing the Camera from Its Mount
You may want to see also

Removing a scanner from Windows 7 or 10
To remove a scanner from your Windows 7 or 10 device, you will need to first uninstall the scanner software.
Turn off the scanner and disconnect any interface cables. Then, open the Windows Control Panel and select 'Programs and Features'. From there, select the scanner software program and click 'Uninstall'.
For Windows 7, you can access the Control Panel by clicking 'Start', then 'Control Panel', then 'Programs and Features'.
For Windows 10, you can access the Control Panel by:
- Typing 'Scanners' in the Windows Search bar, then clicking 'View scanners and cameras' in the search results.
- Moving your mouse to the upper-right or lower-right corner of the screen to bring up the Charms bar, clicking 'Search', typing 'Scanners' in the search line, and then clicking 'View scanners and cameras' under the search results.
- Clicking 'Start', then 'Control Panel', then 'Hardware and Sound', then 'Scanners and cameras'.
Once you have uninstalled the software, you can remove the device from your computer. To do this, open the Device Manager utility by pressing the 'X' and 'Windows Logo' keys on your keyboard simultaneously to open the Quick Link menu, and selecting 'Device Manager'. Double-click 'Imaging Devices' to open the list of imaging devices, right-click on the scanner, and select 'Uninstall'. Finally, click 'OK' to confirm.
Deleting LG Camera App on V20: A Step-by-Step Guide
You may want to see also

Removing a scanner from Windows Vista
To remove a scanner from Windows Vista, follow these steps:
- Turn off the scanner.
- Disconnect any interface cables.
- Open the Windows Control Panel utility.
- Select "Programs and Features".
- Choose the scanner software program and click "Uninstall/Change".
- Follow any on-screen instructions to complete the uninstallation process.
You can also remove a scanner from the "Device Manager" utility:
- Press the "X" and "Windows Logo" keys on your keyboard simultaneously to open the Quick Link menu.
- Select "Device Manager" to open the Device Manager window.
- Double-click on "Imaging Devices" to view the list of imaging devices.
- Right-click on the scanner and select "Uninstall".
- Click "OK" to confirm the uninstallation.
Displaying Surveillance Footage: Monitor and TV Setup
You may want to see also

Removing a scanner from Windows XP
To remove a scanner from Windows XP, you will need to uninstall the scanner software. First, turn off the scanner and disconnect any interface cables.
Then, open the Windows Control Panel utility. You can do this by clicking on the Start menu, then selecting Control Panel. Once in the Control Panel, double-click on 'Add or Remove Programs'. Find the scanner software in the list of programs and click 'Change/Remove'.
Follow any on-screen instructions to complete the uninstallation process. After uninstalling the software, restart your computer.
If your scanner is a Brother model, you can also try the following method:
- Click on the Start menu.
- Search for "Brother [model name] Scanner".
- Click on "Uninstall Driver" or "Uninstall" from the list and follow the on-screen instructions.
Selfie Camera Eclipse Viewing: Is It Safe?
You may want to see also
Frequently asked questions
You can remove a scanner from the list of scanners and cameras on Windows 8 by using the PC Settings utility. First, move your cursor to the upper- or lower-right corner of the computer screen and click on the "Settings" charm. Then, click on "Change PC Settings" and select "Devices". Find the scanner you want to remove from the Devices list and click on the "-" button. Finally, click "Remove" to confirm.
On Windows 7 or 10, click on "Start" and then in the Search line, type: "Cameras". Click on the link for "View Scanners and Cameras".
On Windows Vista, click on "Start", then "Control Panel", then "Hardware and Sound", and finally "Scanners and Cameras".
To remove a scanner from a Mac, open the DeviceSelector and follow the instructions for your specific device and operating system.


