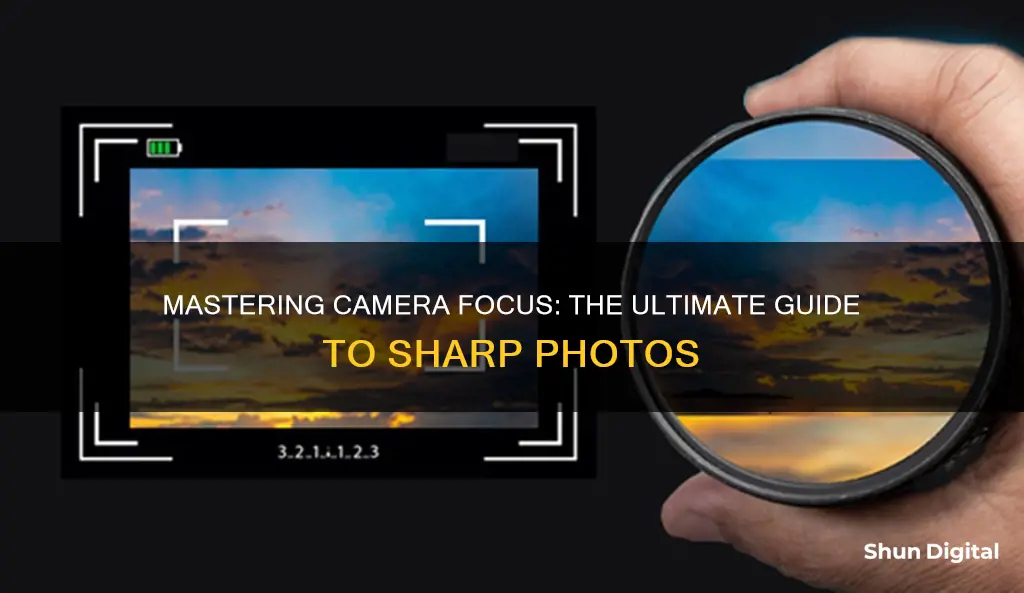
Focusing a camera is a fundamental aspect of photography. While many cameras have autofocus settings, it is still important to understand how to focus a camera manually. This is especially important when your camera struggles to focus, for example, in low-light conditions or when shooting a moving object.
To focus a camera manually, you need to turn a ring or similar mechanism on the lens. Different cameras have different autofocus area modes, which determine how the camera focuses on a subject. For example, single-point autofocus uses one focusing point, chosen by the photographer, to focus on a stationary object. On the other hand, dynamic autofocus allows the camera to track a moving subject as it moves into some of the surrounding points.
It is also important to understand the different types of autofocus systems. Phase detection autofocus is common in DSLR cameras and uses a mirror to direct light to autofocus sensors. Contrast detection autofocus, on the other hand, is used in mirrorless cameras, point-and-shoot cameras, and smartphone cameras. This system uses the light falling on the main sensor to focus.
| Characteristics | Values |
|---|---|
| Focus mode | Single, Continuous, Auto, Manual |
| Focus point mode | Single point, Zone/Multi, Auto |
| Drive mode | Single, Continuous |
| Aperture | Large, especially in low light |
| Focus point | Area with contrast |
| Focus point | Eyes of a person |
What You'll Learn
![]()
Manual focus vs autofocus
Overview
The choice between manual and autofocus depends on the photographer's needs and shooting conditions. Autofocus is generally faster and more convenient, but manual focus offers greater creative control and performs better in certain situations.
Autofocus
Autofocus (AF) is a function of a camera that automatically focuses on a subject. Most digital cameras have this function, with various methods depending on the model. The camera system drives a motor to move elements in the lens to change focus. Autofocus is generally faster and can be more accurate, especially for tracking moving subjects. It is also more convenient and easier to use than manual focus. However, it may struggle in certain situations, such as low light conditions, scenes with many objects, or high magnifications.
Manual Focus
Manual focus (MF) allows the photographer to adjust the focus manually instead of relying on the camera. It offers greater creative control as the user determines the focus point. Manual focus is ideal for situations where autofocus may struggle, such as low light conditions, taking shots through glass or fences, or when precise focus on a specific spot is required. It is also useful for macro photography, deep landscape photography, and complex focus bracketing. Manual focus is generally slower than autofocus, especially for capturing moving objects, and requires the photographer to choose the point of focus.
When to Use Each
Autofocus is recommended for most situations, especially when capturing moving subjects or when speed is a priority. However, manual focus is better suited for certain scenarios, such as macro photography, low light conditions, scenes with many objects, and when precise focus on a specific spot is required. It is also useful for deep landscape photography and complex focus bracketing.
Fight Camera-Recorded Speeding Tickets: DC Legal Strategies
You may want to see also
![]()
Using manual focus on a DSLR
Switching to manual focus
First, locate the focusing mode switch on your camera or lens. It will likely be labelled with "AF/MF", where "AF" activates autofocus and "MF" activates manual focus. Switch your setup to "MF".
Adjusting the focus
If you have a zoom lens, you should have two rings: a zoom ring closest to the body of the camera, and a focus ring towards the end of the lens. As you turn the focus ring, you'll see different parts of the shot come into focus.
Using the viewfinder
The viewfinder, or the small window that you look through while taking a photograph, doesn’t always offer the best representation of focus. If your camera has an LCD screen, switch to live view mode to do a final focus check. Watch your shot on the LCD screen, and twist the focus ring until your subject becomes sharp.
Using the focus ring
Look for 2 scales of numbers labelled "ft" and "m" around the focus ring. The number displayed through the viewing window or aligned with a mark tells you where the lens is focusing. If you see 1.25 on the viewer or aligned with an arrow, objects 1.25 ft (0.38 m) away from the lens are in focus.
When to use manual focus
Although autofocus is great, there are times when manual focus is the better option.
- Macro: When shooting macro, where the depth of field is so shallow, it's important to have complete control over what exactly is in focus.
- Crowded settings: If you're trying to shoot a subject in a crowded setting of similar objects, the camera might have a hard time identifying exactly what you're trying to shoot.
- Shooting "through" an object: You can achieve really striking photos by keeping the object closest to the lens out of focus, and focusing in on a subject further away.
- Low light: If your lens has a smaller aperture, it's going to be difficult to autofocus in dimly lit scenes.
- Street photography: Locking your focus and aperture allows you to shoot continuously without changing either one of those settings.
- Landscape: When shooting scenery, autofocus will often find something in the foreground, leaving the rest of the scenery blurred, or at least slightly out of focus.
- Shallow depth of field scenarios: Working with an ultra-wide aperture can be artistic, but this creative technique comes with a challenge: due to the ultra-narrow window of sharpness, focusing must be precise.
- Wide-angle photography: When shooting with a wide-angle lens, your subjects are often large objects shown on a small scale, such as trees, buildings, and other inanimate objects.
- Panorama photography: When shooting panoramas – which are created by stitching a set of photos together in post-production – consistency throughout the shots is key.
- Hyperfocal distance photography: Whether you’re capturing rolling hills or a bustling urban scene, achieving complete clarity throughout the frame is highly desirable.
- Low-contrast situations: Autofocus relies on contrast between the dark and light tones in an image. In low-contrast situations, autofocus might just fail you.
Focusing Your Camera Solo: The Ultimate Guide
You may want to see also
![]()
Adjusting the depth of field
- Aperture Adjustment: The aperture setting, or f-stop number, controls the size of the opening in your lens that lets light pass through to the sensor. Larger apertures (smaller f-stop numbers) create a shallower depth of field, resulting in a sharp focus on the subject and a blurred background. Smaller apertures (larger f-stop numbers) produce a deeper depth of field, keeping both the foreground and background in focus.
- Change Focus Distance: The distance between your lens and the subject also affects the depth of field. Moving closer to the subject will result in a shallower depth of field, while increasing the distance will increase the depth of field.
- Focal Length Adjustment: Using different focal lengths can also impact the depth of field. Wide-angle lenses (short focal lengths) tend to produce a deeper depth of field, while telephoto lenses (long focal lengths) create a narrower depth of field.
- Use Depth of Field Preview: Many DSLRs have a depth of field preview button that allows you to see how the image will look before taking the shot. This can be useful for fine-tuning your depth of field adjustments.
- Play with Shutter Speed and ISO: When using a larger aperture, you may need to adjust the shutter speed and ISO settings to avoid overly bright images, especially in well-lit conditions.
- Experiment and Practice: The best way to master depth of field adjustments is to experiment with different settings and practice. Try different apertures, focal lengths, and distances from your subject to see how they impact the depth of field.
Newmowa Camera Battery Chargers: Compact, Efficient Power Solutions
You may want to see also
![]()
Focusing a smartphone camera
Step 1: Access the Manual Mode
Most new Android smartphones have a built-in manual mode in their stock camera app. If you cannot find it, try looking between the slow-mode, time-lapse, or panorama settings, or scroll up from the bottom of your screen. If your phone doesn't have a manual mode, you can download a third-party application that allows manual focusing.
Step 2: Activate Manual Focus
Once you are in manual mode, look for the MF icon to activate manual focus. Tap on the icon, and a slider should appear on your screen, allowing you to adjust the focus.
Step 3: Focus on Your Subject
Find a subject with something in the foreground and background, and try to focus on one of them. You can also lock the focus on your subject by pressing and holding the screen. This ensures that your phone stays focused on the selected area even if other objects in the frame move. Remember to keep your phone at the same distance from the subject after setting the focus.
Step 4: Keep Your Phone Steady
Unsteady hands can easily ruin a photo, so it is important to keep your phone as still as possible. Consider investing in a tripod designed for smartphones or brace your phone on a stable surface. If you must hold it in the air, try to keep your arms close to your body and slow your breathing. Good lighting can also help reduce blur due to shaking.
Step 5: Avoid Digital Zoom
Smartphone cameras do not have optical zoom, so avoid using the zoom function as it will only crop and digitally enlarge the image, reducing its quality. Instead, try to get as close to the subject as possible. Keep in mind that most smartphone cameras cannot focus on objects less than 3 inches from the lens.
Step 6: Use Distance to Blur the Background
You can manipulate the depth of field on your smartphone camera, just like on a DSLR or point-and-shoot camera. Tap the screen to manually focus on your subject, and put as much space as possible between it and any objects in the background to achieve a blurred background effect. Check your camera settings for macro or portrait modes, which can help achieve this effect more easily.
Bonus Tips:
- Play around with your camera's settings to gain more creative control over your images.
- Use the ISO setting to brighten or darken your photos, especially in low-light environments.
- Adjust the white balance to remove unrealistic color casts and add a creative touch to your images.
- Control the shutter speed to capture motion or create long exposures for light trails or night sky photography.
Best Cameras Compatible with the AZ16-1 Battery
You may want to see also
![]()
Focus mode (single, continuous, auto)
The three autofocus modes – single, continuous, and automatic – are designed for different scenarios and subjects.
Single-shot focus mode
Single-shot focus mode is ideal for subjects that are not moving. Pressing the shutter button halfway activates the autofocusing mechanism. Once the focus is achieved, it is locked in place. If you keep your finger on the button, no adjustments are made, even if you decide to recompose the shot and move the camera.
Cameras with single-shot focus mode will not let you take a picture if the subject is not in focus. This mode is best suited for portraits, still lifes, or product photography.
Continuous focus mode
The continuous focus mode is designed for capturing moving subjects. In this mode, the camera tracks the subject and adjusts the focus accordingly. It continually checks the distance between the camera and the subject and adjusts the focus each time it detects a change, until the moment you release the shutter.
Most cameras with continuous focus mode allow you to fire the shutter even if the subject is not in focus. Therefore, it is important to ensure that the camera indicates that the lens has finished refocusing before you shoot.
Automatic focus mode
The automatic focus mode alternates between single-shot focus mode and continuous focus mode, depending on the movement of the subject. When you half-press the shutter button, the focus is locked if the subject is stationary. However, if the camera detects movement over a certain speed, it will switch to continuous focus mode and start tracking the subject.
This mode is best suited for street, action, and sports photography, where you need to alternate between shooting stationary and moving subjects.
Coolpix Cameras: CMOS Battery Power Source?
You may want to see also
Frequently asked questions
To focus a camera manually, you need to turn a ring or similar mechanism on the lens. This will allow you to move the lens closer or further from the camera, changing where the plane of focus is positioned.
To focus on a specific object, you need to set your AF-Area Mode (autofocus) to one of the main focal points on your camera. You can then press the shutter button halfway down and look for a blinking focal point, which indicates what your camera is focusing on.
When taking a photo of a person, you should always focus on their eyes so that they appear sharp. To do this, simply select a single focus point and position it over the person's eye when looking through your camera's viewfinder.