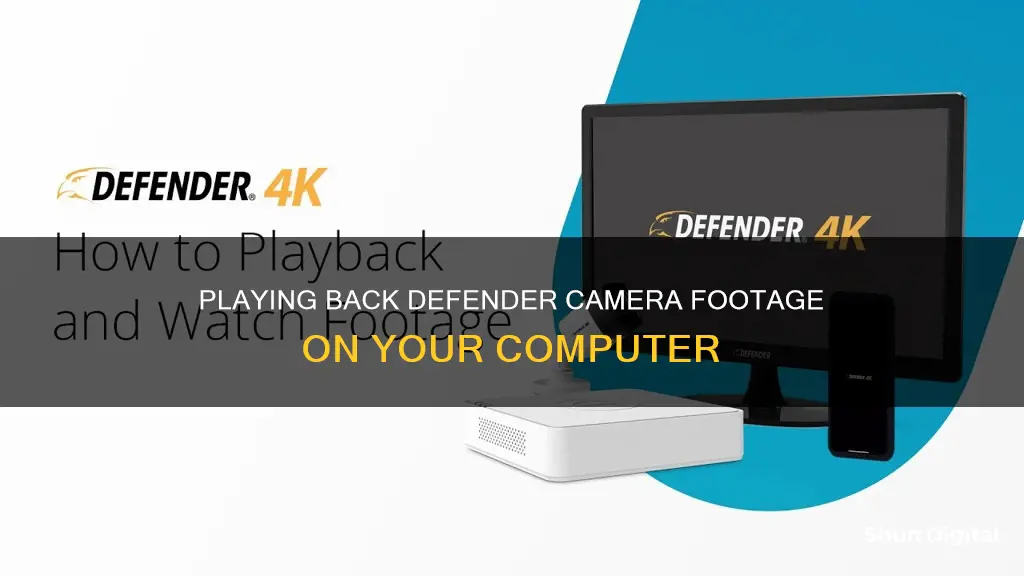
If you want to playback footage from your Defender camera on your computer, you can do so by exporting the footage from the SD card onto a personal computer using an SD card slot or a compatible SD card reader. When new footage is available, a small yellow folder icon will flash at the top of the screen. To access the footage list, press the joystick while in the camera view. From there, you can select the month and date you would like to view, as well as the camera the footage was recorded from.
| Characteristics | Values |
|---|---|
| Footage availability | A small yellow folder icon will flash at the top of the screen when new footage is available |
| Footage access | Press the joystick while in the camera view to access the footage list |
| Footage list format | The recording file list will appear in the form of a calendar |
| Footage selection | Allows selection of the month, date, and camera the footage was recorded from |
| Footage navigation | Move the joystick left and right to navigate through the menu options |
| Footage selection confirmation | Move the joystick up and down to change the selection, then press the joystick to confirm |
| Footage playback | Use the joystick to navigate the list of recordings, select the file, and play or pause |
| Footage playback speed | Move the joystick left and right to fast forward or rewind, press multiple times to increase speed up to 16x |
| Footage deletion | Use the Delete button on the monitor to delete individual files or format the SD card to clear all footage |
| Footage viewing options | Use an SD card slot or USB card reader to watch footage on a computer or some televisions |
| App issues | The Defender Guard App is experiencing intermittent issues, a resolution is expected shortly |
| App viewing | PC or MAC viewing is not offered, the focus is on mobile viewing through iPhone and Android apps |
What You'll Learn
![]()
Using an SD card slot
To playback footage from your Defender camera on your computer using an SD card slot, you will first need to export the footage from the SD card onto your computer using a compatible SD card reader.
Once the footage is on your computer, you can try playing it back with a video player such as VLC. If the footage is in a strange file format, you may need to convert the files. For example, if the files have a .data extension, you can convert them to .mp4 by using software such as Prism by NCH Software or Smart Converter Pro for iMac.
If you are using Windows 10, you can try using FFmpeg to convert the .data files to .mp4. Open Command Prompt and navigate to the root directory of the SD card. Then, run the following command:
For /R %i in (*.data) do ffmpeg -i "%i" -c copy "%~pi%~ni.mp4"
This command will convert all the .data files in the current directory and its subdirectories to .mp4 files.
Alternatively, if you have a Mac or Linux computer, you can use the following command in the Terminal:
Find . -type f -name '*.data' -exec sh -c 'ffmpeg -i "$1" -c copy "${1%.data}.mp4"' _ {} \;
This command will also convert all the .data files in the current directory and its subdirectories to .mp4 files.
Mastering Camera Games: Fun Computer Tricks for All
You may want to see also
![]()
Using a USB card reader
To playback footage from your Defender camera on your computer using a USB card reader, you will first need to take the SD card out of your camera. Make sure that your computer has a USB card reader; many desktop and laptop computers now have these built-in, but not all. You can check your computer manual or consult the manufacturer's support team to see if your computer has an internal memory card reader.
If your computer does not have a built-in card reader, you will need to purchase an external USB card reader. These are available at most electronics stores and online retailers for less than $20 USD.
Once you have confirmed that you have a card reader, insert the SD card into the reader and plug the reader into a USB port on your computer. The card should appear as a drive letter (or removable drive) in "My Computer" or "Computer" (in Vista and Windows 7). If the card does not appear, try the following:
- Turn on your camera and switch it to "Play" mode (this may also be called "View", "Preview", "Playback Mode", "PC Mode", or "Review Mode").
- If it is still not appearing, turn off your camera, disconnect it, and then turn it on again before reconnecting it to your computer.
- If there is still no drive letter appearing, check your camera settings for an option called "Mass Storage", "USB Mass Storage", or "Mass Storage Device". Enable this option and reconnect your camera to your computer.
By following these steps, you should be able to use a USB card reader to access and playback footage from your Defender camera on your computer.
Charging the TG-4: Battery Power for Your Olympus Camera
You may want to see also
![]()
Selecting the month and date
To playback footage from your Defender camera on a computer, you will first need to export the footage from the SD card onto a personal computer using an SD card slot or a compatible SD card reader.
To select the month and date of the footage you want to play back, you will need to access the footage list. To do this, press the joystick while in the camera view. This will open the recording file list, which will appear in the form of a calendar. Here, you can select the month and date you would like to view, as well as the camera the footage was recorded from.
Use the joystick to navigate through the menu options. Moving the joystick left and right will allow you to navigate, while moving it up and down will change the selection, such as the month or camera. Press the joystick to confirm your selection and refresh your search results. Once the day you want to watch is highlighted in blue, you can use the joystick to select it.
A list of recordings will then appear, with the date and time available. Navigate this list using the joystick and select the file you would like to watch.
The Evolution of Cameras: Components and Advancements
You may want to see also
![]()
Choosing the camera used for footage
When choosing a camera to shoot footage with, there are several factors to consider. The first is the type of camera.
Smartphone
Smartphone cameras have improved significantly and can now shoot in 4K. They are a good option for those who want to shoot short videos and have limited storage space. However, they may not be suitable for those who require high-quality audio or need to shoot for extended periods.
Camcorder
Camcorders are a standard choice for amateur videographers due to their portability and ease of use. While most camcorders shoot in 1080p resolution, some newer models offer 4K. They typically have built-in microphones that capture decent audio, but for more professional results, an external microphone is recommended. Camcorders from Canon, Sony, and Panasonic are popular options and can range in price from several hundred dollars to $1,000.
DSLR and Mirrorless Cameras
DSLR and mirrorless cameras are a popular choice for those who want both still and video capabilities. They offer interchangeable lenses, providing more creative control over the footage. Models from brands like Canon, Sony, and Panasonic can capture video in 4K. However, these cameras often require additional gear, such as a tripod or stabiliser rig, and external audio equipment for the best results. DSLR and mirrorless cameras can range in price from $1,000 to several thousand dollars.
Professional and Broadcast Video Cameras
Professional and broadcast video cameras are designed for advanced users who have a thorough understanding of videography techniques and settings. These cameras typically have high-end sensors, interchangeable lenses, and professional inputs and outputs. They are commonly used for news broadcasts, documentaries, and commercial work. Popular options include models from Canon, Sony, Panasonic, and Blackmagic. These cameras can cost several thousand dollars, and when paired with the necessary support gear, the price can exceed $10,000.
Cinema Cameras
Cinema cameras are the most expensive and complex option, typically used for high-end commercial work or feature films. They require a dedicated camera crew to operate and are often paired with high-end support gear. Brands such as ARRI, RED, Blackmagic, Sony, and Canon offer cinema cameras, and the cost of the camera body alone can exceed the price of a car. When fully equipped with support gear, these setups can cost well over $10,000.
Blender Camera Focus: What You Need to Know
You may want to see also
![]()
Deleting files from the SD card
Deleting Files on a Computer
If you want to delete files from your SD card using a computer, follow these steps:
- Insert the SD card: Use a card reader to insert your SD card into your computer.
- Open File Explorer: You can do this by searching for "File Explorer" in the Start menu or by pressing [Windows + E] on your keyboard.
- Locate your SD card: Open the "My PC" or "Computer" folder, typically represented by a desktop computer icon. Your SD card will usually be listed under "Devices and Drivers."
- Navigate to your SD card folder: Once you've found your SD card, open the folder and locate the files you want to delete.
- Select the files: Left-click on the files you want to delete to highlight them.
- Delete the files: You can use one of the following methods:
- Press the "Delete" key on your keyboard and confirm the deletion by clicking "Yes."
- Hold "Shift" and press "Delete" together to bypass the confirmation prompt and permanently delete the files.
- Right-click on the selected files, choose "Delete" from the options, and confirm the deletion by clicking "Yes."
Formatting the SD Card
If you want to delete all the files on your SD card at once, you can format the SD card. Here's how to do it:
- Open "Windows Explorer": You can do this by pressing [Windows + E] or by searching for "Windows Explorer" in the Start menu or Cortana search bar.
- Locate your SD card: Open the "This PC" or "My PC" folder and look for the "Devices and Drives" section. Your SD card should be listed there.
- Right-click on the SD card: This will open a list of actions you can perform.
- Choose the "Format" option: Scroll down the list of actions and select "Format." Confirm the formatting process if prompted.
Using a Smartphone
You can also delete all the contents of your SD card using a smartphone:
- Insert the SD card: Put the SD card into your smartphone.
- Reboot the device: Press the Home, Volume Down, and Power buttons together to reboot the device and enter recovery mode.
- Select "Wipe data/Factory Reset": Use the Volume Down button to navigate the options and select "Wipe data/Factory Reset" with the Home button. This will delete all the data on your SD card.
Using Erasing Software
If you prefer, you can use erasing software such as TunesBro Disk Eraser to delete the files from your SD card:
- Install the software: Download and install Super Eraser or similar erasing software on your Mac.
- Connect your SD card: Use a card reader to connect your SD card to your Mac.
- Launch the application: Open the application and double-click on the "Wipe Hard Drive" option to locate your SD card.
- Select your SD card: Click on your SD card from the list of storage drives.
- Delete the files: Click on the "Wipe Now" button to delete all the files and data from your SD card.
The Evolution of Retina Eye Camera Technology
You may want to see also
Frequently asked questions
You can export the footage from the SD card onto a personal computer using an SD card slot or a compatible SD card reader.
Currently, Defender does not offer PC or MAC viewing for the Guard. The company is focusing on bringing the best possible mobile viewing experience on iPhone and Android smartphone devices through the Defender apps.
When new footage is available, a small yellow folder icon will flash at the top of the screen. To access the footage list, press the joystick while in the camera view. This will open the recording file list which will appear in the form of a calendar. Here you can select the month, date, and camera the footage was recorded from. Use the joystick to navigate the list and select the file you would like to watch. Once the video starts playing, it can be paused by moving the joystick down and played again by moving it up.
To delete individual files, highlight the footage you want to delete in the recording list screen and press the Delete button on the monitor. To clear the entire SD card, format the card by pressing the menu button, selecting Settings, selecting Format Memory, and selecting Yes.