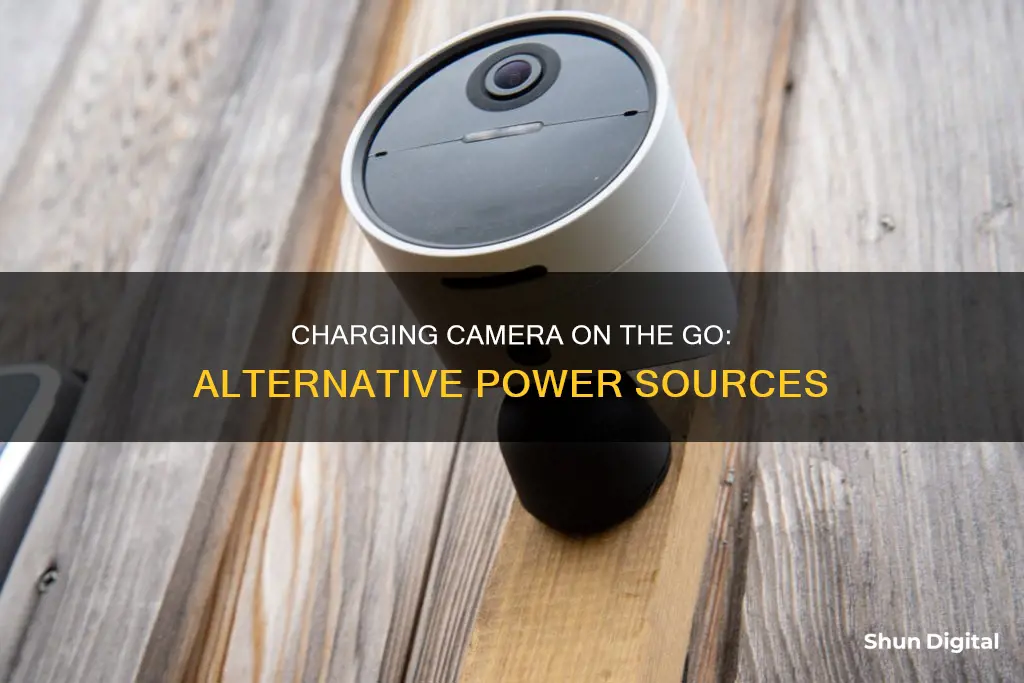
There are several ways to charge a camera without an outlet. If your camera has a USB port, you can use a USB cable to connect it to a power bank, computer, or wall adapter. You can also use a DC adapter, solar panel, or replace the camera's battery with AA batteries. Some cameras can also be charged using a mobile charger or a car battery, though this is not recommended as it may damage the camera or car battery. It's important to consult the camera's handbook to ensure compatibility with the chosen charging method and to follow any specific instructions.
| Characteristics | Values |
|---|---|
| Charging method | USB cable, power bank, computer, DC adapter, solar panel, car battery, mobile charger, external battery pack, AA batteries |
| Charging time | Longer with USB cable than with a specialised charger |
| Compatibility | Check the handbook or specifications to confirm the charging method is appropriate for the camera model and battery type |
| Charging process | Steps vary depending on the charging method, but may include switching off the camera, connecting the camera to a power source via a USB cable, and monitoring the charging process to prevent overcharging |

Use a power bank
Using a power bank to charge your camera is a convenient option, especially if you're on the move and don't have access to a wall outlet. Here's a detailed guide on how to use a power bank to charge your camera:
Choosing the Right Power Bank:
- Voltage Compatibility: Ensure that the power bank has the same voltage as the built-in battery in your camera. Most DSLR cameras have an average power rating of 7.4V/1.5-2A, while smaller camera batteries are typically rated around 3.6-3.7V.
- Capacity: Consider the capacity of the power bank, which is usually measured in mAh (milliampere-hour). The higher the mAh, the more charging power it can provide. Calculate the required capacity by taking 2/3 of the power bank capacity and dividing it by your camera's battery capacity. This will give you an estimate of how many full charges the power bank can deliver.
- Portability: If you plan to carry the power bank with you, opt for a compact and lightweight model that fits easily into your pocket or bag.
- Durability: Look for a power bank that is resistant to water, dust, and shock to protect it from the elements if you'll be using it outdoors.
- Safety: Avoid very cheap or knock-off brands, as they may lack essential safety features such as short-circuit protection.
Charging Your Camera with a Power Bank:
- Turn Off Your Camera: Ensure your camera is switched off before beginning the charging process.
- Connect the Power Bank: Use a USB cable to connect the power bank to your camera. Most cameras will have a micro-USB connection. If your camera uses a different type of port, you may need a special adapter.
- Monitor the Charging Process: Keep an eye on the charging progress to prevent overcharging. Some power banks may have LED indicators or screens that show the charging status.
- Safe Removal: Once the battery is fully charged, remember to safely detach the power bank from your camera.
Additional Tips:
- Charging Time: The charging time will depend on the power bank's capacity and your camera's battery life. A higher-capacity power bank will generally charge your camera faster.
- Charging Outside the Camera: You can also charge the camera battery separately using an external USB battery charger. Connect the charger to the power bank using a USB cable.
- Camera Compatibility: Not all cameras support USB charging with the battery inside. Check your camera's user manual to confirm if your model is compatible with in-camera USB charging.
- Use the Correct Cable: Use the USB interface cable recommended by the camera manufacturer or one that is compatible. Ordinary USB cables may not deliver the required power.
Charging Camera Batteries: Using Your Car's Power
You may want to see also

Use a computer
Using a computer to charge your camera is a convenient method if you don't have access to a wall outlet. This method works well in emergencies, but there are a few things to keep in mind.
First, check your camera's handbook or specifications to confirm that your camera can be charged via a computer. Not all cameras support this charging method, and using an incompatible charging technique may damage your camera or battery.
If your camera does support charging via a computer, make sure you have the necessary equipment: a computer (desktop or laptop) and a USB cable. Most digital cameras include a USB charging cable in the original package, so you may already have one.
Once you have confirmed compatibility and gathered the necessary equipment, follow these steps:
- Power off your camera: It is important to turn off your camera before beginning the charging process.
- Insert the battery: Ensure that the battery is properly inserted into the camera. Some cameras may also require a memory card to be installed for charging to work.
- Connect the USB cable: Take the USB cable and connect one end to the USB port on your computer. Then, connect the other end of the cable to your camera.
- Wait for charging to start: Once the connection is established, your camera's LCD screen may display a message like "Charging." The charging process will then begin.
- Allow sufficient time for charging: Charging a camera battery via a computer may take longer than using a dedicated charger. The charging time will depend on factors such as the battery capacity and the power output of the computer's USB port.
- Monitor the process: Keep an eye on the charging process to prevent overcharging. Some cameras may have an indicator light that turns off when the battery is fully charged.
Using a computer to charge your camera is a handy solution when you don't have access to a wall outlet or charger. However, always refer to your camera's manual and ensure compatibility to avoid any potential damage to your equipment.
Charging the Argus 2: How Long to Wait?
You may want to see also

Use a wall plug
If you're charging your camera without an outlet, you can use a wall plug with a USB charging cable. This is a common method for charging camera batteries without a charger. Most digital cameras come with a USB charging cable, which can be used to connect the camera to a USB wall adapter.
To charge your camera battery using a wall plug and USB cable, follow these steps:
- Ensure your camera is switched off.
- Connect the USB cable to your camera.
- Plug the USB cable into the USB wall adapter.
- Plug the wall adapter into a wall socket.
Your camera battery will now begin charging.
It's important to note that charging your camera battery via USB may take longer than using a specialised charger. Before attempting to charge your camera this way, consult your camera's instructions to ensure it supports USB charging.
Additionally, ensure that the USB cable and wall adapter are compatible with your camera in terms of connectors, voltage range, and current. Using incompatible accessories may damage your camera or battery.
If you're looking for a temporary solution to charge your camera without an outlet, a power bank or computer can also be used, in addition to the wall plug method described above.
Charging Your SimpliSafe Outdoor Camera: A Quick Guide
You may want to see also

Replace batteries
Replacing a camera battery can be a tricky process, and it's important to exercise caution to avoid damaging your device. The process will vary depending on the camera model, and some may require technical expertise.
If your camera battery is corroded, you will need to clean the affected area before replacing the battery. To do this, keep your camera upright to avoid any liquid from dripping inside. You can use a mixture of water and baking soda, or water and vinegar, applied with a cotton tip or foam Q-tip. For larger corroded areas, a toothbrush can be used. Once cleaned, allow the camera to dry for several hours to ensure any remaining liquid evaporates.
For cameras with a removable battery, the process is relatively straightforward. First, locate the battery release button and slide or pull it to unlock the battery compartment. Remove the rechargeable battery, taking care not to damage the battery or the device. Then, insert a new battery, ensuring it is correctly aligned and locked into place.
Some cameras may require disassembly to access the battery. In these cases, it is recommended to seek professional assistance, especially if you are unsure about the process. Attempting to repair your device without the necessary technical knowledge may void your warranty or cause further damage.
When replacing the battery, ensure you use an appropriate replacement that is compatible with your camera model. Improper batteries may cause damage or malfunction. Additionally, always handle batteries with care, avoiding puncture or exposure to extreme temperatures.
Finally, always refer to your camera's user manual or seek guidance from the manufacturer if you are unsure about the battery replacement process or encounter any issues.
Motorola Focus 66: How Long Does the Charge Last?
You may want to see also

Use a solar panel
Using a solar panel to charge your camera is a great way to harness renewable energy while also ensuring you can capture moments without worrying about power. Here's a detailed guide on how to do it:
Step 1: Get the Right Equipment
You will need a solar panel, which you can easily find online or at your local electronics store. Ensure you get a power delivery cable that is compatible with your camera's port and the solar panel.
Step 2: Identify Power Requirements
Before you begin charging, it's important to understand the power requirements of your camera. Check the specifications for the power rating in Watts and the voltage rating (either 12V or 24V). This information is crucial for determining the size of the solar panel and battery you'll need.
Step 3: Choose the Right Battery
There are two common types of batteries to choose from: Deep Cycle Lead Acid or Li-Ion. Deep Cycle Lead Acid batteries are more affordable, have a lifespan of 2-5 years, and offer good performance for solar energy storage. Li-Ion batteries, on the other hand, can be charged quickly, are lightweight, and have a longer lifespan of 5-9 years, but they are significantly more expensive.
Step 4: Calculate Battery Size
To ensure your battery can store enough power for continuous camera usage, calculate the Watt-Hours required to run the camera for a day. Then, determine the battery capacity required. It is recommended to operate the battery at 50% of its cycle to extend its lifespan.
Step 5: Select the Solar Panel
Now, choose a solar panel with a voltage output equal to or greater than your battery. You can use online tools like the Global Solar Atlas to find out the average daily sun hours (or "peak sun hours") in your location. This information will help you size your solar panel appropriately.
Step 6: Connect the Components
Using the appropriate cables, connect your solar panel to the battery and then connect your camera to the battery. Ensure that the positive and negative terminals are correctly matched during these connections.
Step 7: Position the Solar Panel
Place the solar panel in a sunny area, preferably facing the equator, to maximize sun exposure. Adjust the tilt angle to be approximately equal to the latitude angle. This will ensure your solar panel captures the maximum amount of sunlight.
Step 8: Monitor Charging
Keep an eye on your devices and protect them from direct sunlight and heat. The size of your solar panel and the intensity of sunlight will affect charging time. Solar charging may take longer than using a conventional charger, but it's an environmentally friendly and portable solution.
By following these steps, you can confidently charge your camera using solar power, making it a reliable option for outdoor photography without relying on power outlets.
Charging Camera Batteries: Strategies for Dead Rising Players
You may want to see also
Frequently asked questions
First, turn off your camera. Then, connect your camera to the power bank using a USB cable. Once the battery is fully charged, disconnect the power bank.
Yes, but check your camera manual first to make sure it supports this charging method. Then, insert the camera's battery, switch off the camera, and connect it to your computer using a USB cable.
Yes, you can replace the old camera batteries with new ones. First, turn off your camera and open the battery compartment, usually located at the back. Remove the old batteries and insert new ones, ensuring the connections are secure.
If your phone charger outputs at 5V, you can try using it. However, if the charger is less than 500mA, your camera will take a long time to charge.


