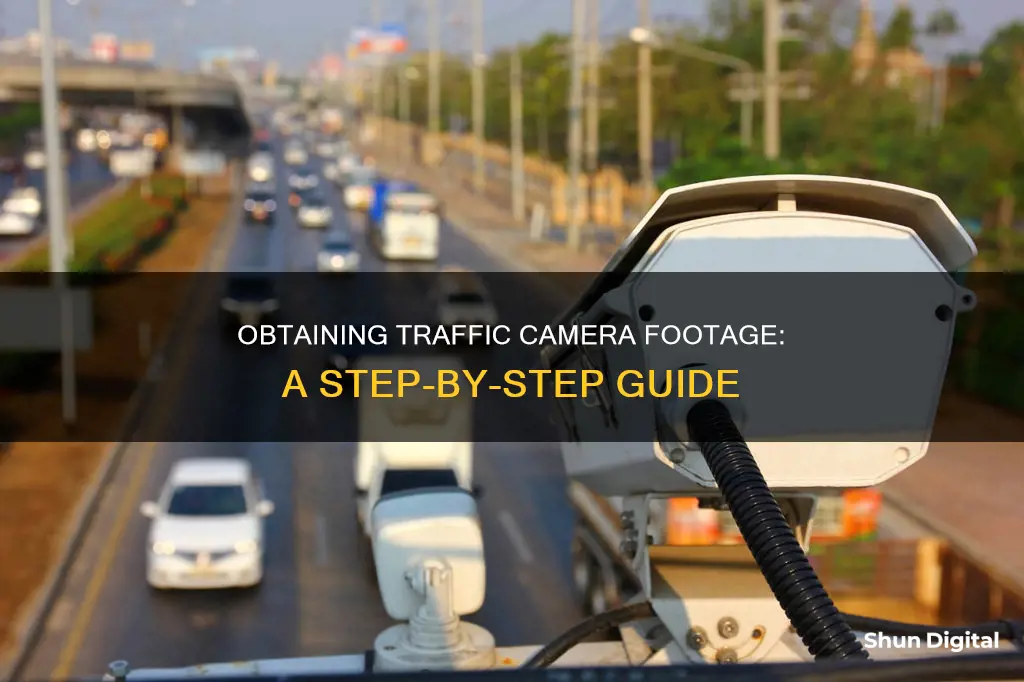
Traffic camera footage can be crucial evidence for determining the cause of a car accident and holding responsible parties accountable. It can be challenging to obtain this footage, but there are several steps you can take to increase your chances of success. First, identify the location and jurisdiction of the traffic camera, then contact the appropriate agency, which may be the local police department, the Department of Transportation, or a private company. Request the footage by providing details such as the date, time, and location of the accident, and be prepared to pay a small fee. Be persistent but polite in your follow-up, as these agencies receive many requests daily, and there is a limited time frame for the footage to be available.
| Characteristics | Values |
|---|---|
| Types of Traffic Camera Footage | Traffic cam footage, business security cameras, dashcam footage from police vehicles, witness cellphones, home surveillance systems |
| How to Access Footage | Identify the location of the traffic camera, determine the jurisdiction of the camera, contact the appropriate agency, request the video footage |
| Time to Access Footage | In Chicago, 24-hour streaming video from red light cameras is available for 30 days, while red-light violation footage can be viewed for up to two years. In other places, footage may be stored for a few days to several weeks, months or even years. |
| Cost | Some agencies may charge a small fee for the time and effort to identify the correct footage and create a copy. |
What You'll Learn
![]()
Identify the location of the traffic camera
Identifying the location of the traffic camera is the first step to accessing traffic camera footage. This is usually easy as you will likely remember where the incident occurred. If the exact location has slipped your mind, you can refer to your copy of the police report, which will have the location. You can also contact the local police department or the Department of Transportation to get the camera's location.
There are also other ways to identify the location of traffic cameras. For instance, in South Australia, you can visit the speedcameras.sa.gov.au website or download SAPOL's app to find camera locations on your mobile device. Similarly, in Western Australia, you can find red-light and speed camera locations online.
Additionally, there are websites and apps that provide maps of traffic camera locations. For example, PhotoEnforced.com has become the largest public database map of traffic camera locations in the world through user contributions. Another example is the interactive Google Map created by Angela Buffington and Jonathan Melby, which shows the location of every traffic camera in the U.S.
Charging Your Eufy Camera Battery: A Step-by-Step Guide
You may want to see also
![]()
Determine the jurisdiction of the camera
Once you've identified the location of the traffic camera, you need to determine its jurisdiction. This is important because it dictates who you should contact to obtain the video footage.
Traffic cameras may be operated by the local police department, department of transportation, or a private company. For example, in Chicago, the City of Chicago website allows users to search and pay for parking tickets, view photos from parking tickets, and view speed camera videos and red light videos.
In some cases, you may need to get a subpoena from the court before the agency will hand over the footage. This typically requires the clerk of a court to issue a written order in the name of the judge. This is where a lawyer can help—they can provide legal advice and help you obtain a subpoena if necessary.
Different agencies (metropolitan, sheriff, etc.) have jurisdiction over different areas of a city or state. In terms of traffic camera footage, a jurisdiction might not even lie with the police, as the cameras might be operated by the Department of Transportation or a private firm, depending on the state and county.
Surveillance Room Setup: Axis Cameras Configuration Guide
You may want to see also
![]()
Contact the appropriate agency
Contacting the appropriate agency is the most crucial step in obtaining traffic camera footage. The process can vary depending on the location and the type of camera involved. Here is a step-by-step guide to help you through the process:
Step 1: Identify the Responsible Agency
It is important to first identify which agency is responsible for the specific traffic camera. This could be the local police department, the Department of Transportation, or even a private company. For example, if the camera is located in Henderson, Nevada, you would need to contact the Henderson police department, as they have jurisdiction over that area.
Step 2: Gather Contact Information
Once you have identified the responsible agency, you should gather their contact information. Most agencies will provide several methods of contact, including an official phone number, an email address, or a website. Having multiple methods of contact is helpful if you need to follow up on your request.
Step 3: Make the Request
When making your request, be prepared to provide specific details about the incident, including the date, time, and location. You may also need to provide a reason for your request and fill out any necessary forms. Some agencies may require a release form, assuring them that the footage will only be used for personal purposes. It is also important to ask about any associated fees, as some agencies may charge a small amount for providing the footage.
Step 4: Follow Up
After making your initial request, it is important to follow up to ensure your request is being processed. Be persistent but polite in your follow-up calls or emails. The process of obtaining traffic camera footage can be time-consuming, and your request may be overlooked, so it is your responsibility to stay on top of it.
Step 5: Understand Storage Limitations
It is crucial to understand that traffic camera footage is not stored indefinitely. The length of time footage is kept varies by agency, with some storing it for a few days to several weeks, while others may keep it for months or even years. Once the footage has been recorded over, it is usually unrecoverable, so it is essential to act quickly when making your request.
Additional Tips:
- If you are unsure about the specific location of the camera, you can reference the police report from the incident, which should include this information.
- If you are seeking footage from a privately-owned camera, such as a business surveillance camera, you will need to contact the owner directly. If they refuse to provide the footage, you may need to pursue legal processes.
- While you do not need to hire a lawyer to request traffic camera footage, doing so can increase your chances of success. A lawyer can also help you obtain any necessary subpoenas and navigate the process more efficiently.
Understanding Stereo Mode in Camera: Enhancing Your Photography
You may want to see also
![]()
Request the video footage
Requesting traffic camera footage can be a complex and frustrating process, but it is an important step in determining the cause of an accident and holding responsible parties accountable. Here is a step-by-step guide to help you request the video footage you need:
Step 1: Identify the Camera's Location
The first step is to identify the location of the traffic camera that may have captured the incident. This information can be found by reviewing the police report or by contacting the local police department or the Department of Transportation. Knowing the exact location of the camera will be crucial in your request for footage.
Step 2: Determine the Jurisdiction
Once you know the location of the camera, you need to determine which agency has jurisdiction over it. The camera may be operated by the local police department, the Department of Transportation, or a private company. This information is important because it will determine who you need to contact to obtain the video footage.
Step 3: Contact the Appropriate Agency
After identifying the jurisdiction, you need to reach out to the responsible agency. Most agencies provide contact information, including official phone numbers, websites, or specific email addresses. They may also require you to fill out and submit a form to make a formal request for the video footage.
Step 4: Make the Request
When contacting the agency, be prepared to provide details about the incident, including the date, time, and location. It is important to be persistent yet polite in your follow-up calls or emails. Some agencies may require you to submit a privacy release form, assuring them that you will use the footage only for personal purposes, such as a personal injury case. Additionally, inquire about any potential fees associated with obtaining the footage, as some agencies may charge a small amount to cover the costs of identifying and duplicating the footage.
Step 5: Review the Footage
Once you receive the video footage, review it carefully. Take note of any details that may help determine the cause of the incident, such as vehicle positions and speeds. Remember that the footage may contain sensitive information, so use it responsibly and only share it with those who have a legitimate need to see it.
Step 6: Seek Legal Advice
If you are unsure about how to proceed after obtaining the footage or if you encounter difficulties in the process, consider seeking legal advice from an experienced attorney. They can guide you on your rights and obligations and advise you on how to use the footage effectively to support your case.
Do Police Car Cameras Record Audio and Video?
You may want to see also
![]()
Review the footage
Once you have obtained the traffic camera footage, it is important to carefully review the footage for any details that may help determine the cause of the accident and establish the responsible party. Here are some steps and considerations to keep in mind when reviewing the footage:
- Note the Position and Speed of Vehicles: Pay close attention to the position of the vehicles involved in the collision. This can help establish the sequence of events and determine who may be at fault. Additionally, try to estimate the speed of the vehicles, as it can provide valuable information about the severity of the impact.
- Look for Traffic Violations: The footage may capture traffic violations such as running a red light, speeding, or failure to yield. These violations can strengthen your case and provide evidence of negligence.
- Identify Bystanders and Witnesses: In some cases, the footage may capture the presence of bystanders or witnesses to the accident. This information can be crucial, as these individuals can provide valuable testimony to support your claim. Make sure to take note of their locations and, if possible, their identities.
- Corroborate Your Claim: The footage can be used to corroborate your account of the events. Compare the footage with your recollection of the accident and look for any inconsistencies or additional details that may impact your claim.
- Enhance Your Legal Strategy: Reviewing the footage may provide new insights or evidence that can help you build a stronger legal case. Consult with your attorney to discuss any changes or adjustments to your legal strategy based on the information obtained from the footage.
- Protect Sensitive Information: Remember that the footage may contain sensitive details, such as the identity of other drivers or passengers involved. It is important to handle the footage responsibly and only share it with individuals who have a legitimate need to know, such as your legal team and insurance company.
- Seek Expert Assistance: If necessary, consider seeking the assistance of accident reconstruction experts. They can analyse the footage, along with other evidence, to determine important factors such as vehicle speed, the sequence of events, and potential contributing factors.
It is important to act quickly when requesting and reviewing traffic camera footage, as it is typically stored for a limited period, ranging from a few days to several weeks, or even months in some cases. Once the footage is recorded over or deleted, it is usually unrecoverable. Therefore, prompt action is crucial to ensure you obtain the evidence you need to support your claim or defence.
Camera Batteries: Drain or Top-Up for Best Performance?
You may want to see also
Frequently asked questions
First, identify the location of the traffic camera. Then, determine the jurisdiction of the camera. Next, contact the appropriate agency and request the video footage, providing details such as the date, time, and location of the accident. Finally, review the footage and seek legal advice if needed.
The retention period for traffic camera footage varies depending on the jurisdiction and camera system. It can range from a few days to several weeks, months, or even years. It's important to act quickly, as some agencies may overwrite or delete footage within 24-72 hours.
There are two primary types of traffic cameras: enforcement cameras and non-enforcement cameras. Enforcement cameras are used to catch traffic violations and issue tickets, such as red-light cameras and speed cameras. Non-enforcement cameras are used to monitor road conditions in real-time and are not used for enforcement, such as automated number plate recognition cameras and traffic sensor cameras.