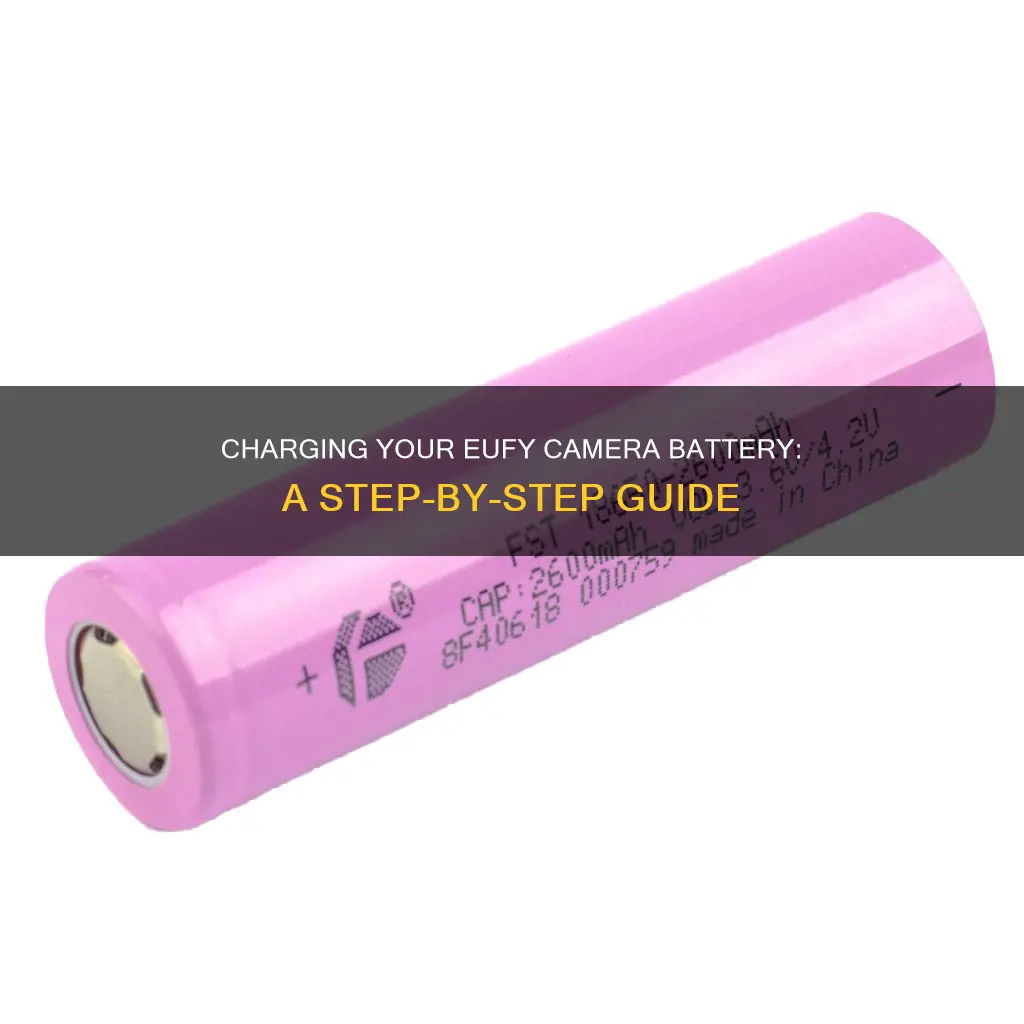
Charging a Eufy camera battery is a straightforward process, but there are a few things to keep in mind. Firstly, Eufy cameras are designed to be low-maintenance, with a single charge advertised to last 365 days on power and 3 years on standby. When the time comes to recharge, simply locate the charging port, usually on the back or bottom of the device, and connect the provided charging cable. You can then plug the other end of the cable into a power source, such as a wall outlet or a USB port on a computer. It's important to ensure a stable power source to avoid interruptions during charging. The LED indicator on the camera will typically turn solid red to indicate that it is charging and should be left connected until the battery is fully charged. This process may take a few hours, depending on the model and battery level. Once charged, disconnect the camera from the power source to prevent overcharging and maintain battery health. It's worth noting that different Eufy models may have unique charging methods, so always refer to the user manual or manufacturer's instructions for your specific camera.
| Characteristics | Values |
|---|---|
| Charging port location | Usually on the back or bottom of the device |
| Charging cable | USB cable provided with the camera |
| Power source | Wall outlet or USB port on a computer |
| Charging time | Varies depending on model and battery capacity |
| Battery level check | Through the mobile app or LED indicator on the camera |
| Charging progress check | LED indicator on the camera or mobile app |
| Charging status | LED light turns solid red when charging |
| Charging duration | Approximately 4 hours to full charge |
What You'll Learn
- Locating the charging port: Usually on the back or bottom of the device
- Connecting the charging cable: Use the provided USB cable
- Power source: Plug into a wall outlet or USB port on a computer
- Charging time: Varies depending on the model and battery capacity
- Disconnecting: Remove the cable once the battery is fully charged
![]()
Locating the charging port: Usually on the back or bottom of the device
To charge your Eufy camera, the first step is to locate the charging port. This is usually found on the back or bottom of the device. Once you have located the charging port, you can proceed to charge your camera.
The charging port on the Eufy camera is typically located on the back or bottom of the device. It may be covered by a rubber seal to protect the waterproof rating of the camera, so make sure to check for this detail. If there is a rubber seal, carefully peel it back to reveal the micro USB port. With the charging port exposed, you can now connect the provided charging cable.
The charging port on your Eufy camera is likely to be a micro USB port. This type of port is commonly used for charging and data transfer, and it is designed to be durable and provide a secure connection. By using a micro USB port, Eufy ensures compatibility with widely available charging cables and makes it convenient for users to find replacement cables if needed.
When locating the charging port, it is important to be gentle and careful. Avoid using excessive force or sharp objects to pry open any covers or seals. If you encounter resistance, double-check that you are correctly aligning the cable with the port and avoid forcing it. Remember that the charging port is an essential component of your camera, and mishandling it could lead to damage or malfunction.
Once you have successfully located and identified the charging port, you can proceed with the next steps of connecting the charging cable and plugging it into a power source to initiate the charging process for your Eufy camera.
Charging Your Fuji X-S1: A Quick Guide
You may want to see also
![]()
Connecting the charging cable: Use the provided USB cable
To charge your Eufy camera battery, you'll need to connect the provided USB cable to the camera and a power source. Here's a detailed guide on how to do this:
Connecting the charging cable:
Use the provided USB cable. This cable should have come with your Eufy camera, and it's specifically designed to fit the camera's charging port.
Locate the charging port on your camera. It is usually located on the back or bottom of the device. The charging port will be covered by a rubber seal to protect the waterproof rating of the camera. Gently peel back this rubber covering to access the micro-USB port.
Gently insert the USB cable into the charging port, ensuring a proper connection. The micro-USB end of the cable is the smaller end and should fit snugly into the charging port.
Connecting to a power source:
Now, take the other end of the USB cable and connect it to a power source. You can use a standard wall adapter (5V) plugged into an electric outlet, or you can use a USB port on a computer or laptop. Ensure that the power source is turned on and supplying power.
Once connected, the camera will start charging automatically. The LED indicator on the camera will usually turn solid red to indicate that it is charging. This LED light will be either red or blue, depending on your model.
It's important to note that charging times may vary depending on the model and battery capacity of your Eufy camera. On average, it takes about four hours to fully charge the battery.
Tips and Troubleshooting:
If your Eufy camera is taking longer than expected to charge, there are a few things you can check. Firstly, ensure that you're using the original charger and cable provided with the camera. Universal chargers may not support fast charging, leading to longer charging times.
Additionally, check for any voltage mismatches. Your wall outlet's voltage should be compatible with the charger. Also, inspect the USB cable for any signs of damage, such as scratches or twists, as this can impact charging performance.
Lastly, if you're still experiencing charging issues, refer to your camera's user manual for further troubleshooting steps or contact Eufy customer support for assistance.
Charging Your Canon 80D: A Quick Guide
You may want to see also
![]()
Power source: Plug into a wall outlet or USB port on a computer
To charge a Eufy camera battery, you'll need to connect the camera to a power source. The Eufy camera comes with a USB cable and an adapter. Plug one end of the cable into the camera's charging port, which is usually located on the back or bottom of the device, and plug the other end into the adapter. Then, simply plug the adapter into a wall outlet or a USB port on a computer.
Before connecting the camera, ensure that the power source is functioning properly by plugging in another device or checking if the outlet has electricity. Once the camera is connected, the battery will start charging. The camera typically has an LED indicator that shows the charging status. For instance, it may turn solid red to indicate that the camera is charging. The charging time may vary depending on the model and battery capacity, but it usually takes around four hours for the battery to fully charge.
Keep an eye on the LED indicator to monitor the charging progress. Refer to the camera's user manual to understand the specific behaviour of the LED indicator during charging. Once the battery is fully charged, disconnect the camera from the power source by unplugging the USB cable from the camera and the power outlet. This will help preserve battery life and prevent overcharging.
It's important to note that newer Eufy camera models may have different charging methods or features, so always refer to the user manual or the manufacturer's website for specific instructions on charging your particular model.
Charging the Elinksmart Camera: Always-on or Timed Sessions?
You may want to see also
![]()
Charging time: Varies depending on the model and battery capacity
The charging time for your Eufy camera battery can vary depending on the model and battery capacity. To ensure your device charges efficiently, it is important to follow the correct charging procedure and be aware of factors that can influence charging time.
Firstly, locate the charging port on your camera. This is typically found on the back or bottom of the device. Once located, use the provided USB charging cable to connect the camera to a power source. This could be a wall outlet or a USB port on a computer. Ensure that the power source is turned on and functioning properly.
The camera's LED indicator will usually start flashing to indicate that it is charging. The colour of the LED light may vary depending on the model. It is important to allow the camera to remain connected to the power source until it is fully charged. The charging time can differ based on the specific model and battery capacity of your Eufy camera.
To optimise the charging process, it is recommended to use the original cable provided by Eufy. Thicker cables tend to facilitate faster charging, as they allow for a greater current flow. Additionally, the USB port on your Homebase can be used for charging, offering an alternative option.
It is worth noting that the latest Eufy camera models may have different charging methods and features. Therefore, it is advisable to refer to the user manual or the manufacturer's website for specific instructions on charging your particular model.
Charging Your Bird Buddy Camera: A Quick Guide
You may want to see also
![]()
Disconnecting: Remove the cable once the battery is fully charged
Disconnecting the charging cable once the battery is fully charged is an important step in the process of charging your Eufy camera. This step is crucial to preserving the lifespan of your camera's battery and ensuring optimal performance. Here are some detailed instructions and considerations for this step:
Firstly, it is important to understand how to determine when the battery is fully charged. The charging time may vary depending on the model and battery capacity of your Eufy camera. On average, the Eufy camera battery takes approximately four hours to charge fully. However, it is always recommended to refer to the user manual or the manufacturer's website for specific charging times and instructions for your particular model.
To know when the battery is fully charged, you can rely on the LED indicator on the camera. The LED indicator will usually change colour or behaviour during the charging process. For example, it may turn solid red to indicate that the camera is charging. Once the battery is fully charged, the LED indicator will typically change again, such as turning solid green or turning off. These indicators vary depending on the model of your Eufy camera, so be sure to refer to the user manual for specific details.
Additionally, some Eufy cameras offer a mobile app that allows you to monitor the charging progress more precisely. By checking the app, you can see the battery level increasing and determine when it reaches 100%. If your camera doesn't have an app, relying on the LED indicator is a reliable method to know when the battery is fully charged.
Once you have confirmed that the battery is fully charged, it's time to disconnect the charging cable. Carefully unplug the USB cable from the charging port on the camera, and then remove the adapter from the power outlet. Ensure that you handle the camera gently during this process to avoid any accidental damage.
It is worth noting that the latest Eufy camera models may have different charging methods or features. Therefore, it is always a good idea to refer to the user manual or the manufacturer's website for specific instructions on disconnecting the charging cable and any other model-specific considerations.
By following these steps and staying mindful of the charging progress and indicators, you can ensure that your Eufy camera's battery is charged properly and help maintain its performance and longevity.
Samy's Camera: Tax-Free Shopping Experience
You may want to see also
Frequently asked questions
First, locate the charging port on the camera, usually on the back or bottom. Then, connect the provided charging cable to the charging port and plug the other end into a power source, such as a wall outlet or a USB port on a computer. Ensure the power source is on and supplying power. Allow the camera to charge fully, and then disconnect it from the power source.
The Eufy camera takes approximately 4 hours to charge from zero to full. However, each charge lasts 365 days on active surveillance, making it a good deal.
When you connect the charger, an LED light will start glowing red, indicating that your device is charging without any problems. Once the device is fully charged, the red LED indicator will turn off, signalling that it's ready to be unplugged.
If your Eufy camera isn't charging as quickly as expected, first check if you're using the correct charger. Using a universal 5V USB charger will result in slower charging compared to the fast-charging capability of the original equipment. Also, ensure there is no voltage mismatch between your wall outlet and the charger, and verify that the USB cable is not damaged.