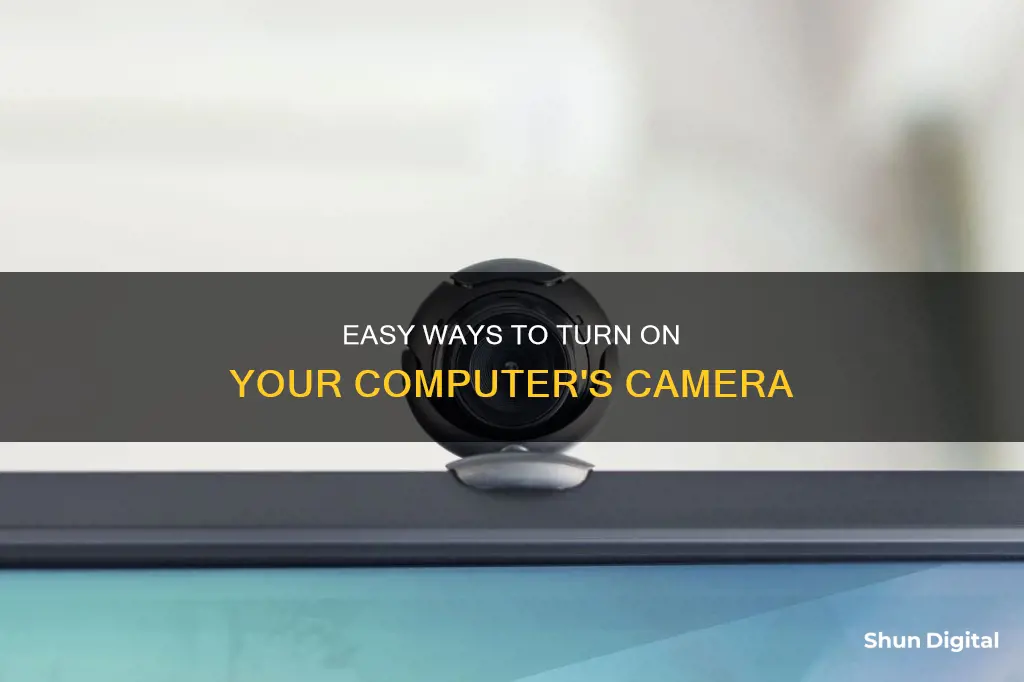
Many computers come with built-in webcams, but if you need to buy a separate webcam for your PC, you can refer to guides on how to set it up. This paragraph will teach you how to activate your camera on Windows 10, as well as how to give other apps permission to use your camera. To turn on your camera, go to Settings > Privacy > Camera, select Change, and enable Allow Apps to Access Your Camera. You can then use Windows 10's Camera app to test your webcam.
What You'll Learn

Enabling camera access for specific apps
If you're using a Windows 10 or 11 device, you can enable camera access for specific apps by following these steps:
Go to Start > Settings > Privacy & Security > Camera.
Make sure Camera access is turned on. This setting allows any user on the device to choose whether they want apps to access their camera.
Next, scroll down and select the specific app you want to grant camera access to. Turn on camera access for that particular app.
If you're using an iPhone or iPad, the process is slightly different. When an app requests access to your camera for the first time, you will receive a pop-up notification asking for your permission. If you agree, the app will have permanent access to your camera. However, if you tap "Don't Allow", the app will never ask for permission again.
To manage a single app's permissions, go to Settings and scroll down to the list of apps. Tap on the app in question, and you will see the permissions it wants. You can enable or disable camera permissions for that specific app.
Alternatively, you can manage app privacy permissions by going to Settings > Privacy > Camera. Here, you will see a list of apps that have access to your camera, and you can allow or block access as needed.
Samsung Note 8: Night Mode Camera Feature Explained
You may want to see also

Using the Windows Camera app
If your PC has a built-in camera or a connected webcam, you can use the Camera app to take photos and videos.
Opening the Camera App
To open the Camera app, select the Start button, then select All apps, and then select Camera in the list of apps. If you have multiple cameras, you can switch between them by selecting Change Camera at the top right once the Camera app is opened.
Taking Photos and Videos
To take a photo or video, select Photo or Video, then select it again to take a picture or start a video. If you are making a video, select Video again to finish recording.
Viewing Your Photos and Videos
To see your new photo or video, or ones you've taken before, select Start > Photos and then choose the Collection you want to see.
Changing Camera Settings
You can change some options for your camera in Settings, like showing grid lines to help you compose a photo, or including location info in your photos.
To change camera settings, open the Camera app and swipe in from the right edge of the screen, and then select Settings. If you're using a mouse, right-click within the app.
Switching Cameras
If your device has more than one camera, like a front-facing and a rear-facing camera, you can switch cameras before taking a photo or video.
Open the Camera app and swipe in from the bottom edge to see the app commands. If you're using a mouse, right-click within the app. Select Change camera.
Charging Your Sanyo E1090: Quick and Easy Guide
You may want to see also

Troubleshooting a non-responsive camera
Check Your Camera Settings:
- Ensure your camera access is enabled: Go to "Settings > Privacy > Camera" and make sure "Allow apps to use your camera" is turned on.
- Choose which apps can access your camera: In the same "Privacy" settings, scroll down and select the specific apps that you want to grant camera access to.
- Check your app permissions: In "Settings > Privacy," select "Camera" under "App Permissions." Ensure that access to your camera device is turned on for the apps you want to use.
Check Your Device Manager:
- Open Device Manager: Right-click on the Start menu and select "Device Manager."
- Expand camera options: Expand "Cameras," "Imaging devices," or "Sound, video, and game controllers" branch.
- Enable your camera: Right-click on your camera device and ensure it is enabled.
Check Your Antivirus Software:
- Review antivirus settings: Check the settings in your antivirus software to ensure they are not blocking access to your camera or preventing its activation.
- Allow access: You may need to allow access to your camera in your antivirus software's privacy settings by whitelisting your webcam.
Update or Install Camera Driver Software:
- Update camera driver: Go to Device Manager, find your camera device, right-click on it, and select "Update device driver."
- Install camera driver: If your camera is still not working, visit your manufacturer's support website and download the necessary driver installation package.
Additional Troubleshooting Tips:
- Test your webcam with another device to ensure it is functioning properly.
- Try using a different USB port to connect your camera.
- Ensure the correct device is enabled, especially if you have both a built-in and external webcam.
- Check your camera's physical connection to your computer, ensuring that all cables are securely fastened.
- Consult your camera manufacturer's documentation for additional troubleshooting guidance.
If you have tried these steps and your camera is still non-responsive, you may need to contact the manufacturer for further support or consider replacing your camera.
SmackDown vs. Raw: Who Has Better Camera Work?
You may want to see also

Allowing camera access on Mac
To activate your Mac's webcam, you must first open an app that has camera access. For example, open an app such as FaceTime, or turn on a feature that uses your Mac's camera. You will know your camera is activated when you see a green light next to it.
If you want to allow third-party apps to access your camera, you will need to adjust your settings. Go to Apple menu > System Preferences > Privacy & Security. From there, select the lock icon in the lower-left corner to make changes to your preferences. Select Camera, then enable the toggle next to the app that needs camera access.
If you are using macOS Catalina 10.15, you will need to go to System Settings and click on Privacy & Security in the sidebar. If you don't see Camera as an option, you will need to upgrade to macOS Mojave or later. Turn access to the camera on or off for each app in the list.
If you are still having issues, you may need to reset your Microphone settings. To do this, go to the Terminal app and type:
Tccutil reset Microphone
Charging Your Polaroid Z2300: A Quick Guide
You may want to see also

Using the Camera app on Mac
To activate your Mac's camera, you need to open an app that uses the camera. This is because you can't just turn the iSight camera on or off by itself; it won't activate unless an app is using it. Some apps that use the camera include Photo Booth, FaceTime, and Zoom.
To find these apps, click on any empty area of your Mac desktop to go to the Finder, then go to the menu bar at the top left. Click Go > Applications. Locate and double-click on the desired app.
Once you've opened the app, you'll see a green light next to your camera lens turn on, indicating that your camera is active and ready to use.
The Evolution of Photography: First Camera Invention
You may want to see also
Frequently asked questions
Go to Settings > Privacy > Camera, select "Change," and enable the "Allow Apps to Access Your Camera" option.
If you're using Windows 10, select the Start button, then choose your webcam from the device list.
Open an app with camera access, such as FaceTime, or turn on a feature that uses your Mac's camera. You will see a green light that indicates your camera has successfully turned on.
If your device is equipped with a camera light, this light will turn on when the camera is in use. If your system is not equipped with a camera light, you should get a notification to let you know when the camera is turned on or off.


