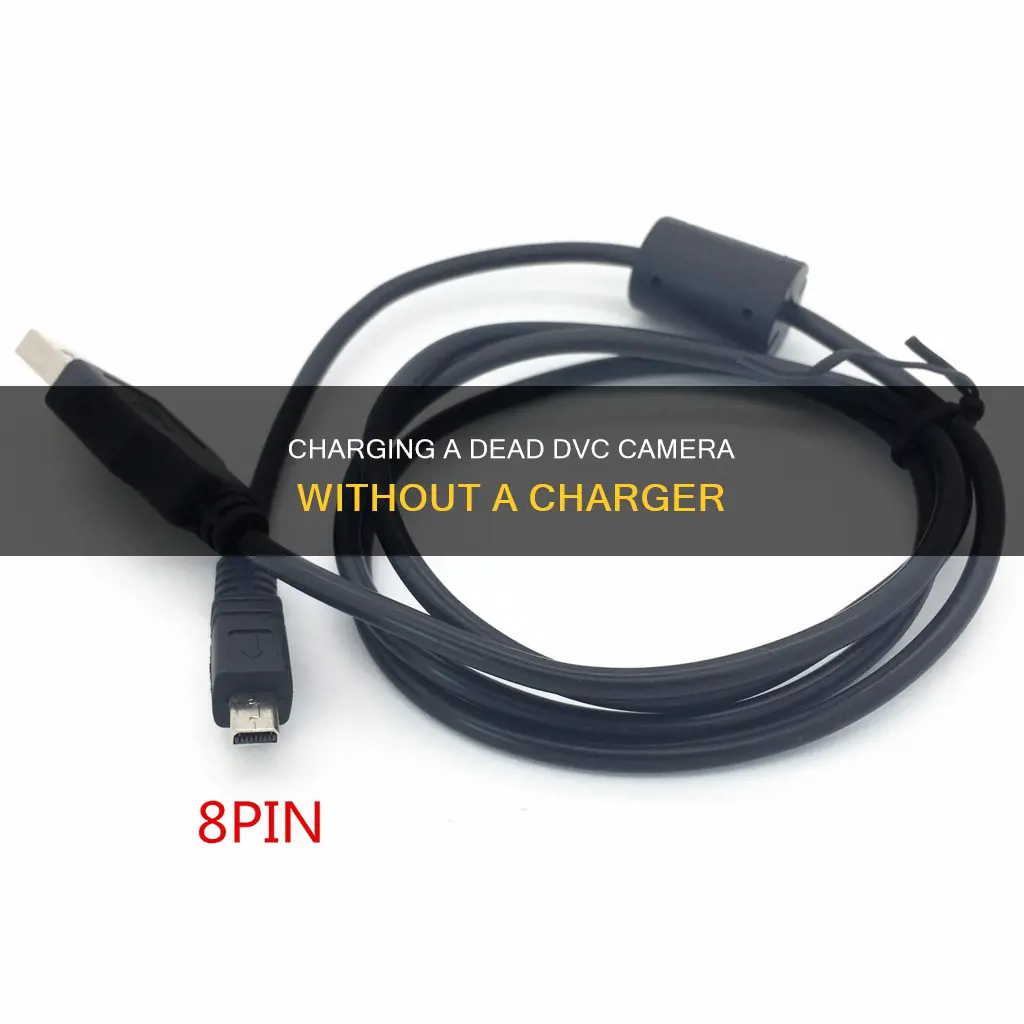
Charging a DVC camera without a charger can be done in a few different ways. First, it is important to check the type of battery your camera uses. The two most common types are Lithium-ion and Nickel-metal hydride (NiMH) batteries. Once you know the type of battery, you can determine the appropriate charging method. One option is to use a power bank, which can be connected to your camera's battery with a PD cable. Alternatively, you can charge your camera through a computer or laptop, but be sure to check your camera's handbook to ensure it supports this charging method. Another option is to use a USB cable and a wall plug. Make sure the USB cable is compatible with your camera in terms of connectors, voltage range, and current.
Characteristics of charging a DVC camera without a charger
| Characteristics | Values |
|---|---|
| Charging methods | USB, power bank, computer |
| USB charging steps | 1. Put the mini rechargeable lithium battery into the camera slot. 2. Switch off the camera. 3. Attach the USB charging cord to the camera or the external battery pack directly. 4. Attach the USB wall adapter to your USB cord and plug it into the wall |
| Power bank charging steps | 1. Put the inbuilt ones in the slot and turn off the shooting device. 2. Attach one end of the USB cord to the camera’s input port and the other end to the power bank’s output slot. 3. Check the indicated LEDs or the screen display to see whether the digital battery is charging |
| Computer charging steps | 1. Check the handbook to ensure the camera can be charged by a computer. 2. Put the battery in, switch off the camera, and ensure it has a memory card installed. 3. Attach the camera to the USB cord and connect the wire to the computer's USB port |
What You'll Learn
![]()
Charging a DVC camera with a power bank
If you're looking to charge your DVC camera with a power bank, there are a few things you should keep in mind. Firstly, check that your camera battery is charged in-camera via a microUSB port. The standard 5V charge voltage level is required by the USB specification, but some manufacturers may use a proprietary charge voltage. This means that you may need to use a specific cable that came with your camera, rather than a standard USB cable.
If your camera does charge via a standard microUSB port, you can connect it to a power bank using a microUSB cable. Make sure your power bank has enough capacity to charge your camera. A 6000-10000 mAh power bank should be sufficient to charge a camera, phone, or tablet. Keep in mind that you will need to recharge the power bank, so you will still need access to a power outlet at some point.
It's worth noting that you may not be able to use your camera while it's charging, and charging times may vary depending on the power bank and camera model. Additionally, some cameras may not work with certain power banks, so it's always a good idea to test the setup before relying on it in the field.
While charging your camera with a power bank can be convenient, some people prefer to carry spare batteries and an external charger instead. This allows them to continue using the camera while the spare battery is charging. However, this method may require you to carry additional equipment and find a place to plug in the charger. Ultimately, the decision between using a power bank or spare batteries depends on your personal preferences and shooting style.
Charging Your 4K Dual Action Camera: A Quick Guide
You may want to see also
![]()
Using a USB cable and wall plug
Charging your camera battery using a USB cable and wall plug is a standard method. To do this, ensure that the USB cable you choose is compatible with your camera in terms of connectors, voltage range, and current. Most camera manufacturers include a USB charging cable or a small power adapter in the original package.
Step 1: Insert a mini rechargeable lithium battery, such as an LP-E6 or NP-F, into the camera slot. If you have a v-mount or gold-mount camera, you can leave the battery on the mounting plate.
Step 2: Turn off your camera. It is crucial to switch off the camera before charging, as it cannot charge while it is turned on.
Step 3: Connect the USB charging cord to your camera or an external battery pack. The USB port is usually located inside the rubber cover that protects the ports and connectors of your camera.
Step 4: Plug the USB wall adapter into your USB cord, and then attach the plug to the wall.
You will know that your camera or v-mount external battery is fully charged when the light turns off. At this point, you can safely remove the cable.
Please note that charging your camera battery via USB may take longer than using a dedicated charger, as a specialised charger can deliver more power. Always refer to your camera's handbook to ensure that your specific model supports USB charging, as using incompatible cables or power sources may damage your camera battery.
Charging Camera Batteries: How Frequently Should You Do It?
You may want to see also
![]()
Charging via a computer
Charging your camera via a computer is a handy way to charge your camera without a charger. However, before proceeding, it is important to check your camera's manual to ensure that it supports charging via a computer. Certain camera models, such as DSLRs and mirrorless cameras, have higher power requirements and may not be suitable for this charging method.
Step 1: Prepare the Camera
Firstly, ensure that your camera is switched off. Some camera models may not charge if they are turned on. Next, insert a memory card into the camera if it doesn't already have one. Some cameras will only charge when a memory card is inserted as they may interpret the connection to your computer as a data transfer connection.
Step 2: Connect the Camera to the Computer
Use the USB cable that came with your camera to connect your camera to the computer. Attach one end of the USB cable to the camera's input port, usually located inside the rubber cover that protects the ports and connectors. Then, connect the other end of the USB cable to an available USB port on your computer.
Step 3: Follow On-Screen Instructions
Once the camera is connected to the computer, a pop-up may appear on your computer screen. Follow the on-screen instructions to initiate the charging process. Your computer may prompt you to select the USB connection type, in which case you should choose the option that enables charging through the port.
Step 4: Monitor the Charging Process
While the camera is charging, a light may turn on at the connection site. This indicates that electricity is being delivered to the camera. Depending on your camera model, the charging time can vary, typically taking around two to three hours for a compact lithium camera to fully charge. Once the camera is fully charged, the light will turn off.
It is important to note that not all camera models can be charged via a computer. Always refer to your camera's user manual to understand its specific charging requirements and compatibility with different charging methods. Additionally, ensure that any charging accessories you use are compatible with your camera model.
Charging Your Panasonic Lumix: A Step-by-Step Guide
You may want to see also
![]()
Using the correct charger
First, it is important to identify the type of battery your DVC camera uses. The two most common types of batteries in these cameras are Lithium-ion and Nickel-metal hydride (NiMH). Lithium-ion batteries are more prevalent and offer longer battery life and better performance. Knowing your battery type will help you choose the right charging method.
Once you've identified your battery type, locate the charger that came with your camera. Most chargers consist of two parts: a power adapter that connects to an electrical outlet, and a cable that connects to your camera's battery. Using the charger provided by the manufacturer ensures compatibility and helps prevent damage to your device.
For Lithium-ion batteries, insert the battery into the charger, and then connect the charger's cable to the battery. Plug the power adapter into an electrical outlet. If your camera uses NiMH batteries, simply insert the battery into a compatible charger and plug the charger into the outlet.
When charging, always monitor the charging status of your battery. Most DVC cameras have an LED indicator that shows whether the battery is fully charged or still charging. For Lithium-ion batteries, a red light typically indicates that the battery is charging, while a green light means it is fully charged. The charger will automatically stop charging once the battery is full.
It is important to note that overcharging your camera's battery can reduce its lifespan. So, remember to disconnect the charger once your battery is fully charged. Additionally, always refer to the operating instructions supplied with your camera for model-specific information and recommendations.
Japan Camera Import: Customs and Charging
You may want to see also
![]()
Monitoring the charging status
Most DVC digital video cameras are equipped with an LED indicator that provides a visual representation of the charging status. This LED light is typically located near the charging port or on the battery itself. When your camera is connected to a power source and is actively charging, the LED light will illuminate in a specific colour, usually red. This red light indicates that the charging process is ongoing.
For Lithium-ion batteries, a red light on the LED indicator signifies that your battery is currently charging. It is important to ensure that the camera remains connected to the power source until the battery is fully charged. Depending on the remaining power in your battery and the charging conditions, the charging time can vary. On average, charging a fully depleted battery at room temperature (25°C or 77°F) can take around 2 hours.
As your battery continues to charge, keep an eye on the LED indicator. Once the battery reaches a full charge, the LED light will typically change colour, often turning green. This visual cue is an indication that your battery is now fully charged and ready for use. At this point, it is advisable to disconnect the charger from the power source to avoid overcharging, which can reduce the lifespan of your battery.
In addition to visual indicators, some DVC cameras may also provide an audible notification, such as a beep or a specific tone, to alert you when the battery is fully charged. This feature can be particularly useful if you are not within direct line of sight of the camera while it is charging.
It is important to note that the charging status indicators may vary slightly depending on the model and brand of your DVC camera. Always refer to your camera's user manual or seek model-specific information for precise details on monitoring the charging status of your particular device.
Charging Your 4K Ultra HD Camera: A Step-by-Step Guide
You may want to see also
Frequently asked questions
You can charge your camera using a power bank, a computer, or a USB cable and a wall plug.
First, make sure your power bank has enough energy to charge your camera. Then, use a PD cable to connect your camera to the power bank.
You need to take off the built-in cell pack and look for the specifications that indicate the number of milliamperes (mAh) that your batteries use.
First, check your camera's handbook to make sure it can be charged by a computer. Then, put the battery in, switch off the camera, and make sure it has a memory card installed. Finally, attach your camera to the USB cord and connect the wire to your computer's USB port.
First, put the rechargeable lithium battery into the camera slot. Then, switch off the camera. Next, attach the USB charging cord to the camera or the external battery pack. Finally, attach the USB wall adapter to your USB cord and plug it into the wall.