Mounting a camera to your car's bumper is a great way to improve visibility and safety. Whether you're looking to avoid curbs, parking blocks, or other obstacles, a front-facing camera can help you navigate with confidence. When choosing a camera, consider the viewing angle, night vision capabilities, and ease of installation. Some cameras offer a wider 180-degree view, while others have adjustable mounting brackets to get the perfect angle. You can also find cameras with parking assistance features, such as selectable parking lines, to make manoeuvring your car even easier.
| Characteristics | Values |
|---|---|
| Camera Type | Backup Camera, Front View Camera, Rear View Camera |
| Mount Type | Bumper Mount, Flush Mount, Screw Mount, Surface Mount, Lip Mount, Universal Mount, License Plate Mount, Bullet Style Flush Mount, Bracket Mount, Bar Style License Plate Mount |
| Camera Features | Parking Assistance, Parking Lines, Infrared, Night Vision, Waterproof, HD Sensor, Wide Angle Lens |
| Compatibility | Universal Fit, Audi, BMW, Toyota, Mazda |
| Included Items | Camera, Video Cable, Power Cable, Screws, Mounting Hardware, Instructions |
What You'll Learn
- How to mount a camera to a car bumper using a screw bumper mount?
- How to mount a camera to a car bumper using a flush mount?
- How to mount a camera to a car bumper using a licence plate mount?
- How to mount a camera to a car bumper using a lip mount?
- How to mount a camera to a car bumper using a universal mount?
![]()
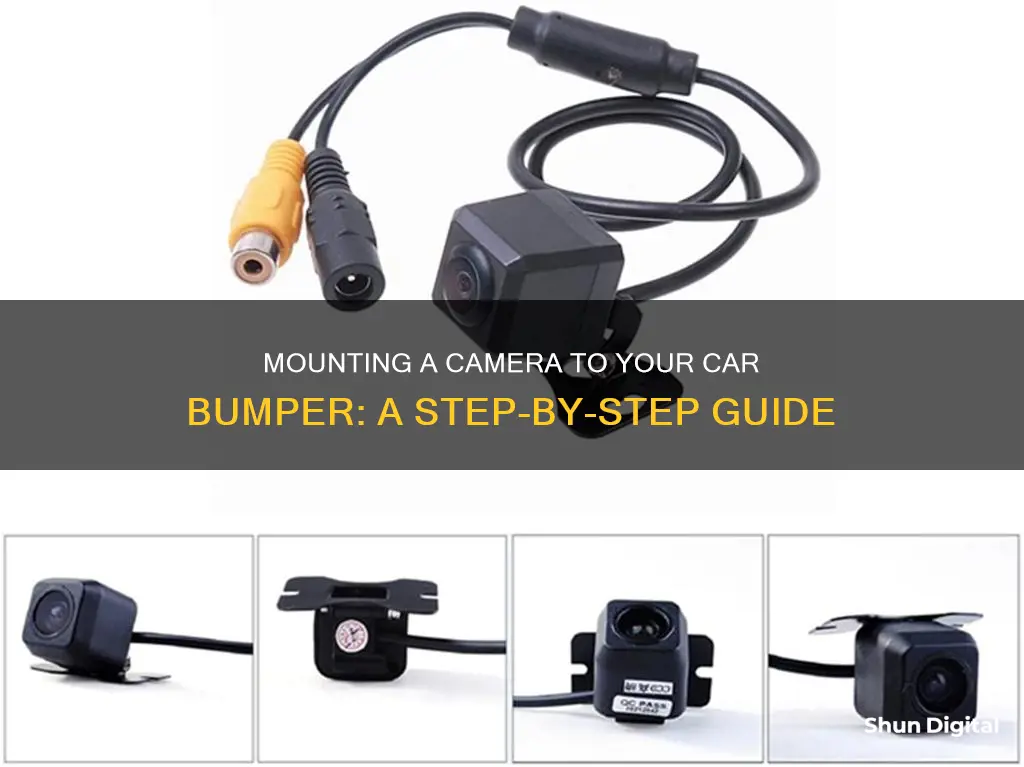
How to mount a camera to a car bumper using a screw bumper mount
Mounting a camera to a car bumper using a screw bumper mount is a straightforward process, but it requires careful attention to ensure a secure and stable installation. Here is a step-by-step guide on how to do it:
Step 1: Gather the Required Tools and Materials
Before starting the installation process, ensure you have all the necessary tools and materials. This includes the camera, screw bumper mount, a screwdriver, and any additional hardware that comes with the mount. Some screw bumper mounts may also require a drill and appropriate drill bits to create holes in the bumper.
Step 2: Choose the Correct Location
Select the desired location for the camera on the car bumper. Consider the angle and height of the camera to ensure it captures the desired field of view. Some screw bumper mounts are designed to fit into specific areas of the bumper, so refer to the manufacturer's instructions for the recommended location.
Step 3: Prepare the Surface
Clean the selected area on the bumper to ensure that the mount adheres securely. Use a mild detergent or glass cleaner to remove any dirt, grease, or debris. Ensure the surface is completely dry before proceeding to the next step.
Step 4: Drill Holes (If Necessary)
If your screw bumper mount requires drilling, use a drill bit that corresponds to the size of the screws provided with the mount. Carefully drill the holes at the marked locations on the bumper. Make sure the holes are straight and deep enough to accommodate the screws without protruding.
Step 5: Position the Camera and Mount
Place the camera onto the screw bumper mount and adjust it to the desired angle. Carefully align the mount with the holes drilled in the bumper or the designated mounting area. Ensure that the camera is securely attached to the mount to avoid accidental detachment.
Step 6: Secure the Mount with Screws
Using the provided screws, firmly attach the screw bumper mount to the car bumper. Tighten the screws by hand or with a screwdriver, following any torque specifications provided by the manufacturer. Ensure that all screws are tight and secure before proceeding.
Step 7: Test the Camera
Once the camera and screw bumper mount are securely attached, test the camera to ensure it is functioning properly. Adjust the camera angle as needed to capture the desired field of view. Check that the camera is stable and does not vibrate excessively during driving.
Step 8: Finalize the Installation
After confirming that the camera and mount are secure and functioning correctly, finalize the installation by connecting any necessary cables or wiring. Ensure that all connections are secure and insulated to protect them from the elements.
By following these steps, you can successfully mount a camera to a car bumper using a screw bumper mount, ensuring a stable and secure installation for capturing footage while driving.
Hardwiring a Dash Camera: A Step-by-Step Guide for Your Car
You may want to see also
![]()
How to mount a camera to a car bumper using a flush mount
To mount a camera to a car bumper using a flush mount, you will need to purchase a suitable camera kit. There are many options available, including wired and wireless systems, and it is important to select one that is compatible with your vehicle and your specific needs. Some cameras are designed to be mounted on the bumper, while others can be mounted on the license plate or elsewhere on the vehicle.
Once you have selected the appropriate camera kit, the next step is to carefully plan the installation. This may involve consulting the instruction manual or seeking guidance from a professional. The process will likely involve drilling a hole in the bumper and securing the camera in place with screws or other fasteners. It is important to ensure that the camera is positioned correctly and securely mounted to prevent damage or loss.
When mounting the camera, it is crucial to consider the angle and positioning to ensure that you get the desired field of view. You may need to adjust the camera's pitch and roll to get the best possible image. Additionally, consider whether you want the camera to be visible or discreet. A flush mount typically results in a seamless and discreet installation.
After the camera is mounted, you will need to connect it to a power source and a display or recording device. This may involve running cables through the vehicle and making the appropriate connections. Again, refer to the camera's instructions or seek professional assistance if needed.
Finally, test the camera to ensure it is functioning properly. Check the image quality, adjust the settings as needed, and ensure that the camera is secure and does not move or vibrate while driving.
Understanding Drive Mode in Action Cameras
You may want to see also
![]()
How to mount a camera to a car bumper using a licence plate mount
To mount a camera to a car bumper using a licence plate mount, follow these steps:
Firstly, check if your vehicle has a front license plate bracket. If it does, simply unscrew the bracket and remove the license plate. If there is a frame, you can pull it off by unscrewing it. Now, you can align your camera with the holes in the bracket and fix it in place using the screws.
If your vehicle does not have a front license plate bracket, there are several options available to you:
- Adhesive-mounted brackets: These brackets can be securely attached to the front bumper without drilling or modifying the vehicle. Simply clean the mounting site on your bumper with alcohol wipes and press the bracket firmly onto the surface.
- Bumper-specific brackets: Some vehicles have bumper-specific brackets available that are designed to fit the shape of the bumper. These brackets ensure a perfect fit and are often easy to install.
- Tow hook anchor brackets: For newer car models, you can use a tow hook anchor bracket. These brackets fit into the tow hook anchor, providing a sturdy attachment for the camera without altering the bumper.
- Drilling holes: If you prefer a more traditional approach, you can drill holes into the bumper and install the camera using screws. This method requires careful measurements and precision to avoid damaging the bumper.
When choosing a mounting option, it is important to consider the regulations in your state regarding front license plates. In California, for example, the law stipulates that the front license plate must be mounted horizontally, no higher than 60 inches from the ground, and easily readable from 50 feet away during the daytime.
Additionally, consider the challenges of installing a front license plate, such as finding a mounting method that does not compromise the integrity of the bumper and researching suitable options for unique bumper designs.
Finally, if you are unsure or uncomfortable with mounting the camera yourself, it is recommended to seek professional assistance from a mechanic or an auto body shop.
Traffic Cameras: Ticket Threats or Empty Promises?
You may want to see also
![]()
How to mount a camera to a car bumper using a lip mount
To mount a camera to your car bumper using a lip mount, follow these steps:
Firstly, you need to purchase a lip mount camera. One option is the Boyo VTK241HDL Lip Mount HD Backup Camera, which has parking lines and LED lights. Another option is the CMOS Mini Lip-Mount Camera, which is compact and versatile.
Next, you need to find a suitable lip on your car to mount the camera. The most popular mounting option is the lip above the vehicle's license plate, but you can also mount it on any surface that juts out.
Once you have identified the desired location, clean the surface to ensure that it is free of dust and debris. This will help the adhesive stick better.
If your lip mount camera uses an adhesive, such as 3M double-sided tape, peel off the cover to expose the adhesive surface. Firmly press the adhesive surface against the lip of your car's bumper.
If your lip mount camera uses screws, you may need to drill holes in the lip or bumper for the screws to fit through. Use a screwdriver to secure the camera in place.
Finally, adjust the camera angle as needed and connect it to a power source and display screen if necessary.
Now you have successfully mounted a camera to your car bumper using a lip mount!
Apple Care: Camera Coverage and Your Options
You may want to see also
![]()
How to mount a camera to a car bumper using a universal mount
Mounting a camera to your car bumper using a universal mount is a straightforward process that can be done in just a few simple steps. Here's a guide on how to do it:
Step 1: Gather the Necessary Equipment
You will need a universal car camera mount, which typically includes the camera, a mounting bracket, and any necessary screws or adhesives. You can find these at most electronics stores or online. Additionally, you will need basic tools like a drill, screwdriver, and a cleaning kit for the surface of your car bumper.
Step 2: Prepare the Camera Mount
Before mounting the camera to your car bumper, you'll need to assemble the camera and mounting bracket according to the manufacturer's instructions. This usually involves attaching the camera to the mounting bracket and securing it in place. Some universal mounts may also require you to connect any necessary cables or wiring at this stage.
Step 3: Clean the Mounting Surface
It is important to ensure that the mounting surface on your car bumper is clean and free of any dirt, debris, or moisture. Use a mild detergent or glass cleaner to wipe down the area where the mount will be attached. This will help ensure a strong and secure bond.
Step 4: Position the Camera Mount
Determine the desired position for your camera on the car bumper. Consider the angle and height that will provide the best field of view for your needs. Some cameras may have guidelines or recommendations for optimal positioning.
Step 5: Attach the Camera Mount
Once you have determined the ideal position, it's time to attach the camera mount to your car bumper. If your universal mount uses screws, use a drill to create pilot holes in the bumper, then secure the mount with the provided screws. Alternatively, if your mount uses an adhesive or suction cups, follow the manufacturer's instructions for proper application and bonding.
Step 6: Connect any Necessary Cables
If your camera requires a power source or needs to be connected to a display unit, now is the time to make those connections. Route the cables discreetly along the body of the vehicle, ensuring they are secure and won't interfere with any moving parts.
Step 7: Test the Camera
After the camera has been securely mounted and all connections have been made, it's time to test it out. Turn on the camera and ensure it is functioning properly. Adjust the angle and position as needed to get the desired field of view.
By following these steps, you can easily mount a camera to your car bumper using a universal mount, enhancing your vehicle's safety and visibility. Remember to refer to the manufacturer's instructions for any specific details related to your particular camera and mount.
High-Res Cameras: Capturing Every Detail with Ultra-Sharp Precision
You may want to see also
Frequently asked questions
There are a few ways to mount a camera to your car bumper. You can use a screw-in, surface mount, or a flush mount. Flush mounts are designed to be discreet and sit behind the bumper, whereas screw-in and surface mounts are more visible.
The type of camera you use will depend on your car and your personal preference. Some cameras are designed to be used specifically with certain car models, whereas others are universal. You should also consider whether you want a wired or wireless camera, and whether you want to use it for front or rear view.
The tools you need will depend on the type of mount you use. For a screw-in mount, you will need a screwdriver. For a flush mount, you may need to drill a hole in your bumper. You will also need to connect the camera to a power source and to a display unit.