To load a camera adapter into your computer, you will need to connect your camera to your computer using a USB cable. First, check that your camera and computer have compatible ports. Most digital cameras have a USB port, while some may also have an HDMI or mini-HDMI port. Once you have the correct ports and cables, turn on your computer and plug one end of the cable into your camera and the other end into your computer. Then, turn on your camera and switch it to the appropriate mode, such as playback or PC mode. Your computer should automatically detect your camera and install the necessary drivers. You may then need to select the appropriate folder on your camera to access your images and videos.
| Characteristics | Values |
|---|---|
| Connection type | USB cable |
| Cable shape | Rectangular |
| Cable use | Connect camera to computer |
| Computer requirements | On |
| Camera requirements | On |
| Camera mode | Playback, PC, or webcam |
| Software | Windows Photos app, Mac Photos app, Windows Movie Maker, iMovie, SparkoCam, Camera Live |
| File transfer | Copy, drag and drop |
What You'll Learn
![]()
Check your camera and computer ports
To load a camera adapter into your computer, you'll need to check that your camera and computer have compatible ports. Most digital cameras have a USB port, but some may also have an HDMI or mini-HDMI port. Depending on your computer, you may need a USB-A or USB-C port to connect to your camera.
USB cables are quite versatile, but you can't use just any USB cable to download your photos. Most point-and-shoot cameras use mini-USB connectors, so you'll need to ensure you have the correct cable for your camera. Your camera manufacturer should have included the correct USB cable in the box. If you can't find it, you may need to take your camera to an electronics store or an office supply store and purchase a cable with the correct size USB connector.
If your camera has an HDMI port and you're connecting to a computer with a USB-C port, you'll need to use an adapter or a cable that can convert the signals.
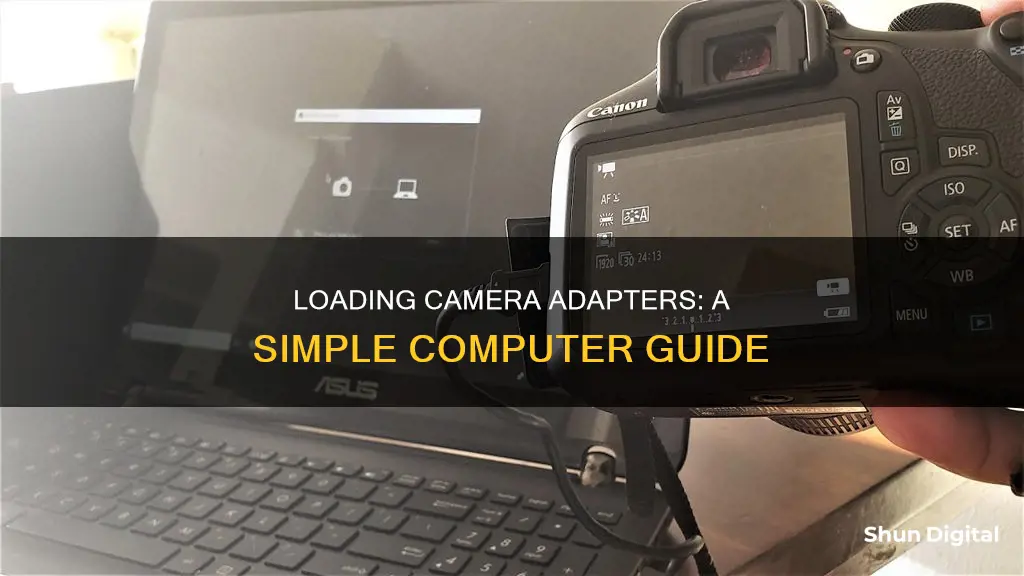
Once you have the right ports and cables, you can connect your camera and computer. Make sure your camera is turned off and your computer is on. Plug one end of the cable into your camera and the other end into your computer. Then, turn on your camera and switch it to the appropriate mode. For example, some cameras may have a playback, PC, or webcam mode that you need to select.
Your computer should automatically detect your camera and install the necessary drivers. You may also see a pop-up window or notification asking you what you want to do with your camera. You can choose to import photos, open a folder, or launch software.
Semi-Auto Mode Camera: Creative Control, Simplified
You may want to see also
![]()
Connect your camera and computer with a cable
To connect your camera and computer with a cable, you'll need to attach the camera's USB cable to both your camera and the computer while both devices are on. Here's a step-by-step guide:
- Ensure your computer is powered on.
- Turn on your camera. This can usually be done using a dial near the top of the camera.
- Plug the small end of the camera's USB cable into the camera. The port for this may be hidden under a plastic flap with an indication like "Video Out".
- Connect the other end of the USB cable to your computer. The USB end is rectangular and should fit into a port on the side of your computer or the CPU for desktop units. Ensure that the hollow side of the USB end is facing up.
- Wait for your camera's drivers to install. If it's your first time connecting, this may take a few minutes.
- A pop-up window should appear, asking what you want to do with the device. You can choose to import photos, open a folder, or launch specific software.
- Double-click "My Computer" on your PC's desktop.
- Double-click your camera's name, which should appear under the "Devices and Drives" section.
- Double-click your camera's storage folder. This is typically named "DCIM" and may contain another folder named after the camera brand.
- You can now review and manage your photos. You can delete photos from your camera's memory card, copy them to a file on your computer, or simply view them.
Remember that the process may vary slightly depending on your camera and computer models. Always refer to the user manuals for specific instructions.
Can Computer Monitors Spy on You?
You may want to see also
![]()
Use a software to access your camera
To load a camera adapter into your computer, you will need to connect your camera to your computer using a USB cable. Once the camera is connected, you can use software to access your camera and its features. Here are some detailed instructions on how to do this:
Use Software to Access Your Camera
Depending on what you want to do with your camera, you may need to use specific software to access all of its features and functions. Here are some common scenarios and the software you can use:
- Transferring photos: You can use the built-in Windows Photos app or the Mac Photos app to transfer photos from your camera to your computer.
- Editing videos: If you want to edit videos, you can use video editing software such as Windows Movie Maker or iMovie.
- Using your camera as a webcam: If you want to use your camera as a webcam, you can use software like SparkoCam or Camera Live, which can turn your camera into a virtual webcam.
- Remote access: If you want to remotely access your phone camera from your computer, you can use applications such as AirDroid Personal (for Windows and Mac), DroidCam App (for Windows), or EpocCam App (for Mac). These applications allow you to control your phone's camera and access its features without touching your phone.
General Instructions for Using Software with Your Camera
Once you have selected the appropriate software for your needs, follow these general instructions:
- Install the software: Download and install the software on your computer if you haven't already.
- Connect your camera: Use the USB cable to connect your camera to your computer, following the instructions provided by the camera manufacturer.
- Turn on your camera: Make sure your camera is turned on and set to the appropriate mode. For example, some cameras have a "playback" or "PC" mode that you need to select.
- Launch the software: Open the software you have chosen and follow any on-screen instructions to access your camera's features.
- Adjust settings: You may need to adjust the settings of your camera and software to ensure optimal quality and performance.
By following these steps, you should be able to successfully use software to access your camera and its features when it is connected to your computer.
How Cameras Precede Photos: A Historical Perspective
You may want to see also
![]()
Use an SD adapter
If your computer has a built-in SD card reader, you can simply insert your SD card into the reader. If your computer does not have a built-in reader, you can purchase an external memory card adapter compatible with your computer and memory card. These readers usually plug into a USB port and can be used to transfer files like any other external drive.
Once you have inserted your SD card into the reader, a message will pop up asking what you want to do. You can select "Import pictures to my computer" or "Open folder to view files". You can then select the pictures you want to transfer and drag and drop them into the desired folder on your computer.
If you are using a SanDisk adapter, make sure that the metal contacts on the microSD card are inserted first, with the card and adapter labels facing the same direction. You can then slide the Lock slider to the "Unlocked" position to enable write access for modifying or deleting files.
Identifying Camera Batteries: A Quick Guide
You may want to see also
![]()
Troubleshooting common issues
- Ensure your cable is securely plugged in, with the hollow side of the USB on top. Check that the connector isn't bent and that the internal wiring is intact.
- Make sure your camera is on and in the correct mode. For example, some cameras have a playback, PC, or webcam mode that needs to be selected.
- Check your computer has the latest drivers and updates.
- Check your camera supports webcam functionality and that you have the correct software and settings.
- Ensure your camera has enough battery power, memory space, and resolution.
- Adjust the lighting, focus, and exposure of your camera and software. Close any unnecessary programs or apps that may slow down your computer.
- Verify the compatibility of your camera and software with your computer and platform.
- If you're using an external camera, try using it with a different USB port on your device.
- Check your privacy settings to ensure apps have permission to access your camera.
- Check your antivirus software settings to ensure they're not blocking access to your camera.
- Check your hardware drivers and try scanning for hardware changes in the Device Manager.
Disputing DC Camera Tickets: What You Need to Know
You may want to see also
Frequently asked questions
You will need a USB cable to connect your camera to your computer. Most point-and-shoot cameras use mini-USB connectors, so ensure you have the correct USB cable for your camera.
First, ensure your computer is on and your camera is turned on and in the correct mode (e.g. "Playback" or "PC" mode). Next, plug the small end of the USB cable into your camera and the other end into a USB port on your computer.
Once connected, your computer should automatically detect your camera and install the necessary drivers. You may then be prompted to select an option to download or save your photos. Alternatively, you can open "My Computer" or "File Explorer" and locate your camera's storage folder to view and transfer your photos.