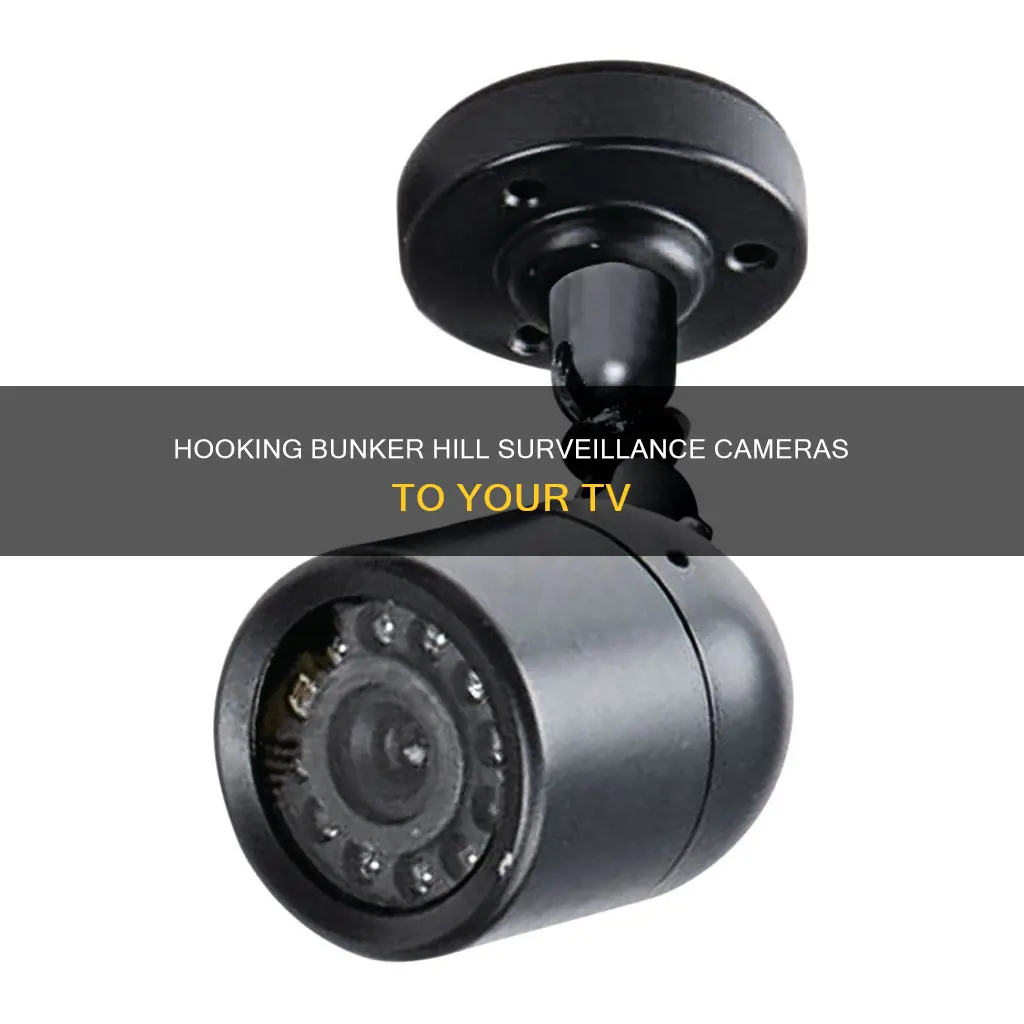
If you're looking to connect your Bunker Hill security camera to your TV, you've come to the right place. In this paragraph, we will provide a step-by-step guide on how to connect your Bunker Hill security camera to your TV, so you can conveniently monitor your premises and enhance your surveillance experience. Firstly, it is crucial to ensure compatibility between your Bunker Hill security camera and your TV. Most Bunker Hill security cameras support the standard analog CCTV format, so they should be compatible with TVs that have an RCA input. Once you've confirmed compatibility, gather the necessary equipment, including the camera, RCA cables, and a power supply for the camera. Then, connect the power supply to your camera and plug it into a power outlet. The next step is to locate the BNC port on the back of your security camera and connect one end of the BNC-to-RCA adapter into it. After that, connect the RCA cables to the corresponding ports on the adapter and TV. Once all connections are secure, turn on your TV and select the input source that matches the RCA input, which could be labelled as AV, Aux, or Input. Now, you can adjust the camera view and monitor the video feed. Finally, test the connection by walking in front of the camera and verifying that the video feed is displayed on your TV screen. By following these steps, you can easily connect your Bunker Hill security camera to your TV and ensure the security of your home.
| Characteristics | Values |
|---|---|
| Camera model | Bunker Hill Security Camera |
| Cable type | Coaxial (RF), Ethernet, HDMI, RCA |
| Power | Connect to power outlet |
| Camera port | BNC, "Video In" |
| TV port | Antenna, RCA input, HDMI |
| TV input | "AV," "Aux," "Input," "Video In," "Camera," "Ethernet" |
| Camera features | Adjustable resolution, frame rate |
What You'll Learn
![]()
Bunker Hill Camera and TV Compatibility
Bunker Hill security cameras are a popular choice for home and business surveillance systems due to their reliability and affordability. If you own one, you might be interested in connecting it to your TV for a more convenient viewing experience. This article will provide a detailed guide on ensuring compatibility and establishing a successful connection between your Bunker Hill security camera and your TV.
Determining Compatibility:
Before attempting to connect your Bunker Hill security camera to your TV, it is essential to ensure that they are compatible with each other. Most Bunker Hill security cameras support the standard analog CCTV format, which means they are generally compatible with TVs that have an RCA input. Therefore, you should check the specifications of both your security camera and your TV to confirm this compatibility.
Required Equipment:
To establish a successful connection, you will need the following equipment:
- Bunker Hill security camera
- RCA cables (usually with yellow, red, and white connectors)
- Power supply for the security camera
- TV with an RCA input
Connection Process:
Once you have confirmed compatibility and gathered the required equipment, you can proceed with the connection process:
- Power up the Security Camera: Connect the power supply to your Bunker Hill security camera and plug it into a power outlet. Ensure that the camera is receiving power and functioning properly.
- Connect the Security Camera to the TV:
- Locate the BNC port on the back of your security camera.
- Insert one end of the BNC-to-RCA adapter into the BNC port of the security camera.
- Connect the yellow RCA cable to the yellow port on the BNC-to-RCA adapter and the other end to the yellow RCA input on your TV.
- Connect the red and white RCA cables to the corresponding ports on the BNC-to-RCA adapter and the TV.
- Select the Input Source on Your TV: After making all the connections, turn on your TV and use the remote control to select the input source corresponding to the RCA input. This input source could be labelled as "AV", "Aux", or "Input", depending on your TV model. Refer to your TV's user manual for specific instructions.
- Adjust the Camera View and Monitor: Position the camera as desired and make any necessary adjustments to obtain the desired field of view. Use the TV remote to adjust volume, brightness, contrast, or any other settings for an optimal viewing experience.
- Test the Connection: To ensure that the connection is working correctly, walk in front of the camera's field of view and verify that the video feed is displayed on your TV screen.
Additional Tips:
- If you are experiencing white lines on your Bunker Hill security camera's feed, try moving the camera closer to the TV or router, as this could be due to a weak signal.
- If you wish to connect your Bunker Hill security camera to a DVR (digital video recorder), you can do so using an HDMI cable. This will allow you to view the camera's live feed on your TV without the need for a separate DVR device.
Surveillance in Washington DC: How Many Cameras?
You may want to see also
![]()
Required Equipment
To connect a Bunker Hill security camera to a TV, you will need to ensure you have the correct equipment. The specific equipment required will depend on the model of your camera and TV, so it is important to check the user manuals for both devices. Here is a list of the equipment you may need:
- Bunker Hill Security Camera: Ensure you have the specific model of Bunker Hill security camera that you plan to connect to your TV.
- TV: The TV you intend to connect to should be compatible with the Bunker Hill security camera.
- RCA Cables: Typically, these cables are colour-coded with yellow, red, and white connectors. These are used to transmit video and audio signals.
- BNC to RCA Adapter: This adapter is necessary to connect the RCA cables to the BNC port on the security camera.
- HDMI Cable: An HDMI cable can be used as an alternative connection option, but ensure your camera and TV have HDMI ports.
- Power Supply for the Security Camera: The power adapter for the Bunker Hill security camera is needed to connect the camera to a power outlet.
- Mounting Brackets and Screws: If you are setting up the camera for the first time, you will need mounting brackets and screws to securely attach the camera to a wall or ceiling.
- Remote Control: The remote control for your TV will be needed to select the correct input source and adjust settings.
- User Manuals: Both the Bunker Hill security camera and TV user manuals are important to refer to for specific instructions and troubleshooting.
It is important to note that Bunker Hill security cameras use a non-standard wireless connection and may only be compatible with a Bunker Hill DVR. Therefore, it is crucial to consult the user manual or seek further advice before attempting to connect your camera to your TV.
Bus Camera Tickets: How Many Were Issued?
You may want to see also
![]()
Powering the Bunker Hill Camera
Powering the Bunker Hill Security Camera is a straightforward process, but it's important to ensure you have the right equipment and follow the correct steps for a successful setup. Here's a detailed guide on powering the Bunker Hill Security Camera:
Step 1: Gather the Required Equipment
First, ensure you have all the necessary components for the installation. The Bunker Hill Security Camera system typically comes with four cameras, cables, power supplies, and a digital video recorder (DVR). You will need these power supplies for each camera. Additionally, check if you have the correct cables to connect the cameras to the DVR and the power outlets. If you need longer cables or additional cables, purchase them before proceeding.
Step 2: Choose the Installation Location
Decide on the locations for both your DVR and your cameras. If you plan to route the cables through walls, it's important to note that exterior walls with fire breaks can be challenging for cable installation. Therefore, it's recommended to choose an interior wall for the DVR location. Select a wall that provides access through the attic or basement, making it easier to manage the cables.
Step 3: Drill Holes and Run Cables
At the camera and DVR locations, drill holes for the cables. Use fish tape to run the cables through the walls. Tape the cable to the fish tape and pull it through the wall to the DVR location. Repeat this process for each camera, ensuring the cables are securely connected and routed through the walls.
Step 4: Adjust and Mount the Cameras
Before mounting the cameras, adjust them to the desired angle. Loosen the bolt at the centre of the camera base using a screwdriver, adjust the angle, and then tighten the bolt. Plug the cable into the camera, and then mount the camera to the wall using the provided screws. Alternatively, if the surface is smooth, you can use the pressure-sensitive adhesive foam pad on the back of the base.
Step 5: Connect the Cables to the DVR and Power Supplies
Now, connect the camera cables to the DVR and their respective power supplies. The yellow plug goes into the video-in port, the white plug into the audio port, and the black plug into the power plug. Ensure all connections are secure and firm.
By following these steps, you will have successfully powered the Bunker Hill Security Camera system, ready for further setup and configuration.
Understanding Camera Raw Footage: Unlocking the Power of Raw
You may want to see also
![]()
Connecting the Bunker Hill Camera to the TV
Connecting your Bunker Hill security camera to your TV is a straightforward process. It allows you to monitor your surroundings and easily keep an eye on your home or business. Here is a step-by-step guide to help you through the process.
Step 1: Determine Compatibility
Before you begin, it is important to ensure that your Bunker Hill security camera and your TV are compatible. Most Bunker Hill security cameras support the standard analog CCTV format, which means they are compatible with TVs that have an RCA input. Check the specifications of your camera and TV to confirm their compatibility.
Step 2: Gather the Required Equipment
To connect your Bunker Hill security camera to your TV, you will need the following:
- Bunker Hill security camera
- RCA cables (usually yellow, red, and white) or an HDMI cable
- Power supply for the security camera
Step 3: Power Up the Security Camera
Connect the power supply to your Bunker Hill security camera and plug it into a power outlet. Ensure that the camera is receiving power and functioning properly before proceeding.
Step 4: Connect the Security Camera to the TV
Now, you will connect the camera to your TV using the appropriate cables.
- If using RCA cables:
- Locate the BNC port on the back of your security camera.
- Insert one end of the BNC-to-RCA adapter into the BNC port of the security camera.
- Connect the yellow RCA cable to the yellow port on the BNC-to-RCA adapter and the other end to the yellow RCA input on your TV.
- Connect the red and white RCA cables to the corresponding ports on the BNC-to-RCA adapter and the TV.
- If using an HDMI cable:
- Connect one end of the HDMI cable to the camera's video output (usually HDMI output).
- Connect the other end of the HDMI cable to an available HDMI port on your TV.
Step 5: Turn On the Power and Select the Input Source
Once the connections are made, turn on your TV. Use the remote control to select the input source that corresponds to the type of cable you are using (RCA or HDMI). This input source might be labelled as "AV", "Aux", "Input", "Video In", "Camera", or something similar, depending on your TV model. Refer to your TV's user manual for specific instructions.
Step 6: Adjust the Camera View and Monitor
With your Bunker Hill security camera successfully connected to your TV, you can now adjust the camera view and monitor the video feed. Position the camera as desired and make any necessary adjustments to obtain the optimal field of view. Use the TV remote to adjust the volume, brightness, contrast, or any other settings to optimise the viewing experience.
Step 7: Test the Connection
To ensure that the connection is working correctly, perform a quick test. Walk in front of the camera's field of view and verify that the video feed is displayed on your TV screen. If everything is working as expected, congratulations! You have successfully connected your Bunker Hill security camera to your TV.
Focus Camera: Price Drop Refunds and Your Credit Options
You may want to see also
![]()
Selecting the Input Source
Once you have connected your Bunker Hill security camera to your TV, you will need to select the correct input source on your television. This will allow you to view the camera's live feed on your TV screen.
Firstly, locate the "Input" or "Source" button on your TV remote control. This is usually found at the top of the remote. Press this button until the correct input is selected. The input will be labelled "Video In", "Camera", “AV”, “Aux”, or something similar. If you are using an Ethernet cable, the input may be labelled "Ethernet". Avoid inputs labelled "PC" or "Component".
If you are having trouble finding the correct input, refer to your TV's user manual for specific instructions on selecting the input source. Alternatively, you can try consulting the Bunker Hill Security Camera manual for guidance.
It is important to note that Bunker Hill security cameras use a non-standard wireless connection and can only be connected to a Bunker Hill DVR. Therefore, ensure that your TV is compatible with the camera before attempting to connect the two devices.
Additionally, when selecting the input source, make sure that both the camera and the TV are powered on. This will ensure a successful connection.
By following these steps, you will be able to easily select the correct input source and view the live feed from your Bunker Hill security camera on your television.
Exploring Polaroid Camera Modes: Capturing Creative Shots
You may want to see also
Frequently asked questions
You will typically need an RCA cable or an HDMI cable. The type of cable required depends on the specific model of your camera and TV. Refer to the user manual of both devices to determine the compatible cable.
Yes, you can connect multiple Bunker Hill security cameras to your TV. Some TV models may support multiple camera inputs. Check the specifications of your TV to see how many camera inputs it offers, and make sure your security camera system supports the same number of cameras.
The Bunker Hill security cameras are typically designed for wired connections. However, if you have a compatible wireless transmitter and receiver, you may be able to set up a wireless connection. Refer to the user manuals of your camera, wireless transmitter, and TV for specific instructions.