Manual focus is a useful skill to have as a photographer, as it gives you complete control over your images. While autofocus is great and has come a long way, it does have its limitations. In this article, we will be discussing how to focus your camera manually for close-up shots.
| Characteristics | Values |
|---|---|
| When to use manual focus | When autofocus struggles with low light, low contrast, or obstructions between the camera and the subject |
| How to switch to manual focus | Slide the switch on the lens barrel to MF, twist the focus ring, and refer to the lens's focus distance numbers |
| Tools to help with manual focus | Focus Peaking, manual focus override, magnification of the scene, focus peaking |
| Manual focus vs autofocus | Manual focus provides more control and precision but can be more time-consuming |
What You'll Learn
![]()
Use manual focus in low-light situations
Autofocus can be a wonderful thing, but it has its limitations. In low-light situations, autofocus can struggle to lock onto a subject, and you may find your lens hunting for focus, moving back and forth without ever settling. This is a common problem, especially when you want to photograph someone in candlelight or snap a shot of a child blowing out candles on a birthday cake.
In these situations, you may need to take control and focus manually. Here are some tips for using manual focus in low-light scenarios:
- Use the Live View function: Switch to your camera's Live View mode, where you can preview a live feed of your camera's sensor on the LCD screen. This makes it easier to focus in low light, as you can magnify the image and adjust the focus until you achieve perfect sharpness.
- Narrow the aperture: By shooting at a higher f-stop, such as f/8 instead of f/2.8, you give yourself a larger margin of error. This means you don't have to be as precise with your manual focus, as you have a greater depth of field to work with.
- Check your results: After taking a manually focused image, check the result on the LCD screen. Zoom in to ensure that you have achieved the desired sharpness.
- Use distance numbers: If your lens barrel has distance numbers, use them to help judge the distance between your camera and your subject. This can be especially helpful in low-light situations.
- Use autofocus illuminator: If your camera has an autofocus illuminator (sometimes called AF Assist), this can be a helpful tool in low-light situations. It projects a grid pattern or a red beam in front of your camera, making it easier for your lens to acquire focus.
- Use manual focus lenses: Some lenses are designed for manual focus and offer a wider grip and longer focus throw, giving you more control and precision when focusing manually.
Charging 1080p Camera Batteries: A Step-by-Step Guide
You may want to see also
![]()
Use manual focus when shooting through glass
When shooting through glass, autofocus may get caught up on reflections, smudges, light glare, or physical elements within or around the window pane (such as a screen, grid, or imperfections in the glass). Therefore, it is recommended to use manual focus to render the scene exactly as you envision it.
- Use a polarizing filter to reduce or remove light reflecting off the glass surface. Twist the filter until you find the best angle for blocking the reflected light.
- Turn off your flash or position it carefully to avoid harsh, unnatural glare. If you must use flash, experiment to achieve the desired creative results or set up OCF on the opposite side of the window, with the light angled away from the glass.
- Back up and/or use a wide-angle lens to capture the perimeter of the window or door as a framing device, highlighting the contrast in light and texture between the interior and exterior settings.
- Adjust the diopter so that the viewfinder matches your eyesight. This will allow you to accurately judge when your subject is in focus.
- Use the Live View function to preview a live feed of your camera's sensor on the LCD screen. Magnify the image and adjust the focus until you achieve perfect sharpness.
Unlocking Your Phone: Exiting Camera Mode with Ease
You may want to see also
![]()
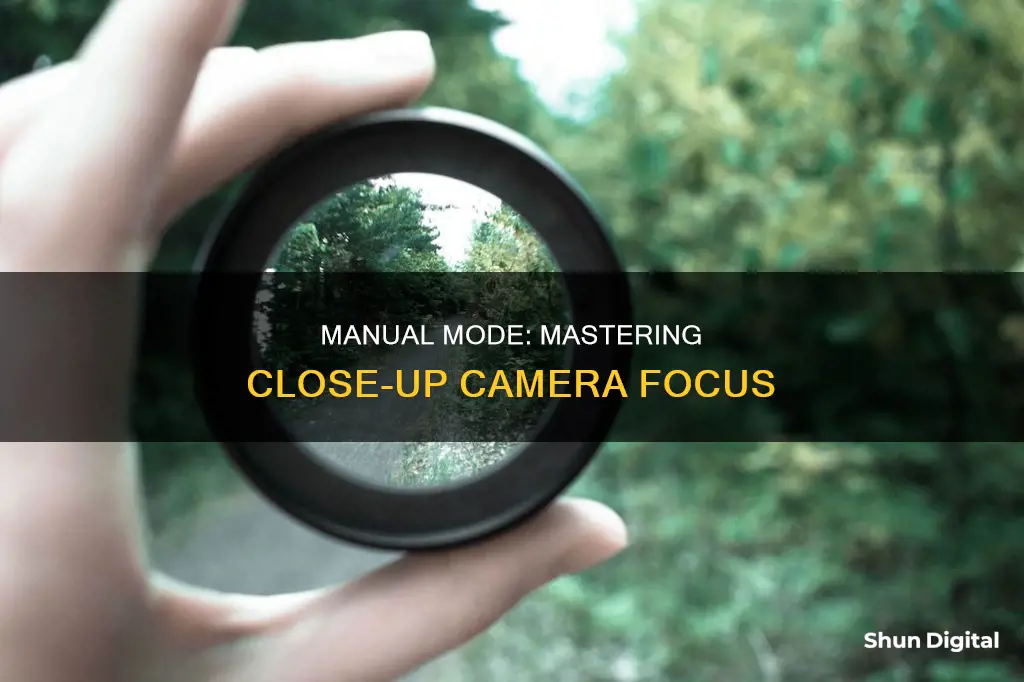
Use manual focus for close-up images
Manual focus is a great way to ensure your close-up images are sharp and focused exactly where you want them to be. Here's a step-by-step guide to using manual focus for close-up images:
Step 1: Switch to Manual Focus
Locate the focusing mode switch on your camera or lens, usually labelled with "AF/MF", and switch it to "MF" for manual focus. If you don't have a switch, check your camera's menu system or the four-way control buttons on the back of the camera.
Step 2: Find the Focus Ring
The focus ring is typically found near the middle of the lens barrel for prime lenses or near the end for zoom lenses. Twist the focus ring to one side, and you'll see the focus shift as different areas go in and out of focus.
Step 3: Adjust the Focus
Look through your camera's viewfinder and twist the focus ring until your subject comes into focus. You can also use your camera's Live View function to preview the image on the LCD screen, zooming in to ensure perfect sharpness.
Step 4: Check Your Results
After taking the photo, check the image on the LCD screen, zooming in to make sure you got the desired point of sharpness.
Step 5: Use Focus Peaking and Other Tools
Many modern cameras have features like focus peaking, which highlights the areas in the scene with the highest contrast. This can help you fine-tune your manual focus. Other tools like manual focus override and magnification can also assist in achieving precise focus.
Step 6: Consider Aperture and Lighting
When shooting close-ups, consider narrowing your aperture to give yourself a larger margin of error. Shooting with a shallow depth of field requires precise focus, while a narrower aperture provides more room for error. Additionally, low-light or low-contrast situations can be challenging for autofocus, making manual focus a better option.
Manual focus for close-up images gives you complete control over the sharpness and focus of your subject. By following these steps, you can master the technique and capture stunning, sharp close-up shots.
Setting Up Your Dodge Charger: Rear Camera Installation Guide
You may want to see also
![]()
Use manual focus when there is low contrast in the scene
Autofocus relies on contrast between the dark and light tones in an image. In low-contrast situations, such as a dark tree against a dark background, or a white car against a snowy landscape, autofocus might fail. The lack of contrast can lead to continuous hunting by the autofocus system, which is not only annoying but also ineffective.
In such situations, you might want to switch to manual focus. By taking control of the focusing ring, you can achieve the sharpness you desire without the hunting.
To switch to manual focus, locate the focusing mode switch on your camera or lens. It will likely be labelled with "AF/MF", where "AF" activates autofocus and "MF" activates manual focus. Then, switch your setup to "MF".
Next, find the focus ring, which is often near the middle of the lens barrel (if you're using a prime lens) or near the end of the lens barrel (if you're using a zoom lens). Look through your camera viewfinder, then twist the focus ring to one side. You should immediately see the focus shift, as different areas of the scene go in and out of focus.
Now, simply turn the focus ring until your main subject comes into focus. It can be difficult to perceive focus through the camera viewfinder, so consider switching over to your camera's Live View function, where you preview a live feed of your camera's sensor on the LCD. Magnify the image, then adjust the focus until you see perfect sharpness.
Unlocking Your Camera: Powering On Without the Cover
You may want to see also
![]()
Use manual focus when the subject itself is low in contrast
When shooting in low-contrast situations, autofocus can be frustrating and ineffective. Autofocus relies on contrast between light and dark tones in an image to identify a focus point. In low-contrast situations, autofocus may struggle to find a focus point and may fail you. This is when you should switch to manual focus.
In low-contrast situations, autofocus may struggle with continuous hunting, which can be annoying and ineffective. For example, if you are shooting a dark tree against a dark background or a white car against a snowy landscape, autofocus may not work. By switching to manual focus, you can take control of the focusing ring and achieve the sharpness you desire without the hunting.
To use manual focus in low-contrast situations, first switch your lens or camera to manual focus mode and turn off autofocus. Then, choose your focus point and adjust your focus manually using your lens ring or camera controls until your chosen point is sharp and clear. You can use your camera's zoom function or a magnifying tool to check your focus more closely. Once you are happy with the focus, press the shutter button to capture the image. Finally, review your shot on the LCD screen and zoom in to check the sharpness and exposure.
Manual focus can be a powerful and rewarding technique, but it also has some challenges and limitations. It is important to know when to use manual focus to improve your photography skills and get the results you want.
Unlocking Camera Raw Filter: What's Holding You Back?
You may want to see also
Frequently asked questions
First, locate the focusing mode switch on your camera or lens. It will likely say "AF/MF", where "AF" activates autofocus and "MF" activates manual focus. Slide the switch to "MF". Then, find the focus ring, which is often near the middle of the lens barrel (if you’re using a prime lens) or near the end of the lens barrel (if you’re using a zoom lens). Twist the focus ring to one side and you should immediately see the focus shift.
You can use manual focus whenever you like, but it is particularly useful in low-light situations, when shooting through glass, or when there is low contrast in the scene. It is also useful when the subject is visually similar to its surroundings or background, or when shooting video.
To focus on a specific point in the frame, you can use your finger to select the subject you want in focus. Or, you can hold down the shutter button as the app takes you through the focus range; pull your finger away when your subject is in focus.