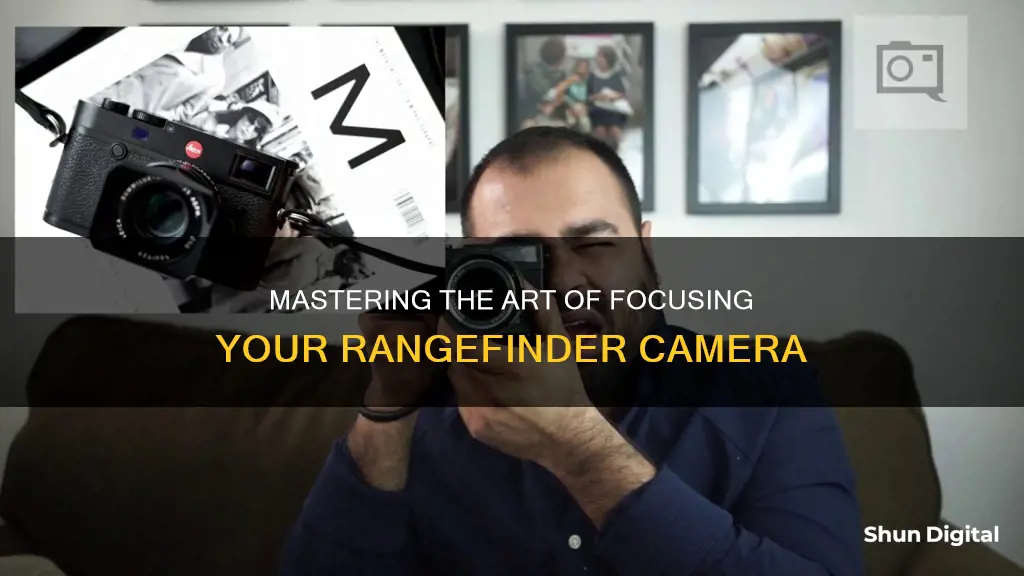
Focusing a rangefinder camera can be a tricky task, but with some practice and these helpful tips, you'll be able to master it in no time. Here are seven techniques to help you focus your rangefinder camera quickly and accurately:
Technique One: Service Your Rangefinder
It may seem obvious, but ensuring your rangefinder is in top mechanical and optical condition is crucial for accurate focus. Send both the body and your fastest/longest lenses to a professional for calibration. This step is especially important if you're using a costly interchangeable lens rangefinder system.
Technique Two: Pre-set Your Focus
Instead of relying solely on the viewfinder, get into the habit of pre-setting your focus. Street photographers often use the hyperfocal distance technique, which involves setting the infinity mark on your distance scale to the corresponding f-stop on your depth-of-field scale. This ensures that everything from a certain distance to infinity is in focus. You can also practice guessing the distance and setting your focus accordingly.
Technique Three: Know Your Depth of Field
Understanding the relationship between focus distance and aperture is key to mastering your rangefinder. Spend time studying the depth-of-field scale marked on your rangefinder lens, and learn when to rely on depth of field to capture the shot without needing to fine-tune the focus.
Technique Four: Look For Lines
Since rangefinders work by splitting the image and aligning it laterally, look for vertical lines in your subject to verify focus. Eyes, with their concentric circles, are also perfect for focusing when shooting portraits.
Technique Five: Wait For Your Subject
Effective rangefinder focusing is often about anticipation. Instead of chasing your subject, anticipate their future position and wait for them to come into focus. This technique is especially useful when shooting fast-moving or unpredictable subjects.
Technique Six: Focus On What You Can Focus On
Don't get discouraged if you can't focus on your desired subject. Get creative and find something else in the scene that you can focus on. Remember, you don't have to capture every moment with perfect focus.
Technique Seven: Accept Inaccurate Focus
Sometimes, even with all your efforts, you may not achieve perfect focus. That's okay! Embrace the softness and blur, and let your images transcend the limitations of sharp focus. After all, as the famous photographer Henri Cartier-Bresson said, sharpness is a bourgeois concept.
| Characteristics | Values |
|---|---|
| Service your rangefinder | Send out both the body and your fastest/longest lenses to be calibrated for one another, together. |
| Pre-set your focus | Use hyperfocal distance and simply guessing distance. |
| Know your depth of field | Take time to study the depth of field scale marked on your rangefinder lens. |
| Look for lines | Look for vertical lines on your subject to verify focus. |
| Wait for your subject | Anticipate the future position of a subject and wait for them to come into focus. |
| Focus on what you can focus on | Find something stationary and make that your subject. |
| Accept inaccurate focus |
What You'll Learn

Service your rangefinder
This may seem obvious, but it's worth stating: service your rangefinder. Even a cheap, fixed-lens rangefinder can benefit from professional servicing. The cost of servicing may exceed the price of the camera, but it will also save you from wasting money on film and processing. If you invest in a costly interchangeable lens rangefinder, you owe it to yourself to ensure that both the body and lenses are working correctly.
Send both the body and your fastest/longest lenses to be calibrated together. Specific bodies need to be set up with specific lenses to maximise focusing accuracy. The faster and longer a rangefinder lens is, the more carefully it must be calibrated for your camera and vice versa. Rangefinder windows can also become dim with age and may require interior cleaning or a full replacement of the beamsplitter. Make sure your rangefinder is serviced and in top mechanical and optical condition before demanding perfect focus from it.
Traffic Camera Tickets: Are They Legally Binding?
You may want to see also

Pre-set your focus
Presetting your focus is a great way to get out of the habit of relying on your viewfinder. It's also a good way to get more in tune with your surroundings. There are a few ways to do this:
Hyperfocal Distance
Hyperfocal distance is a good method for street photographers. It can be set using the distance and depth of field scales on your lens. This technique works best with wider lenses and smaller apertures like f/8 or smaller. Set the infinity mark of your distance scale on the f/8 that appears to the right of the centre on your depth of field scale. Then, consult the number of feet indicated by the same aperture (in this case, f/8) to the left of the centre. For example, using these settings on a Voigtlander 40mm 1.4 Nokton lens puts everything from seven feet to infinity in focus. So, if your subject is more than seven feet away, they will be in focus. All you need your viewfinder for now is to compose your shot.
Guessing Distance
Practice guessing the distance to your subject and setting your focus accordingly. Start by learning what different distances look like. For example, three feet is about the length of a fully outstretched arm. Teach yourself to recognise distances of three feet, six feet, ten feet, and infinity. Quiz yourself by guessing the distance, then checking with your camera. With enough practice in different spaces, you'll pick it up quickly.
Infinity
If you're shooting landscapes or anything else on the horizon, there's no need to use your camera to focus. Simply rotate the lens to infinity.
Using the Rangefinder to Refine
When you're focusing a longer/faster lens at a wider aperture and closer distance, you'll need to employ another technique. Before lifting your camera to your eye, guess the focus distance and set it on your lens. Then, use the rangefinder to verify and refine your guess—not to do all the work. In dimly lit settings, set your focus for five or six feet and walk towards or away from people to bring them within distance. Sometimes, your subject will move into the frame and focus themselves.
Axis Cameras: Where Are They Manufactured?
You may want to see also

Know your depth of field
Depth of field is a crucial concept to understand when focusing a rangefinder camera. It refers to the distance between the nearest and farthest objects in a scene that appear acceptably sharp in an image. By knowing your depth of field, you can make more informed decisions about where to place your focus and how different apertures will affect the overall sharpness of your image.
- Study the depth-of-field scale marked on your rangefinder lens. This scale will give you an understanding of the relationship between focus distance and aperture for a particular lens.
- Remember that the smaller your aperture, the greater your depth of field will be. This means that more of your image will be in focus when using a smaller aperture.
- Don't forget about the impact of subject distance on depth of field. The further away your subject is, the greater your depth of field will be, even when using wider apertures.
- Practice guessing distances to your subject. This will help you pre-set your focus and reduce your reliance on the rangefinder for focusing.
- Understand when to use zone focusing. Zone focusing is most effective when you have a good understanding of your lens's depth of field and can instinctually judge when to use it.
- Use depth of field as a focus aid. When you know your depth of field, you can be more confident in your focus even when recomposing your shot, as long as you have enough depth of field to cover any slight adjustments.
- Be mindful of shallow depth of field when using longer lenses and wider apertures. In these situations, even slight adjustments to your composition can affect your focus, so be sure to have enough depth of field to cover any potential errors.
Fight Ohio Camera Speeding Tickets: What You Need to Know
You may want to see also

Look for lines
With standard matt screen focusing on SLRs, you may not have trained your eye to look for lines. Since rangefinders work by splitting the image and aligning it laterally to focus, a good habit is to look for vertical lines on your subject to verify focus.
Eyes, of course, contain concentric circles that, like straight lines, are perfect to focus on when shooting people. This is where an accurately calibrated lens and rangefinder count. In this photo of a fellow Leica enthusiast, I could focus perfectly on his eye at full aperture thanks to the clear line of contrast between his iris and the white of his eye. Notice that the depth of field is so shallow and focus falls out from the centre so quickly that only his left eye is in focus.
However, in less than perfect lighting conditions, you may see that people's eyes are in shadow and difficult to find lines in. In those instances, the vertical line of the bridge of the nose works nicely to focus on also, or eyeglasses if they wear them, presuming you have enough depth of field to cover the eye beyond the nose or glasses.
I took the image above of a local burlesque performer. Profile poses like this can be very fast to focus because the subject's nose contrasted sharply against the shadow that she cast on the wall behind her. Step-by-step; I guessed my distance from the subject and set my lens for that distance (I think it was about 3 feet). Next, I put her nose in the centre of the viewfinder, in the rangefinder patch since the light was speckled and her eyes were in shadow. I set the focus for the bridge of her nose and then recomposed, knowing that at f2.8 at 3 feet (guessing settings based on vague memory and the look of the image) I'd have pretty shallow DoF but enough to cover moving the lens. I recomposed now that focus was done and took the shot.
Speaking of lines, invariably you're going to get into a situation where the subject is covered in repeating lines such as shadows from window blinds or a fence, or some other pattern. But you don't have to panic because you've already pre-focused. And instead of jockeying back and forth hopelessly, unable to discern one line from the other, you'll very quickly see the correct alignment of the pattern with a single flick of the focus ring to one side or the other.
Another reason to look for lines in a scene, aside from aiding focus, is that they can be used to help level your photograph using the framelines in your viewfinder. Sure, this can be done with an SLR but for me, personally, I just feel it works more easily with RF framelines.
Like the awareness of space that depth of field and pre-focusing brings, looking for lines is another example of how being aware of your surroundings leads to holistic improvement in one's work, whereas using autofocus can completely deaden the senses.
Repairing Camera Batteries: A Step-by-Step Guide
You may want to see also

Wait for your subject
Technique Five: Wait for Your Subject
SLR and particularly digital, auto-everything photographers tend to equate shooting fast with spraying and praying. But shooting with speed, also means setting up quickly so that you’re ready when the time is right to shoot.
Effective rangefinder focusing is often about anticipation. Anticipate the future position of a subject and simply wait for them to come into focus, or make the moment you want.
I spotted a group of jellyfish in an aquarium and knew that they were slow-moving, unpredictable creatures. So I found vertical lines (tentacles) to focus on, understood I’d have enough depth of field regardless of how near or far they moved. And then I waited. I watched and waited for the jellies to get into a position that I found balanced and appealing. I stopped thinking about focus, and I just watched my subjects. Then I snapped. I did not keep jockeying my focus in a frenzy as the jellies floated about.
When shooting live concerts, I will sometimes focus on the stationary mic or mic stand (Look For Lines), expecting the singer to get closer to it again, and then… snap. I did not follow the singer with my camera, focusing and refocusing as she moved up and down the stage.
The jellyfish and the singer came to my point of focus. I controlled the scene, not the subject.
If shooting a woman drinking wine, I might focus on her face when she’s not taking a sip, shoot that and then shoot again when the glass is on her lips without changing focus. When she places the glass on the bar, I could get a close-up of the glass. I’d focus on the glass and shoot it without her hand, wait and then get a shot of her hand on the glass as she lifts it to her mouth again.
This technique can be a way to grab different versions of a scene without refocusing over and over. Awareness of focus brings awareness of a scene and vice versa. This is how you get perfectly timed and composed moments. Not scrambling focus in and out as the scene changes. Not by chasing subjects. But watching movements and behaviors, anticipating moves and working smarter, not harder.
How to Find the Mode Button on the S7 Camera
You may want to see also


