Camera battery not working? Here are some troubleshooting tips to help repair and restore your camera's battery life.
First, check the physical condition of the battery and charger. Look out for cracks or punctures in the cables and scratches on the metal contacts. If there is any damage, the charger could be malfunctioning and should not be used, as this may lead to a fire.
Next, check for any unusual smells. If you detect a burning plastic odour, this could indicate an issue with the charger. Also, pay attention to the indicator lights on the charger. These can signal a problem—consult your camera's user guide to understand what the different colours and flashing patterns mean.
If your battery is still not charging, the temperature of the battery or the surrounding environment could be the issue. Batteries should be charged within a certain temperature range—usually above freezing and below 100 degrees Fahrenheit. If the battery is too hot, let it cool down before charging.
If the above steps do not work, you may need to replace your battery. You can purchase a new battery or look into battery repair services.
| Characteristics | Values |
|---|---|
| Repairing a camera battery | - |
What You'll Learn
![]()
Check for physical damage on the battery and charger
Before attempting to repair your camera battery, it is important to check for any physical damage on both the battery and the charger. This includes inspecting for cracks, dents, or any other signs of impact or wear and tear. Here are some detailed steps to guide you through the process:
- Visual Inspection: Carefully examine the battery and charger for any visible signs of damage. Look for cracks, dents, or any exposed internal components. Pay close attention to the connection points and ensure that there is no debris or corrosion.
- Connection Stability: Check the stability of the connection between the battery and the charger. Ensure that the battery fits securely and does not wobble or feel loose when connected. A loose connection could indicate damage to either the battery or the charger.
- Charging Port Inspection: If your camera uses a charging port, carefully inspect it for any signs of damage. Look for bent or broken pins, debris, or any other obstructions. A flashlight can be useful for a closer examination.
- Charger Compatibility: Ensure that you are using the correct charger for your camera battery. Using an incompatible charger can lead to charging issues and potential damage.
- Charging Cable Inspection: If your charger uses a charging cable, inspect the cable for any signs of damage. Look for exposed wires, frayed insulation, or any other signs of wear and tear.
- Functionality Test: Try connecting the battery to the charger and observe their behavior. If the charger indicator lights up as expected and the battery begins charging, it is a good sign. However, if there is no response or the charger shows an error, it could indicate an issue with either the battery or the charger.
Remember, safety should always be a top priority when working with electronic devices and batteries. If you notice any severe damage or are unsure about the condition of your battery or charger, it is best to seek professional assistance or advice.
Finding Your Camera Charger: Quick Solutions
You may want to see also
![]()
Be cautious of any burning smells
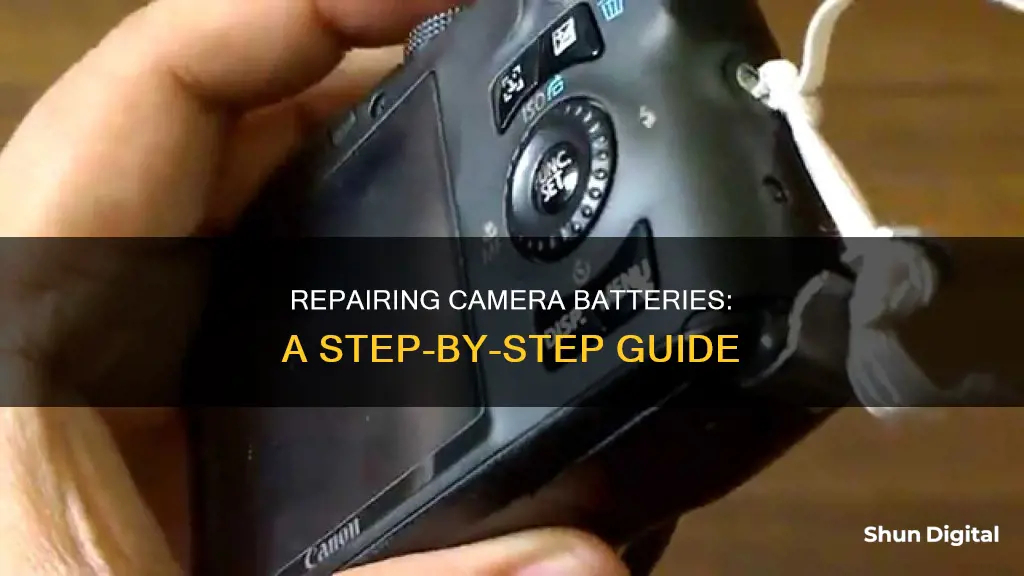
If your battery is damaged, you can repair it yourself with a soldering iron, but this carries inherent risks, so proceed with caution. If you are repairing a lithium-ion battery, be aware that they contain a protection circuit that shields the battery from abuse. This safeguard also turns the battery off and makes it unusable if over-discharged.
If your battery is not damaged but has simply lost its charge, you can try to revive it by doing a full recharge. Completely drain the battery, then plug it into a power outlet and let it charge for at least 48 hours. If this does not work, you can try jump-starting the battery. However, dealing with wiring poses a danger, so be cautious and make sure you fully understand the process before starting.
Remove the battery from the device, noting the negative and positive feeds. Find a USB cord and cut off the smaller end, exposing the positive and negative wires inside. Plug the cable into your computer and touch the exposed wires to the corresponding feeds on the battery. After some time, the battery should be revived and able to charge.
If your battery is emitting a burning smell, always put your safety first and do not take any risks.
Charging Your GE X600 Camera: A Quick Guide
You may want to see also
![]()
Understand the meaning of the charger's indicator lights
Understanding the meaning of the charger indicator lights is crucial to knowing the status of your camera battery and how much charge it has. Different chargers may have different indicator lights, so it's important to refer to your user manual to understand the specific meanings of the lights on your charger. However, here is some general information about the meaning of charger indicator lights:
There are typically two main types of indicator lights: status lights and charging lights. Status lights indicate whether the charger is connected to a power source and if batteries are present. These lights are usually available in three colours: red, yellow, and green. A red light typically means that the charger is not connected to power or that the batteries are not installed correctly. A yellow light indicates that the charger is connected to power but no batteries are present. Finally, a green light shows that the charger is connected to power and the batteries are fully charged.
Charging lights, on the other hand, indicate the progress of the charging process. They can be individual lights for each battery or a single light for all batteries. Red charging lights usually mean that the battery is not charging or there is an issue with it. Yellow lights show that the battery is charging, while green indicates that the battery is fully charged and ready for use.
Some chargers may have more specific indicator lights. For example, the Canon EOS 5D Mark II battery charger has an orange light that blinks at different intervals to indicate the charging status.
By understanding the meaning of these indicator lights, you can effectively monitor the charging process and ensure your camera batteries are charged efficiently and safely.
Lumix Cameras: How Long Before a Recharge?
You may want to see also
![]()
Avoid charging in extreme temperatures
Charging your camera battery in extreme temperatures can be detrimental to its health and lifespan. It is important to be mindful of the temperature when charging your camera battery to ensure optimal performance and longevity.
Cold Temperatures
Cold temperatures can significantly impact the performance of your camera battery. At very low temperatures, the internal chemical reactions of the battery slow down, leading to reduced charge acceptance. This means that your battery may not charge properly or may take a very long time to charge. For example, the lithium-ion batteries used in some camera models cannot charge at temperatures below freezing. If you attempt to charge your battery in such conditions, you may find that it doesn't charge at all, or it may suffer permanent damage.
To avoid these issues, it is recommended to bring your camera battery to a location with a temperature above freezing before attempting to charge it. If you are in a cold environment, you may need to bring your camera inside more frequently to ensure your battery stays charged. Keeping your battery warm, such as by storing it close to your body or in an inside pocket, can also help prolong its charge.
Hot Temperatures
While cold temperatures can affect the charging process, hot temperatures can also be detrimental. Charging your camera battery at high temperatures can lead to reduced charge acceptance and even damage the battery cells. This can result in decreased battery performance and a shorter lifespan.
To ensure optimal charging, it is recommended to charge your camera battery at room temperature or a moderate temperature. Avoid charging in direct sunlight or in extremely hot environments. By maintaining a suitable temperature during charging, you can help prolong the life of your camera battery and ensure its reliability.
In summary, extreme temperatures can negatively impact the performance and lifespan of your camera battery. To avoid potential issues, it is best to charge your battery in a temperature-controlled environment, such as indoors, and avoid charging in freezing or extremely hot conditions. By taking these precautions, you can help ensure your camera battery remains in good condition and provides reliable power for your device.
Smart Doorbell Camera Options Without Monthly Fees
You may want to see also
![]()
Discontinue use if the charger is malfunctioning
If you suspect that your camera battery charger is malfunctioning, it is important to unplug it from the wall immediately. Do not try to charge the battery or plug it into the camera, as this could be dangerous.
- The charger has any damage, such as cracks or punctures in the cables, or scratches on the metal contacts.
- There is a burning smell when the charger is plugged in.
- The indicator lights are behaving oddly. For example, the light may be blinking or remain solidly lit when it should be flashing.
- The charger is being used in extreme temperatures, such as below freezing or above 100 degrees Fahrenheit.
If you notice any of these issues, it is important to discontinue use of the charger and seek a replacement. It is not worth risking your safety or damaging your camera or battery.
Battery Life of 220 Camera: How Long Does It Last?
You may want to see also
Frequently asked questions
If your camera battery is draining extremely fast, you might be able to save it by doing a full recharge. You'll need to completely drain the battery for this to work, so once it reaches zero percent, keep turning it back on until it doesn't have enough power to boot. Now, plug in the power cord to a power outlet and let the battery charge for at least 48 hours.
If your battery is damaged, you can repair it yourself with a soldering iron. However, dealing with batteries and electronic devices carries some inherent risk, so proceed with caution.
If your camera battery charger is damaged, you should not use it as it could lead to a fire. You should also not charge a battery in a charger that isn't specifically approved to work with it, as this could also lead to a fire or short out the battery.
If your camera battery is draining quickly, you can try recharging it. If this doesn't work, you may need to replace the battery. You can either do this yourself or contact the manufacturer to arrange a repair.