The ZWO ASI1600 camera is a versatile and affordable astrophotography camera that has gained popularity among amateur astronomers and astrophotographers. With its large sensor, versatile variants, and competitive pricing, it has become a go-to choice for beginners and budget-minded enthusiasts. The camera offers unique features such as long exposures, high-speed planetary imaging, and electronically assisted astronomy. To ensure clear and focused images, it is essential to understand the camera's focus capabilities and explore different focusing techniques. This includes utilizing tools like a bahtinov mask or adjusting exposure time and gain settings to achieve the desired results.
| Characteristics | Values |
|---|---|
| Camera Type | Astrophotography |
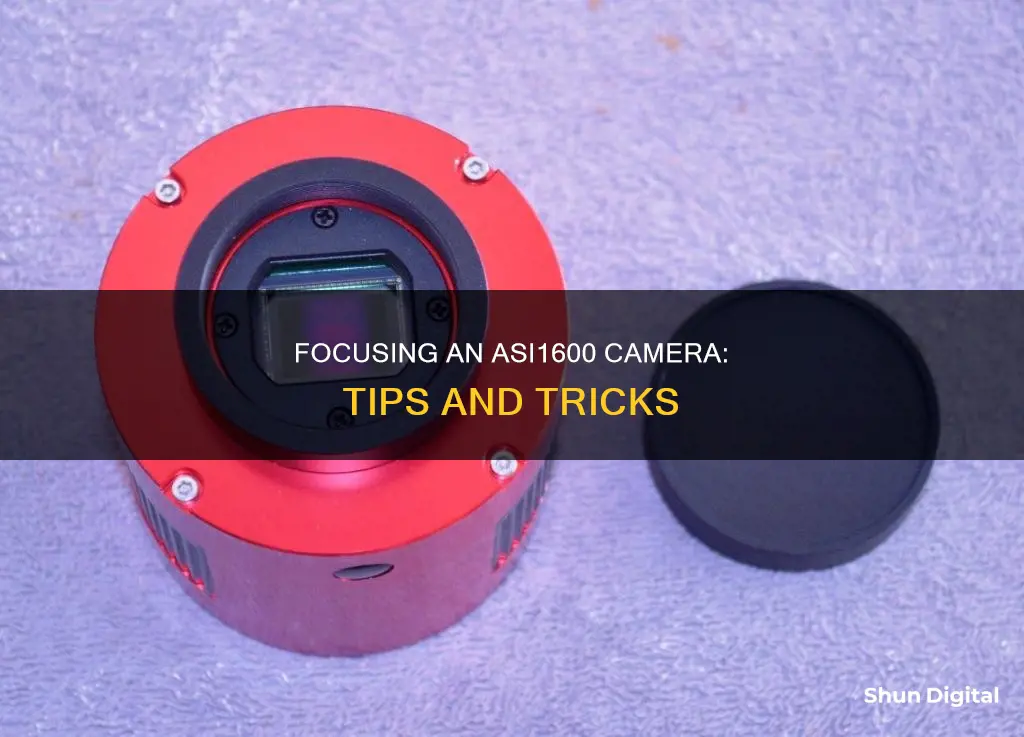
| Sensor | Panasonic 16MP 4/3" Monochrome CMOS |
| Cooling | Thermo-electric, two-stage cooling system |
| Video | Shoots 4k video at 36 FPS and 320 x 240 at 192.4 FPS |
| Ports | USB 3.0, ST-4 |
| Dynamic Range | 12.52 stops |
| Back Focus | 6.5mm |
What You'll Learn
![]()
Utilise a Bahtinov mask to focus without relying on FWHM
A Bahtinov mask is a tool that can help you focus your ASI1600 camera for astrophotography. It was created by Russian amateur astrophotographer Pavel Bahtinov in 2005 and is characterised by its distinctive pattern.
Step 1: Aim your Telescope at a Bright Star
Try not to choose an extremely bright star like Sirius, as it might affect your precision later. Ensure your mount is polar-aligned and tracking, so you don't have to manually chase after the star when trying to focus.
Step 2: Achieve Rough Focus
Turn on your camera and enter Live View mode so you can see the star easily in real time. Adjust the focusing knobs of your telescope to get a quick, approximate focus.
Step 3: Zoom In Closer Using Digital Zoom
Use the maximum digital zoom your camera allows to get a closer look at the star. Then, use the arrow/thumb buttons on your DSLR to centre it perfectly in the middle. While this won't have a huge effect, it makes things easier if your tracking is not perfect and your star slowly drifts away.
Step 4: Attach the Bahtinov Mask
Place the Bahtinov mask on your telescope. It should come with screws that are used to "lock" the mask in place, either on the inside or outside of your telescope, depending on your aperture size. With the mask in place, you will see spikes of light going through the star in your Live View display.
Step 5: Achieve the Right Focus
Using the precision focusing knob on your telescope, adjust the focus so that the vertical spike strikes the star exactly in the centre. A very bright star might affect precision depending on your scope's focal length, as the core of the star might look too "fat".
Step 6: Double-Check Your Star
If your star looks right, with the vertical spike striking its centre, you are done! Remove the mask and tighten the lock on your telescope's focuser to maintain focus.
Charging Yi 4K Action Camera: A Step-by-Step Guide
You may want to see also
![]()
Use a small ROI to reduce image download time
The ZWO ASI1600 camera has a configurable hardware Region of Interest (ROI) feature. This is a very useful feature for solar system object (SSO) imaging. The full frame or half the frame may be used for the moon and sun, while very small ROIs down to as little as 100x100 pixels can be used for planetary imaging, double star imaging, etc.
As the ROI area is reduced, the maximum frame rate the camera can achieve with a program like SharpCap increases. With ROI below 400x400, a maximum frame rate of nearly 300fps can generally be achieved. This can be a great help in getting past seeing effects with planetary imaging.
The ROI feature can also be used to reduce image download time. By reducing the size of the image being downloaded, the data transfer rate is increased, resulting in faster image downloads. This can be particularly useful when working with large image files or when transferring images over a slow internet connection.
To use the ROI feature to reduce image download time, follow these steps:
- Open the camera settings: This can usually be done by accessing the camera's menu or through the accompanying software.
- Locate the ROI settings: The ROI settings are typically found in the image size or resolution settings.
- Adjust the ROI: Use the controls to reduce the size of the ROI. For example, you can enter a specific pixel dimension or use a slider to adjust the ROI size.
- Save the settings: Once you have adjusted the ROI size, save the settings to apply the changes.
By using a small ROI, you can significantly reduce the image download time, making it faster and more efficient to transfer images from the ASI1600 camera to a computer or other device. This technique is particularly useful when working with planetary imaging or other applications where a small ROI is sufficient for capturing the desired details.
Solar Power for Your Swann Cameras: A Guide
You may want to see also
![]()
Use a two-stage cooling system for long exposure shots
The ZWO ASI1600MM Pro is a powerful astrophotography camera, packed with features that help you produce world-class images. One of its key features is its two-stage cooling system, which is designed to reduce sensor noise and exposure time, making it ideal for long exposure shots.
The two-stage cooling system in the ASI1600MM Pro is a significant upgrade from its predecessor, the ASI1600MM. It can cool the camera sensor below 35°C, which is a much lower temperature than what is typically recommended for long exposure photography. This cooling capability helps to minimise thermal noise, which can degrade image quality over time. By actively cooling the sensor, the camera is able to capture clearer and sharper images, even during extended exposure times.
The two-stage cooling system also helps to reduce exposure time, which is crucial for capturing fast-moving celestial objects or capturing images in changing lighting conditions. With a shorter exposure time, you can capture more images in a given period, increasing your chances of getting the perfect shot. Additionally, shorter exposure times can help reduce the negative effects of atmospheric turbulence, resulting in sharper and more focused images.
The cooling system in the ASI1600MM Pro is designed to be highly efficient and effective. ZWO recommends using a 12V @ 3A DC adapter to power the cooling mechanism. The exact connection for power on the camera is 5.5mm x 2.1mm (centre pole positive). A common choice, and one that is personally used by astrophotographers, is a 12V 5A power adapter, which provides more than enough power to ensure the cooling system operates optimally.
The two-stage cooling system in the ZWO ASI1600MM Pro is a significant advantage for long exposure shots. It helps to reduce both sensor noise and exposure time, resulting in clearer, sharper, and more focused images. By actively cooling the sensor and minimising thermal noise, you can capture the intricate details of deep-sky objects with greater precision and accuracy.
The Kodak Brownie Camera: Affordable Photography for All
You may want to see also
![]()
Use a 12-bit ADC to capture a wider tonal range
The ZWO ASI1600 camera has a built-in 12-bit ADC but can provide over 12 stops of dynamic range, meaning it can capture a wider tonal range than a KAF-8300 sensor. The camera's read noise is also much lower, and will further decrease the higher the gain.
Bit depth does not determine dynamic range. Dynamic range is determined by the native analog signal range and camera noise, and may only be clipped to a maximum by bit depth. The ASI1600 has a 20,000e- FWC and 3.5e- maximum read noise, allowing 12.52 stops of analog dynamic range. This is 5714 discrete steps of information. The 12-bit ADC will limit that to 4096 steps upon readout, however, it's a bit of a fuzzy line, as stars clip in analog space, and the ADC distributes the digital limitations throughout the range.
The ASI1600 has a two-stage cooling system, which can push a maximum of 40 to 45 degrees below the ambient temperature. The camera itself operates optimally within the temperature range of minus 5 degrees Celsius to minus 45 degrees Celsius and is best stored within the temperature range of minus 20 degrees Celsius to minus 60 degrees Celsius. This cooling system complements the naturally low read noise of the camera to further refine the quality of the images produced.
The Man with a Camera: When Was It Made?
You may want to see also
![]()
Use a 5 GB bandwidth to run the camera at 14.7 fps at base
The ZWO ASI1600MM Pro 1.25" CMOS Camera Kit is a powerful astrophotography tool, boasting a range of features that make it a versatile and attractive option for both amateur and professional astrophotographers. One notable feature is its ability to run at 14.7 frames per second (fps) at the base level. This high frame rate is made possible by the camera's efficient utilisation of a 5 GB bandwidth through its USB 3.0 port.
When working with a camera like the ASI1600, it's important to understand the relationship between frame rate and bandwidth. The frame rate, or frames per second (fps), refers to the number of consecutive images the camera can capture in one second. On the other hand, bandwidth refers to the amount of data that can be transferred in a given time, typically measured in megabits per second (Mbps). For IP cameras, the available bandwidth determines the maximum frame rate that can be achieved.
In the case of the ASI1600, the 5 GB bandwidth provides ample capacity for the camera to operate at 14.7 fps. This high frame rate is particularly advantageous for astrophotography, where capturing quick and successive images of celestial objects is essential. The high fps helps ensure that fast-moving or rapidly changing phenomena are accurately recorded, providing a detailed and comprehensive view of the night sky.
To maximise the performance of the ASI1600 and take full advantage of the 5 GB bandwidth, it's recommended to use the USB 3.0 port. This newer connection standard offers significantly higher data transfer rates compared to its predecessor, USB 2.0, ensuring that the camera can transmit data at the desired frame rate without experiencing bottlenecks or delays.
Additionally, the ASI1600's high frame rate and efficient bandwidth utilisation contribute to its versatility. With a frame rate of 14.7 fps, the camera can adapt to various astrophotography scenarios. For instance, when capturing images of bright objects or planets, a higher frame rate can help mitigate the effects of seeing, resulting in sharper and more focused images.
Furthermore, the efficient use of bandwidth showcases the camera's ability to balance image quality and data transfer rates. By optimising the bandwidth utilisation, the ASI1600 ensures that each image captured contains the necessary data for high-quality astrophotography without sacrificing the speed of data transfer. This balance between image quality and frame rate is crucial for achieving successful astrophotography results.
In conclusion, the ZWO ASI1600's capability to operate at 14.7 fps with a 5 GB bandwidth showcases its advanced design and versatility. By understanding the interplay between frame rate and bandwidth, astrophotographers can leverage the camera's performance to capture stunning visuals of the cosmos. The efficient utilisation of bandwidth ensures that data transfer remains smooth and uninterrupted, contributing to the overall reliability and functionality of the ASI1600.
Unlocking Kik Camera: Modding for Creative Freedom
You may want to see also
Frequently asked questions
You can try using a small Region of Interest (ROI), which will reduce the image download time. You can also try using a bahtinov mask instead of relying on Full-Width Half Maximum (FWHM) as it is much less susceptible to seeing.
You can use a bahtinov mask to focus your ASI1600 camera. Alternatively, you can use a bright star and set the exposure time to about 1 second, with very high gain (300), and then hit "Live View". Then switch on "Focus Aid" and try to minimise FWHM.
Using a bahtinov mask is much less susceptible to seeing than relying on FWHM. It is also faster and more responsive than using "Focus Aid" in APT.
You can use the second alignment star, or any bright star near the target that you will be imaging.