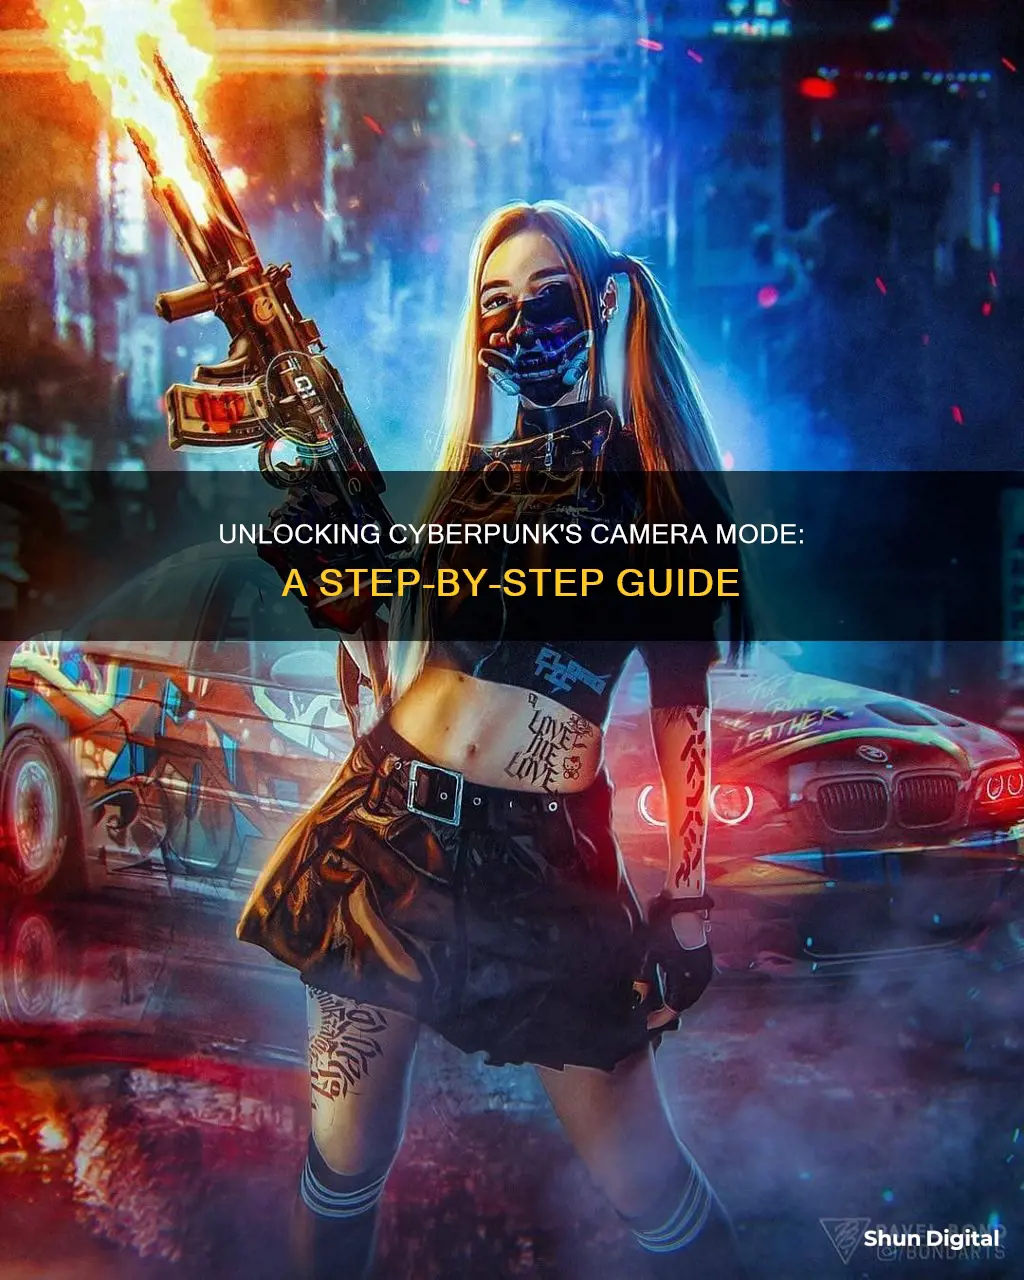
Cyberpunk 2077 features a photo mode that allows players to capture stunning images of the game's environments and characters. This mode can be accessed by pressing the N key on PC or both analogue sticks (L3 and R3) on PlayStation or Xbox controllers. Once in photo mode, players can adjust various settings such as the depth of field, perspective, exposure, contrast, highlights, vignettes, chromatic aberration, and grain to create unique and dramatic shots. Players can also switch between first-person and drone camera perspectives, change the player character's pose and facial expression, and apply filters to further enhance their photographs. With these tools, players can capture the perfect screenshot of their character in the game's beautifully detailed world.
| Characteristics | Values |
|---|---|
| How to enter camera mode | Press down both analogue sticks (L3 and R3) simultaneously |
| How to enter camera mode on PC | Press the N key |
| How to take a screenshot on PC | Press the Space bar |
| How to take a screenshot on Xbox | Press the Xbox button and then Y |
| How to take a screenshot on Xbox Series X/S | Press the share button |
| How to take a screenshot on PlayStation | Press Square |
| How to move the camera up and down | Use the triggers |
| How to move the camera on its current plane | Use the left stick |
| How to rotate the camera | Use the right mouse button or the right stick |
| How to alter the distance of the camera | Use the middle mouse button |
| How to switch between menu options | Use Q and E |
What You'll Learn

Accessing photo mode on PC
Photo Mode in Cyberpunk 2077 allows players to capture stunning shots within the game's world. It can easily be accessed on a PC by pressing the "N" key on the keyboard. This will pause the game and allow you to adjust the camera and other settings to create unique screenshots.
If you are playing with a controller on a PC, you can access Photo Mode by pressing down both analogue sticks (L3 and R3) simultaneously.
It's worth noting that if you find yourself accidentally accessing Photo Mode while playing, you can disable it by going to the main Cyberpunk 2077 settings. In the miscellaneous section of the Gameplay settings, you'll have the option to turn Photo Mode on or off.
Once you've entered Photo Mode, you can experiment with various settings to enhance your screenshots. The "Camera" setting lets you switch between first and third-person perspectives, adjust the rotation and field of view, and choose from preset camera configurations. With the "Depth of Field" setting, you can control the focus of the camera, blurring either the foreground or background to highlight specific elements in the image.
The "Pose" setting allows you to change the stance and facial expression of your character, V, and decide whether they are visible in the photo at all. You can get creative with the "Effect" setting by modifying the exposure, contrast, and highlights, or applying effects like converting the image to black and white.
Additionally, the "Stickers" setting offers 196 different stickers to choose from, along with the option to add a backdrop or frame to your photo. You can save your preferred camera settings by using the Load/Save option at the end of the Photo Mode settings menu, allowing you to store up to three different configurations for future use.
Lastly, you can manually adjust and rotate the camera to capture the perfect shot. With these tools, you'll be able to take amazing photos in the world of Cyberpunk 2077.
Shipping Camera Batteries: USPS Guidelines and Tips
You may want to see also

Accessing photo mode on Xbox
Cyberpunk 2077's Photo Mode is a feature that lets you pause the game and adjust the camera and other settings to create unique screenshots. It's easy to access on Xbox and only requires a simple button combination.
To enter Photo Mode on Xbox, simply press down both analogue sticks (LS + RS) on your Xbox controller simultaneously. This will activate Photo Mode, allowing you to pause the game and adjust various settings to capture the perfect shot within the world of Cyberpunk 2077.
Once you're in Photo Mode, you can experiment with different settings to enhance your screenshots. The "Camera" setting lets you switch between first and third-person perspectives, adjust the rotation and field of view, and choose from preset camera configurations. With the "Depth of Field" setting, you can control the focus of your image by blurring the foreground or background, highlighting specific characters or elements within the frame.
The "Pose" setting enables you to change the stance of your character, V, and even make them invisible in the photo if desired. You can choose from a range of idle and action poses and customise their facial expressions to match the mood of your screenshot. Additionally, the "Effect" setting lets you modify exposure levels, contrast, and highlights, and apply effects like black and white to change the colour and atmosphere of your photo.
Lastly, the "Stickers" setting offers a creative touch, allowing you to add up to five stickers from a collection of 196 options. You can also use this setting to add a backdrop or frame to your image. With all these tools at your disposal, you can transform any in-game moment into a memorable and artistic screenshot.
Remember, if you find yourself accidentally entering Photo Mode during gameplay, you can disable it in the "Gameplay settings" under the "miscellaneous" section of the main Cyberpunk 2077 settings.
Updating Adobe Camera Raw CS6: A Step-by-Step Guide
You may want to see also

Accessing photo mode on PlayStation
Photo Mode in Cyberpunk 2077 allows you to capture stunning images within the game. It can be accessed by pressing the L3 and R3 buttons simultaneously on your PlayStation controller. This will pause the game and allow you to adjust the camera and other settings to create unique screenshots.
Once Photo Mode is activated, a detailed menu will pop up, and you can use the controller's right analog stick to control the camera's orientation (pitch and yaw). The left analog stick enables side-to-side and forward-backward movement, while the left and right triggers control vertical movement.
The Photo Mode menu offers a range of options to fine-tune your shot. The "Camera" tab provides various presets, field of view adjustments, and rotation settings to capture the perfect angle. You can also switch between first and third-person perspectives.
The "Depth of Field" settings let you control the focus of your image, allowing you to blur the foreground or background to highlight specific elements. The "Pose" tab offers a range of idle and action poses for the character V, along with the option to make them invisible in the photo.
Additionally, you can enhance your images with the "Effect" tab, which allows you to adjust exposure, contrast, highlights, and other effects. You can even add stickers, frames, and change the background of your image.
Finally, the "Load/Save" feature lets you save specific shot configurations, making it easier to set up future photos without starting from scratch.
Polaroid Camera Battery Guide: Which Batteries to Use?
You may want to see also

Camera controls
To enter camera mode in Cyberpunk 2077, you must first access Photo Mode. On a PC, you can do this by pressing the "N" key. On a PlayStation, press L3 and R3 simultaneously, and on an Xbox, press LS and RS together.
Once you have entered Photo Mode, you can access the Camera settings. This allows you to control the camera taking the photo. You can switch between first and third-person perspectives, adjust the rotation and field of view, and choose from a number of pre-set camera settings.
You can also manually move and rotate the camera to your liking. This is a great way to get the perfect angle and composition for your screenshot.
If you are playing with a controller, you may find the camera settings uncomfortable or difficult to control. To fix this, go into the "Cyberpunk 2077" settings menu, then the controls submenu. Find the "First-Person Camera (Controller)" section and turn on "Show Advanced Options". Here, you can fine-tune your controller's aim acceleration with options like "Horizontal Turning Bonus" and "Turning Ramp-up Time". If you are still experiencing issues, try turning all the "Advanced Options" down to zero to remove aim acceleration. You can also adjust the horizontal and vertical sensitivity settings to find a speed that feels comfortable for you.
Charging Camera Batteries: Alone Show Secrets Revealed
You may want to see also

Photo mode features
Photo Mode in Cyberpunk 2077 allows you to capture beautiful or terrifying shots within the game. You can access Photo Mode by pressing the N key on your PC or both analogue sticks on your controller. Once you're in Photo Mode, you can adjust the camera and other settings to create unique screenshots.
There are five different sets of settings to experiment with in Photo Mode:
- Camera: This setting allows you to switch from first to third-person perspective, change the rotation and field of view, and choose from pre-set camera settings.
- Depth of Field: Control what the camera focuses on, blurring either the foreground or background of a picture to highlight specific parts or characters.
- Pose: Change how V stands in the photo, or whether they appear at all with the 'Character Visible' setting. Choose from a variety of different idle and action poses and adjust V's facial expression.
- Effect: Change the colour of the photo by altering exposure levels, contrast, and highlights, or add set effects like black and white.
- Stickers: Add up to five different stickers from a selection of 196, or add a frame or backdrop to your photo.
You can also manually move and rotate the camera to get the perfect shot. Don't forget to save your preferred camera settings so you can load them whenever you like!
Unlocking Adobe Camera Raw CC's Power
You may want to see also
Frequently asked questions
Press the "N" key on your keyboard.
Press down both analogue sticks (LS + RS) at the same time.
Press down both analogue sticks (L3 + R3) at the same time.
Camera mode, or Photo Mode, allows players to experiment with different angles, apertures, and lighting, and to capture unique screenshots of their character and the game environment.
Experiment with the various Photo Mode settings such as depth of field, perspective (first or third person), exposure, contrast, highlights, vignettes, chromatic aberration, and grain. You can also switch between different camera presets, adjust the field of view and rotation, and add effects like muzzle flash or filters.


