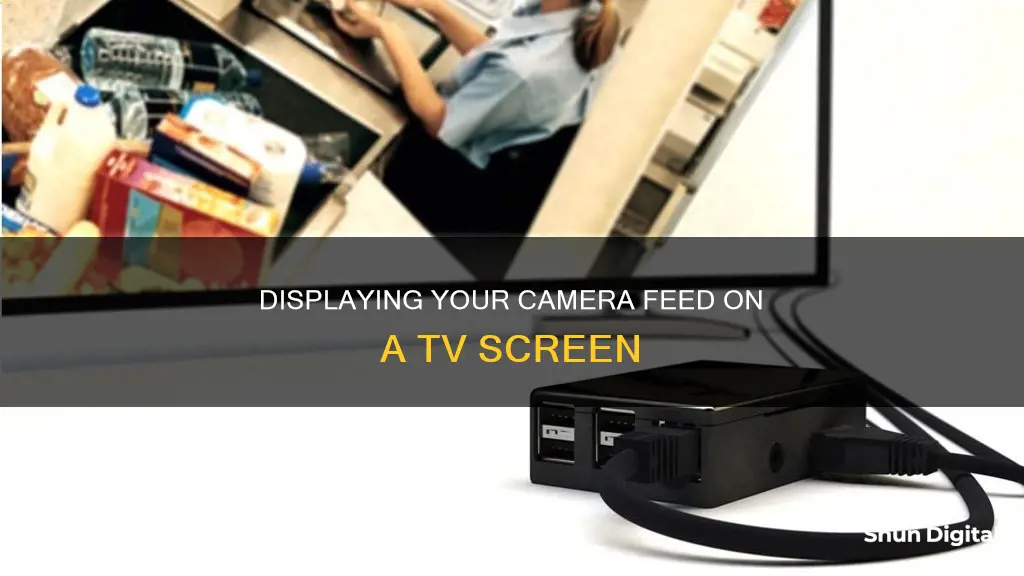
There are several ways to display a camera on a TV, depending on the type of camera and TV you have. If you have a smart TV, you can use an IP camera-to-HDMI converter, Google Chromecast, or Apple TV. You can also stream directly from certain IP cameras with an HDMI output. For non-smart TVs, you can use an audio/video (A/V) cable or an HDMI cable to connect your camera to your TV.
| Characteristics | Values |
|---|---|
| Camera Type | Nest, IP, CCTV, Analog, HD, BNC, NVR, DVR, Google Nest, Google Chromecast, Apple TV, Samsung Smart TV, Sony BRAVIA TV, Fujifilm |
| Display Type | TV, Smart TV, Monitor, RCA TV, HDMI TV |
| Connection Type | Wi-Fi, Wired, Wireless, Bluetooth, HDMI Cable, VGA Cable, Audio/Video Cable, USB Cable, Micro USB Cable, Coaxial Cable |
| Power Source | Battery-powered, Wired |
| Additional Devices | Speaker, Google Home Device, Router, Chromecast Voice Remote, Phone, Google Chromecast Streaming Device, Apple TV, Mini Android PC, NVR Recorder, DVR Box |
| Additional Features | Voice Commands, Voice Activation, Motion Alerts, Notifications, Remote Control |
What You'll Learn

Use an IP camera to HDMI converter
Using an IP camera to HDMI converter is a straightforward method to display your camera feed on your TV. This method does not require any third-party streaming applications. You will need to purchase an IP camera to HDMI converter, such as the NetcamViewer Monitor decoder, which is easily available on Amazon.
Once you have your converter, follow these steps:
- Connect your IP camera to the decoder.
- Plug the decoder into your TV using an HDMI cable.
- Switch the channel on your TV, and you will be able to see your camera feed.
This method is one of the easiest ways to view a live feed from your IP camera on your TV.
You can also use a BNC to HDMI converter if you are using HD security cameras that use coax cables, such as AHD, HD-TVI, and HD-CVI, with resolutions ranging from 720p to 4K. Connect the BNC output of your camera to the BNC input on the converter, and then use an HDMI cable to connect the converter to your TV.
Additionally, if you have a single IP security camera, you can purchase a cheap NVR (Network Video Recorder) to cast the picture onto your TV. Plug your camera into the NVR, and then connect the NVR to your TV using an HDMI cable. You can then select the source channel via your TV's remote control to display the feed from your camera.
The Camera's Eye: Who's Watching?
You may want to see also

Use Google Chromecast
To display your camera on your TV using Google Chromecast, you'll need to have a compatible security camera and a Chromecast with Google TV. Compatible cameras include certain models from Nest, Arlo, Wyze, Eufy, Netatmo, and TP-Link Kasa.
First, set up your security camera by following the instructions provided by the manufacturer. If you have a Nest camera, follow the instructions provided in the box and the app. Once your camera is set up, connect it to the same Wi-Fi network as your Chromecast and add it to the same home in the Google Home app.
Next, set up your Chromecast device. Make sure it is connected to the same Wi-Fi network as your camera. If you're using a Chromecast with Google TV, you'll need to set it up using the Google Home app.
Now, link your Chromecast to the same account as your smartphone or tablet. Open the Home app on your smartphone and find the tile for your Chromecast. Touch and hold the tile, click on the Settings icon, and tap on Recognition & Sharing. Follow the steps to link your Chromecast with your Google Home.
Finally, you can use voice commands to stream your security camera to your TV. Say "Ok Google" or "Hey Google," followed by a command such as "Show [camera name]," "What's on [camera name]?", or "[Camera name] on [Chromecast device name]."
To stop the feed, say "Stop [TV or Chromecast device name]," or press the Home button on the Chromecast with Google TV voice remote.
Choosing the Right TV Camera: A Comprehensive Guide
You may want to see also

Use an app on the Smart TV
If you want to display your camera on your Smart TV, you can use an app. Almost all smart TVs run on Android operating systems, so you can install the relevant app on your TV, input your camera's settings (such as its IP address, username, and password), and then stream using the app.
The IP camera apps are available on smart TVs such as Samsung, Sony, and LG Smart TV, as well as other Android-based TVs. Each IP camera usually has its own app, but there are also universal apps available such as Tiny Cam Pro, tinyCam Monitor, or IPcam Viewer.
Here's how to set up the TINY CAM PRO app on your smart TV:
- Download the app on your Wi-Fi-supported TV.
- Sync the app to your security camera to send a cam picture within seconds.
- Scan your home network to connect to the related device.
- Adjust your camera settings.
- Open the app and select (+) & "Device".
- Choose the name of the device and "Camera" from the app.
- You'll be asked to "Authorize" your connection to the camera. Enter your login information (username and password).
- After the camera is successfully added, choose which camera you want to access in the app.
Now you can view your camera's footage on your smart TV!
Watching Cameras: A Tough Job?
You may want to see also

Use an Audio/Video (AV) cable
If you want to display your camera on your TV, one way to do it is by using an Audio/Video (AV) cable. This method requires that both your camera and TV have A/V jacks. Here's a step-by-step guide on how to connect your camera to your TV using an AV cable:
- Ensure that both your camera and TV are turned off before making any connections.
- Connect the yellow end of the AV cable to the VIDEO input jack on your TV. The VIDEO input jack on your TV is usually colour-coded yellow, and you might find it on the back or side of your TV, depending on the model.
- Connect the other end of the AV cable to the AV OUT jack on your camera. The AV OUT jack on your camera will also be colour-coded yellow, and it might be labelled with "AV OUT", "Video Out", or a similar term.
- Once the connections are secure, turn on your camera.
- Now, turn on your TV.
- Using your TV remote or the buttons on the TV itself, find and select the "Input" or "Source" button. This button might also be labelled as "VIDEO", "AV", or something similar.
- Change the input setting until you see the live feed from your camera displayed on the TV screen. You might need to look through the TV's available inputs to find the correct one.
By following these steps, you should be able to display your camera's live feed on your TV using an Audio/Video cable. This method is useful when you want a straightforward way to connect your camera to your TV without the need for additional adapters or converters.
TV Cameras: Are They Watching You?
You may want to see also

Use an HDMI cable
Using an HDMI cable is a straightforward way to display your camera's output on your TV. This method is suitable for both still images and videos from a digital camera or camcorder. Here's a step-by-step guide on how to do it:
Step 1: Get the Right HDMI Cable
First, ensure you have the correct HDMI cable. You will need a cable with an HDMI mini jack on one end and a standard HDMI jack on the other. The HDMI mini jack will connect to your camera, while the standard HDMI jack will go into your TV.
Step 2: Connect the Cable
With your camera and TV turned off, connect the HDMI mini jack to your camera. Then, connect the standard HDMI jack to the HDMI input port on your TV. Be sure that the connectors are fully inserted into both the camera and the TV.
Step 3: Turn On Your Devices
Once the cable is connected, turn on your camera. Your camera's screen may remain blank while it is connected to the TV, so don't be concerned if it doesn't display anything. Now, turn on your TV.
Step 4: Select the Correct Input
On your TV remote, press the INPUT or similar button to cycle through the inputs until you find the correct one. Your TV should now be displaying the output from your camera. If you are playing back videos or images, you can start playback on your camera, and they will be displayed on the TV.
Additional Notes:
- The volume controls on your camera will not work; use your TV's volume controls.
- The USB cable cannot be used while an HDMI cable is connected to your camera.
- Some TVs may briefly show a black screen when movie playback begins.
- If your camera has a "Control for HDMI" function, you may be able to control playback on your camera using your TV's remote.
Unifi Camera Remote Viewing: Easy Setup Guide
You may want to see also
Frequently asked questions
There are several ways to display your camera on your TV, including:
- Using an Audio/Video (A/V) cable
- Using an HDMI cable
- Using a BNC to HDMI converter
- Using a Google Chromecast or Apple TV
- Using an IP Camera to HDMI converter
The simplest way to display your camera on your TV is to use an HDMI cable. This is a straightforward process and simply requires you to connect your camera to your TV using an HDMI cable, and then tune your TV to the HDMI input channel.
Using an IP Camera to HDMI converter is another simple method to display your camera on your TV. You can purchase an IP Camera to HDMI converter online, connect your IP camera to the decoder, and then plug the decoder into your TV using an HDMI cable.
If you already view your camera feed on your phone using an app, you can mirror your phone screen onto your TV using Google Chromecast or Apple TV. You will need a Google Home device or router to act as a Virtual connector between the two devices.


