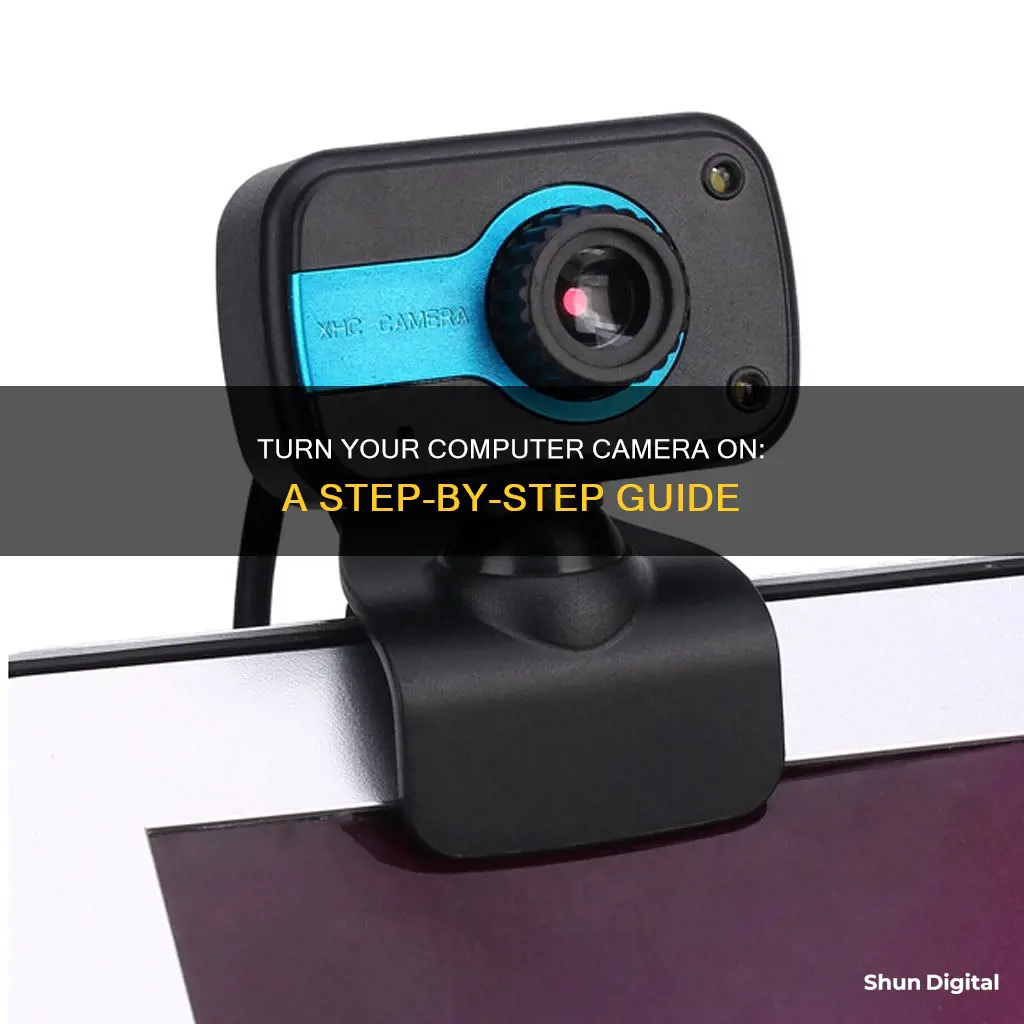
If you want to use the camera on your computer, you'll first need to locate it. Most computers have a built-in webcam, usually located above the screen in the centre. Once you've found it, you can turn it on by opening the Camera app on a Windows PC or the Photo Booth app on a Mac. If you're using an external webcam, you may need to install software or updates.
| Characteristics | Values |
|---|---|
| How to open the camera app on Windows | Select the Start button, then select All apps, and then select Camera in the list of apps |
| How to take a photo | Select Photo, then select it again to take a picture |
| How to take a video | Select Video, then select it again to start and stop recording |
| How to view a photo or video | Select Start > Photos and then choose the Collection you want to see |
| How to change camera settings | Open the Camera app, swipe in from the right edge of the screen, and then select Settings |
| How to switch to a different camera | Open the Camera app, swipe in from the bottom edge to see the app commands, and then select Change camera |
| How to locate your webcam on a Windows computer | The webcam is usually located above the screen in the center. Look for a pin-hole lens in the center above the screen |
| How to locate your webcam on a Mac | The webcam is usually located above the screen in the center. Look for a pin-hole lens in the center above the screen |
What You'll Learn
![]()
How to turn on the camera on a Windows computer
To turn on the camera on a Windows computer, you can follow these steps:
- Open the Windows Settings: This can be done by pressing the Windows button and "I" simultaneously, or by going to the Start menu and selecting Settings.
- Navigate to Privacy Settings: In the Windows Settings menu, find and select "Privacy."
- Locate Camera Settings: On the left sidebar, there should be a "Camera" option. Click on it.
- Allow Apps to Access Your Camera: At the top of the "Camera" page, you will see the option to "Allow apps to access your camera." Toggle this setting on.
- Choose Specific Apps (Optional): If you want to give permission to specific apps only, scroll down the same page and use the toggle next to individual apps to manage their camera access.
- Launch the Camera App: To test if your camera is working, open the "Start" menu, search for "Camera," and select the app. If prompted, allow access to the camera.
It is important to note that some laptops and portable devices have a physical switch or button to turn the camera on or off. Before proceeding with the steps above, ensure that your camera is turned on using this switch if available.
Charging the A7 Camera: A Step-by-Step Guide
You may want to see also
![]()
How to turn on the camera on a Mac
To turn on the camera on a Mac, you must open an app that uses the camera, such as Photo Booth or FaceTime.
Here's how to do it:
- Click on any empty area of your Mac desktop to go to the Finder.
- Go to the menu bar at the top left.
- Click 'Go' > 'Applications'.
- Locate either Photo Booth or FaceTime.
- Double-click on the desired app.
- The green light next to your camera lens will turn on, indicating that your camera is active.
- Your camera view should appear in the app window.
You can also use QuickTime Player to turn on your camera. Open the app and click 'File' > 'New Movie Recording'.
It's important to note that you can only activate the iSight camera by opening an app. The camera won't turn on unless an app that uses it is running.
If you want to check your camera's view before a video call, you can use an app called Hand Mirror, which provides one-click access to your Mac's camera right from the menu bar.
If your camera isn't working, you can try the following troubleshooting steps:
- Check camera permissions by going to Apple menu > System Preferences > Privacy & Security, and then clicking on 'Camera' to see which apps have access.
- Make sure only one app that uses the camera is open. If multiple apps are trying to use the camera, only one will have access, and the others won't work.
- Restart your Mac.
- Ensure your software is up to date.
- Check your Screen Time settings if you're using macOS Catalina or later. Go to Apple menu > System Settings > Screen Time > Content & Privacy > App Restrictions, and make sure the checkbox for Camera is selected.
- If you're using macOS Mojave or later, choose which apps can access your camera by going to Apple menu > System Settings > Security & Privacy > Privacy & Security > Camera, and then turn on the desired apps.
- If you still can't get your camera to work, contact Apple for further assistance.
ZS50: In-Camera Charging Supported?
You may want to see also
![]()
How to connect a camera to a computer using a cable
Connecting your camera to your computer is a great way to transfer photos and free up space on your camera's memory card. Here is a step-by-step guide on how to connect your camera to your computer using a cable:
Step 1: Check your camera and computer ports
Before connecting your camera to your computer, check what kind of ports they have. Most digital cameras have a USB port, while some may also have an HDMI or mini-HDMI port. Your computer may have USB-A, USB-C, or HDMI ports. If your camera and computer do not have matching ports, you may need an adapter or a cable that can convert the signals.
Step 2: Gather the necessary components
To connect your camera to your computer, you will need a USB cable, a computer with an open USB slot, and your camera. The USB cable should be the one that came with your camera, as different cameras use different types of USB connectors. If you cannot find the original cable, you may need to purchase one with the correct size USB connector.
Step 3: Connect the camera and computer
Make sure your camera is turned off and your computer is on. Plug one end of the USB cable into your camera and the other end into your computer. Then, turn on your camera and switch it to the appropriate mode, such as "Play" mode. Your computer should automatically detect your camera and install the necessary drivers.
Step 4: Access your camera on the computer
A pop-up window should appear on your computer, asking what you want to do with your camera. You can choose to import photos, open a folder, or launch a software application. If you want to transfer photos, you can use the built-in Windows Photos app or the Mac Photos app.
Step 5: Download and manage your photos
Once you have chosen the appropriate option in the pop-up window, follow the prompts to select, download, and save your photos. You can choose to delete the photos from your camera's memory card after they have been downloaded to free up space.
Troubleshooting:
If you are having issues connecting your camera to your computer, make sure that your cable is securely plugged in, your camera is on and in the correct mode, and your computer has the latest drivers and updates. Additionally, check your camera's battery power, memory space, and resolution.
Infinity Focus: Capturing the Faraway with Your Camera
You may want to see also
![]()
How to use software to access your camera
If your computer has a built-in camera or a connected webcam, you can use software to access it. Here's a guide on how to do this:
Windows
If your PC has a built-in camera or a connected webcam, you can use the Camera app to take photos and videos. To find the Camera app, select the Start button, then select Camera.
You can change some options for your camera in the Settings menu, such as showing grid lines to help you compose a photo or including location information in your photos. To access these settings, open the Camera app and swipe in from the right edge of the screen, then select Settings.
Mac
If you're using a Mac, you can use the Mac Photos app to transfer photos from your camera to your computer. For video editing, software such as iMovie can be used to access your camera's video feed.
Connecting a Digital Camera to Your Computer
If you want to connect a digital camera to your computer, you'll need to check the ports on both your camera and your computer. Most digital cameras have a USB port, while some may also have an HDMI or mini-HDMI port. You may need an adapter or a cable that can convert signals if your computer doesn't have matching ports.
Once you have the correct ports and cables, connect your camera to your computer with the cable. Ensure your camera is turned off and your computer is on. Plug one end of the cable into your camera and the other end into your computer, then turn on your camera and switch it to the appropriate mode. Your computer should automatically detect your camera and install the necessary drivers.
Using Your Phone's Camera on Your Computer
There are several applications that allow you to remotely access your phone's camera from your computer:
- AirDroid Personal (compatible with Windows and Mac)
- DroidCam App (Windows only)
- EpocCam App (Mac only)
Zuckerberg's Camera: Covered or Uncovered?
You may want to see also
![]()
How to troubleshoot common issues with your camera
Computer cameras can be prone to problems, and there are several ways to troubleshoot and resolve these issues. Here are some common problems and their fixes:
Check your camera is connected and enabled:
First, check that your camera is connected to your computer. If it is an external camera, try plugging it into a different USB port. For built-in cameras, ensure the correct input device is selected.
Check your camera settings:
Open your Settings and navigate to "Privacy -> Camera" and allow apps to use your camera. Also, check that the apps you require have camera access enabled.
Check your antivirus software:
Antivirus software can sometimes block access to your camera to prevent unauthorized access. Check the settings in your software, or the manufacturer's website, and ensure you whitelist your camera in the privacy settings.
Update or install your camera driver software:
If your camera is not working, visit the manufacturer's website and download the driver installation package. You can also try updating the driver:
- Go to Device Manager.
- Find your camera under "Cameras", "Imaging devices" or "Sound, video and game controllers".
- Right-click and select "Update device driver".
- Test your camera with another device:
Try your camera on another device to see if the issue is with your camera or your computer.
Rollback your camera driver:
If your camera stopped working after a recent driver update, you can roll back to the previous version:
- Open Device Manager.
- Expand "Imaging devices", "Cameras" or "Sound, video and game controllers".
- Right-click on your camera and select Properties.
- Click the Driver tab, then select Roll Back Driver and choose Yes.
- Restart your computer.
- Uninstall and reinstall your camera:
Open Device Manager, right-click on your camera, and select Uninstall. Then, scan for hardware changes, and Windows will reinstall the driver.
If you are still having issues, try disconnecting and reconnecting your camera, or refer to the manufacturer's website for further support.
Surveillance Cameras: Microphone Functionality and Their Purpose
You may want to see also
Frequently asked questions
To turn on your camera, go to Settings > Privacy > Camera and select "Change". Then, enable the Allow Apps to Access Your Camera option. You can then use the Camera app to test your webcam.
To open up your camera, select the Start button, then select All apps, and then select Camera in the list of apps.
To use your Mac's built-in camera, open an app with camera access, such as FaceTime, or turn on a feature that uses your Mac's camera. You'll see a green light that indicates your camera has successfully turned on.
You can check if your webcam is working by going to the Windows Search bar and searching for the Camera app. Open the app, and if your webcam is working, you'll see your camera's footage.
If your webcam isn't working, there are several troubleshooting steps you can take. Check your antivirus software to see if it's blocking your webcam from launching, and check that all cables are securely connected. You can also try checking the webcam with a different computer or checking the USB port with a different device.