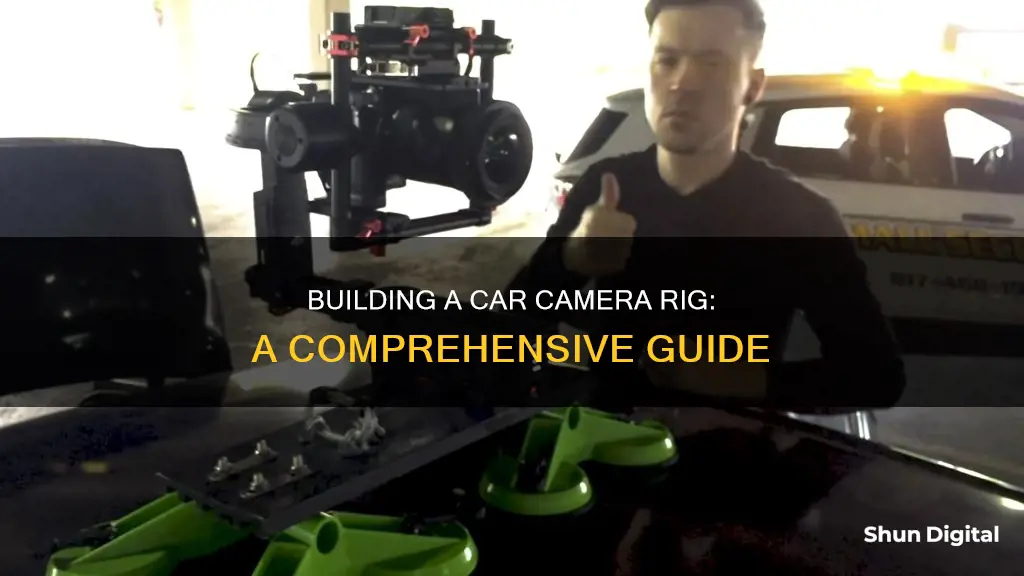
Capturing action shots of cars in motion often requires a 'car rig'—a long pole attached to a car, with a camera mounted on one end. While professional car rigs can cost thousands of dollars, it is possible to build a DIY car camera rig for under $50. This paragraph aims to provide an introduction to the topic of building a car camera rig, offering a brief overview of the process and the potential benefits of creating a DIY setup.
Characteristics and Values of a Car Camera Rig
| Characteristics | Values |
|---|---|
| Purpose | To capture action shots of cars in movement |
| Cost | $30-50 for a DIY rig; thousands for a professional one |
| Required equipment | Suction cups, U-bolt assemblies, a pole, a tripod, cable ties, gaffer tape, a gimbal, a drone mount, a camera mount system, a follow focus system, an HDMI transmitter |
| Techniques | Slow shutter speed, 1-2 seconds, vehicle moving slowly (1-2 mph) |
| Post-processing | Removing rig in post, using warp stabilizer in post-production |
What You'll Learn

Attaching the camera to the rig
When attaching the camera to the rig, the first step is to decide on the type of camera you will be using. Are you opting for a couple of action cameras, a DSLR or mirrorless camera with a ball head, or a 3-axis motorized gimbal? This will determine the type of mounting system you will need.
For the mounting system, you can use inexpensive triple suction cup mounts, which work surprisingly well and can handle a good amount of weight. Alternatively, you can use double suction cup handles, which are spaced out to provide more sturdiness to the rig.
Once you have your suction cups in place, the next step is to attach the pole. For the pole, you can use a painter's extension pole or a decorator's pole, although aluminum piping may be preferred for more rigidity. Attach the pole to the suction cups using cable ties, ensuring they are tight enough to hold the weight of your camera but still allowing for some movement so they can adjust to the shape of the car body. You can also add gaffer tape on top of the cable ties for extra security and to prevent the pole from rotating.
Now, you can attach your camera to the pole. One technique is to mount the camera upside down underneath the pole, so that the pole is mostly cutting through the sky and not the vehicle itself, making it easier to remove from the shot during editing. Another option is to mount the camera on top of the pole, but this will require more editing work to remove the pole from the final footage.
Finally, consider adding some safety measures to your rig. Overtravel protection, safety wire, and straps are recommended to prevent the camera from slamming into the ground if the rig fails. You may also want to add a soft bump stop to prevent excess jerking when the rig hits its limit.
Fight Back: Beating a Speeding Ticket in Maryland
You may want to see also

Choosing the right hardware
Suction Cups
Suction cups are essential for attaching your rig to the car securely. Look for heavy-duty suction cups, such as dent or glass pullers, which can handle the weight of your camera equipment. Consider the number of suction cups needed to distribute the weight evenly and ensure a sturdy setup. Some recommend quad suction cup dent pullers or double suction cup handles. It is also suggested to apply a thin layer of beard wax to improve suction and seal the air displacement.
Poles
The choice of pole will affect the stability and rigidity of your rig. While a painter's extension pole or a decorator's pole can be used, they may sag or bounce due to the weight of the camera. Consider upgrading to aluminium piping or investing in a commercial rig with single-piece steel, aluminium, or carbon fibre poles for a more robust solution.
Mounting System
The mounting system will hold your camera in place. Depending on your camera setup, you can choose from various options, such as strapping on action cameras, using a DSLR or mirrorless camera with a ball head, or opting for a 3-axis motorized gimbal. Ensure the mounting system is compatible with your camera and provides the required stability and flexibility for your desired shots.
Safety Considerations
Safety should be a priority when building a car camera rig. Consider adding overtravel protection and safety wire to prevent accidents. Straps and soft bump stops can also help minimize the impact of sudden movements or bumps. Always test your rig thoroughly before use and never compromise safety to save costs.
Additional Equipment
To enhance your setup, consider investing in a follow focus system and an HDMI transmitter, which will improve your cinematography. Using a camera app can also give you greater control over your camera settings remotely. Additionally, ensure you have the necessary tools, such as drills, bolts, and cable ties, for assembling your rig.
The Power of Camera Focus in UE4: Why Isn't it Default?
You may want to see also

Prepping the car surface
When it comes to prepping the car surface, the first thing to do is give your car a good clean. Dust, oil, pollen and other substances on the body paint or windshield can ruin your shots. You want the car to be spotless. Once you have a clean surface, it's time to prepare the suction cups that will attach your rig to the car. One method is to add a thin layer of beard wax to the car surface before attaching the suction cups. Beard wax improves the suction without damaging your car. It creates a liquid-like layer that doesn't evaporate, helping to seal the air displacement that causes the suction. Don't press too hard when attaching the cups, as this can bend the metal and weaken the suction. You may find that you get different degrees of suction from each cup, but four good suction points are usually enough to keep your rig secure.
Fujifilm S1: The Right Camera Battery Choice
You may want to see also

Setting up the camera
Firstly, decide on the type of camera you will be using. This could be a simple action camera, a DSLR or mirrorless camera, or even a full 3-axis motorized gimbal setup. The weight of the camera will be an important factor in the stability of your rig, so choose your camera and mounting system wisely.
Next, you'll want to attach the camera to the rig. This can be done in a variety of ways, such as using a ball head mount, a quick-release plate, or a custom-built mounting system. Ensure that the camera is securely attached and won't move or vibrate during the drive.
The placement of the camera on the rig is crucial. You'll want to position it so that it has a clear view of the action, with minimal obstructions. One technique is to mount the camera upside down, so that the pole or rig is mostly in the sky and not cutting through the vehicle itself. This makes it easier to remove the rig from the shot in post-processing.
Consider using a follow focus system and an HDMI transmitter to improve your cinematography and give you better control over your shots. If your camera has a dedicated app, use it to control the camera settings remotely.
Finally, test your setup thoroughly before hitting the road. Ensure that the rig is stable and secure, and that the camera remains steady while driving. You may need to make adjustments to your setup to eliminate any bounce or vibration.
Canadian Police Cars: Are On-Board Cameras Standard?
You may want to see also

Testing the rig
Firstly, you'll want to test the filming capabilities of the camera mounted on the rig. Drive at various speeds, from as slow as 5 miles per hour to regular speeds, to see how the camera performs and what speeds produce the best footage. This will help you understand the range of shots you can achieve with your rig. Try driving on different types of roads, including bumpy roads, to see how well the rig holds the camera steady.
When testing, ensure you have a spotter to help you monitor traffic and maintain safety. It's important to be aware of your surroundings and other vehicles. If you need to stop traffic or perform a stunt for your shot, be sure to obtain the necessary permits.
Consider testing your rig in vacant parking lots and public spaces first before advancing to actual roads. This will allow you to become familiar with the equipment and make any necessary adjustments in a controlled environment.
If you're using a suction-based rig, be sure to clean the mounting surface and create a good seal. A tip from one source suggests using a thin layer of beard wax to improve suction without damaging your car.
Another aspect to consider during testing is the orientation of the camera. Try different positions, such as facing out the rear window or the side window, to see how the footage looks and what works best for your needs.
Finally, review the footage you've captured to evaluate the performance of the rig and make any necessary adjustments. Check for stability, clarity, and the overall quality of the video.
Remember, safety should always come first when testing and using your car camera rig. Never put yourself, your equipment, or others at risk. Have a backup plan for each shot, and don't be afraid to experiment with different locations and cars to get the results you want.
Turn Off Burst Mode on Galaxy S8 Camera
You may want to see also
Frequently asked questions
A car camera rig is a long pole attached to a car with a camera mounted on the end.
You will need a pole, heavy-duty suction pads, tape, and cable ties. You will also need a camera and a car, of course.
First, attach the suction cups to the car. Then, use cable ties to attach the pole to the suction cups. Finally, attach the camera to the end of the pole.
Building a car camera rig can cost as little as $30, but more expensive options are available.
Yes, safety must always come first when using a car camera rig. It is important to have a spotter for traffic and to never put yourself or your crew in danger to get the shot.


