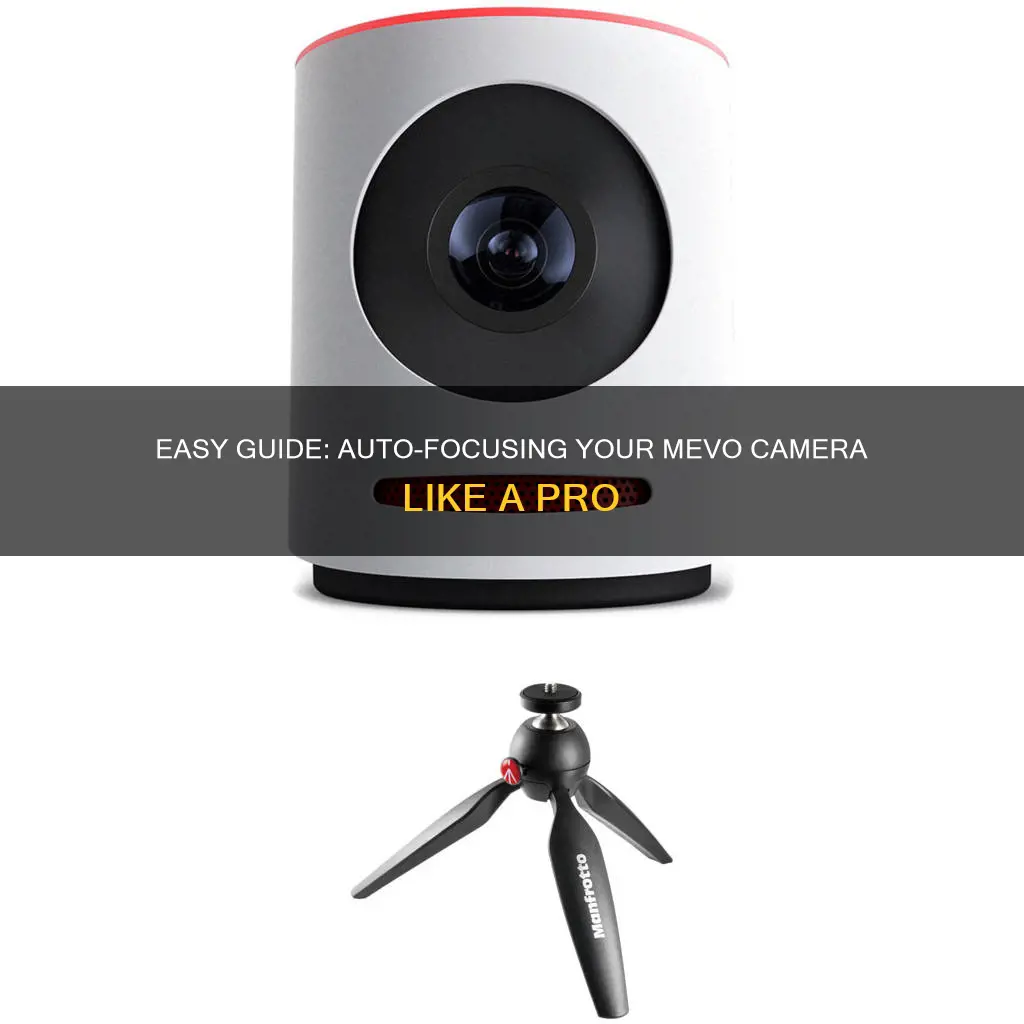
The Mevo camera has a range of features that allow you to automate certain aspects of your filming. The camera assistant features, which can be accessed through the Mevo app, include Autopilot, Find Faces, and Live Follow. These features enable you to control your production remotely, as if you have a camera operator, even when recording or streaming solo. Autopilot allows the Mevo app to live-edit entirely on its own, with the option to adjust the speed of transitions between shots. Find Faces and Live Follow work together to detect up to four human faces and follow their motions, with the ability to set up to eight static shots for larger groups or non-human objects. In addition to these automated features, the Mevo camera also offers three camera modes: Auto, Shutter, and Manual, which determine the level of control the user has over exposure, shutter speed, and ISO settings.
What You'll Learn
- Face detection: Detect up to four faces and switch between subjects
- Live Follow: Enable the camera to follow the movement of people's faces
- Autopilot: Allow the Mevo app to live edit the footage
- Camera modes: Choose between Auto, Shutter, and Manual modes to control exposure, shutter speed and ISO settings
- Image adjustments: Adjust brightness, contrast, saturation, view angle, and more
![]()
Face detection: Detect up to four faces and switch between subjects
The Mevo camera has a face detection feature that can detect up to four faces and allows you to switch between subjects. This feature is useful when you are recording or streaming solo and want to create the illusion of having a camera operator.
To enable face detection, open the Mevo app and tap the More Options menu icon. Then, tap the Camera Assistant icon on the far left. You will see three options: Find Faces, Live Follow, and Auto-Pilot. Tap Find Faces to turn it on; the button will turn from gray to white.
Once Find Faces is enabled, a yellow circle will appear around any human faces that come into the camera's field of view. These trackers will follow the movements of the faces, even if the shot is cropped, as long as the faces stay within the camera's field of view. This feature is ideal for situations where the subjects are in motion, such as a speaker walking around a stage or a chef moving around a kitchen.
In addition to face detection, you can also set up to eight static shots if there are more than four people in the frame or if you need to cut to non-human objects. If you prefer the camera to remain static on a specific area, you can disable the Live Follow feature.
Check Your Camera Ticket Status: A Quick Guide
You may want to see also
![]()
Live Follow: Enable the camera to follow the movement of people's faces
The Mevo Camera App has a range of camera assistant features that allow you to be hands-off while recording or streaming solo. One of these features is Live Follow, which enables the camera to follow the movement of people's faces. Here's a step-by-step guide on how to use Live Follow:
To begin, make sure you have the Mevo Camera App connected to your Mevo camera. The app syncs to the camera in a matter of seconds, and you can choose to connect via Wi-Fi or your phone's cellular connection.
Once connected, access the More Options menu by tapping the corresponding icon. Then, tap the Camera Assistant icon on the far left. You will see three options: Find Faces, Live Follow, and Auto-Pilot.
To use Live Follow, you must first enable Find Faces. Tap Find Faces to turn it on; the button will change from gray to white, indicating that it is enabled. A yellow circle will now appear around any human faces detected by the camera, and these trackers will follow the movements of the faces.
With Find Faces enabled, you can now activate Live Follow. Tap Live Follow, and the button will turn white, indicating that it is enabled. Now, the camera will follow the movement of the detected faces. This is ideal for situations where the subject is moving around, such as a speaker on a stage or a chef in a kitchen.
If you want the camera to remain static on a specific area or subject, simply turn Live Follow off. Additionally, if your subjects are mostly stationary, such as during a panel discussion or a meeting, it is recommended to disable Live Follow to avoid unnecessary camera movements.
With Live Follow, you can easily track and follow faces, creating a dynamic and professional-looking stream, all while being hands-off!
Crafting Polaroid Cameras: The Intricate Manufacturing Process
You may want to see also
![]()
Autopilot: Allow the Mevo app to live edit the footage
The Mevo app has a range of camera assistant features that can help you control your production without being hand-operated. Autopilot is one such feature, which allows the app to live edit the footage entirely on its own, without the need for you to control the shots.
To turn on Autopilot, first, go to the More Options (•••) menu in the lower right corner of the screen. Then, tap the Camera Assistant icon on the far left side. You will see three options: Find Faces, Live Follow, and Autopilot. Tap Autopilot to turn it on—the white box surrounding it will turn dark when it is disabled. You can adjust the speed at which you want Autopilot to cut between shots using the slider on the right side of the camera assistant menu. Drag the slider to the left, towards the tortoise icon, for slower cuts, or to the right, towards the hare icon, for faster cuts.
When Autopilot is enabled, the Mevo app will automatically transition between any detected faces, manually placed static shots, and a wide shot. This feature is ideal for situations where you want to focus on multiple subjects or objects and want the camera to automatically follow the action. For example, if you are filming a speaker walking around a stage or a chef moving around a kitchen, Autopilot can ensure that the camera stays on the action without the need for manual intervention.
Unlocking Moto Z Play's Camera Modes: A Step-by-Step Guide
You may want to see also
![]()
Camera modes: Choose between Auto, Shutter, and Manual modes to control exposure, shutter speed and ISO settings
The Mevo camera has three camera modes: Auto, Shutter, and Manual. These modes give you different levels of control over exposure, shutter speed, and ISO settings.
In Auto mode, the camera automatically adjusts the shutter speed and ISO settings to create the best shot possible based on the lighting in your environment. You cannot manually adjust the shutter speed and ISO settings in this mode, but you can adjust the exposure and other settings. Auto mode is a good choice if you want the camera to handle the lighting adjustments for you, ensuring you get a well-lit shot without having to worry about the technical settings.
Shutter mode, also known as shutter priority mode, allows you to manually set the minimum shutter speed while the ISO setting automatically compensates. This mode is ideal for situations where lighting conditions are changing, such as filming a sunset or a speaker moving from a well-lit stage to a darker area of the room. Shutter mode gives you some control over the shot while still allowing the camera to adjust to the lighting conditions.
Manual mode gives you full control over both shutter speed and ISO settings. In this mode, you can set the shutter speed and ISO to your desired levels, and the exposure will automatically adjust based on those settings. Manual mode is best for users who want complete control over their camera's settings and do not want the camera to make automatic adjustments. It is also useful when you want to showcase a change in lighting from one environment to another without the camera adjusting, such as when moving from indoors to outdoors.
In addition to these three modes, the Mevo camera also offers a range of image adjustment settings, such as brightness, contrast, saturation, and white balance, allowing you to fine-tune your shot to match your creative vision.
Charging a Dead DVC Camera Without a Charger
You may want to see also
![]()
Image adjustments: Adjust brightness, contrast, saturation, view angle, and more
The Mevo camera allows you to adjust everything about the image via a quick-access menu that facilitates real-time changes. To access the Image Settings Menu, tap the Options icon in the lower right corner of the live edit view, followed by the image adjustments icon (third from the left). The Image Settings Menu consists of two rows, with the bottom row featuring presets and the top row featuring individual image settings.
Brightness, contrast, and saturation adjustments are best made after establishing your shutter speed and ISO settings. Tap the desired setting and scroll up or down to choose an option; the Mevo App will adjust the image based on your selection.
The view angle setting allows you to adjust the appearance of the field of view. This setting is only available for the Mevo Plus and First Generation cameras. You can choose from four options: Flat, Narrow, Wide, and Fisheye. Flat provides the most cropped view with straight edges, while Narrow offers a wider field of view with slightly curved edges. Wide captures the full field of view with curved edges, and Fisheye provides the most curved edges, making objects in the middle of the picture appear closer to the camera.
In addition to brightness, contrast, saturation, and view angle adjustments, the Mevo camera also offers metering and exposure metering settings. Metering determines where the adjustments are made (Wide or Crop), while Exposure Metering selects the area within the frame to adjust exposure (Spot, Center, Average). This setting tells the Mevo App where to measure the light within the field of view.
Charging Polaroid Snap Cameras: A Quick Guide
You may want to see also
Frequently asked questions
Tap the More Options menu icon, then tap the Camera Assistant icon on the far left. Tap Find Faces to turn it on. A yellow circle will appear around any human faces that appear in the camera's field of view.
First, make sure Find Faces is enabled. Then, go to the More Options menu and tap the Camera Assistant icon. Tap Live Follow to turn it on. Now, the camera shot will follow the movement of people's faces.
Go to the More Options menu and tap the Camera Assistant icon on the far left. Tap Autopilot to turn it on. You can adjust the speed of the cuts between shots using the slider on the right side of the camera assistant menu.
Tap the More Options icon in the lower right corner, then tap the Camera Assistant icon. Tap Autopilot to turn it off. Now, the camera shot will only change when you tap, pinch, or drag your fingers on the app.