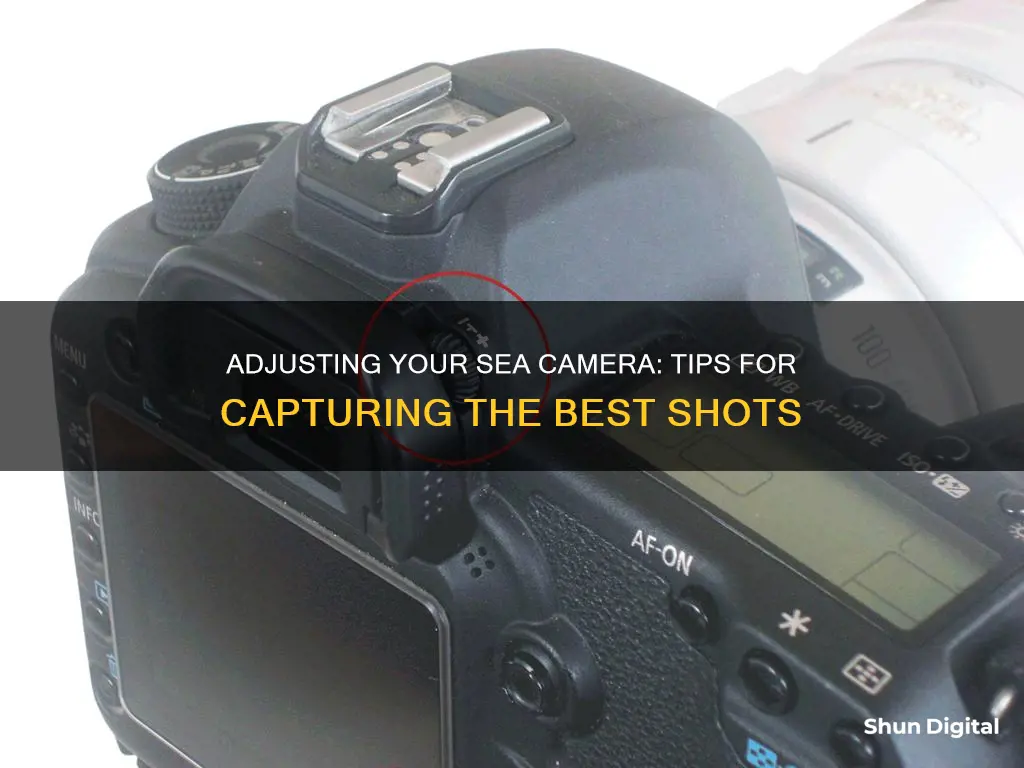
Capturing the perfect shot at sea can be challenging, but with the right equipment and techniques, you can get stunning results. Here are some tips to help you adjust your camera for sea photography:
- Use a high shutter speed to minimise the rocking of your boat and reduce motion blur. Aim for a shutter speed higher than 100 to keep your photos crisp and in focus.
- Fit your lens with a polarising filter to reduce the amount of sunlight entering your lens. This will allow you to use a longer exposure without overexposing your photos.
- Avoid changing your lens in the open as it may expose your camera's sensor to sand, splashes, or salt carried in the sea breeze. Change your lens indoors or in the safety of your cabin.
- Protect your camera from splashes and keep it dry by using a simple plastic cover, waterproof dive bag, or a plastic sleeve.
- Use a tripod or image stabilisation to keep your camera steady, especially when shooting at slower shutter speeds.
- Consider investing in an underwater housing specifically designed for your camera model if you plan to take it below the surface.
- If using a smartphone, there are waterproof smartphone cases available, such as the SeaLife SportDiver Underwater Smartphone Housing.
- Use the right white balance settings for underwater conditions to ensure accurate colour reproduction.
- Take advantage of natural light by shooting during the golden hours just after sunrise or before sunset.
- Be mindful of your surroundings and avoid including distractions in the frame, such as metal railings on boats or reflective water surfaces.
- If shooting with a flash, be cautious of backscatter—the reflection of your flash off particles in the water. Angle your flash away from the lens to reduce this effect.
What You'll Learn
- Use a high shutter speed to minimise the rocking created by your boat
- Fit your lens with a filter to reduce the percentage of sunlight that enters your lens
- Avoid changing your lens to prevent impurities in the atmosphere from entering your camera
- Don't panic about condensation—wait for it to pass before framing your shot
- Stay dry with basic, cheap plastic bag cases to keep your camera splash-proof

Use a high shutter speed to minimise the rocking created by your boat
When taking photos from a boat, it's important to compensate for the rocking motion of the waves by using a high shutter speed. This will help to minimise any motion blur caused by the boat's movement and ensure that your photos are sharp and clear.
To achieve this, try setting your camera to Shutter Priority mode and selecting a shutter speed of at least 1/250th of a second. If you're photographing a moving sailboat, you may want to start with an even faster shutter speed of around 1/400th of a second. You can also increase your ISO to help counter the motion blur – ISO 200 is a good starting point, but you can go higher if needed.
Using a monopod or tripod can also help to stabilise your camera when shooting from a boat. However, be aware that resting your camera on the boat's railing or deck can transmit vibrations and affect your images. Instead, try to hand-hold your camera, using your body as a tripod to absorb some of the boat's movement.
Another technique to minimise the impact of the boat's rocking motion is to try to move your body in rhythm with the waves. This requires a high degree of skill and practice, but it can help you achieve sharper photos.
Additionally, using a high-quality wide-angle lens can help you capture stunning seascape images, allowing you to include the boat, the sea, and the surrounding environment in a single frame. Just remember to protect your camera gear from water damage and sea spray!
Silverado's Camera: Seeing Through Trailers
You may want to see also

Fit your lens with a filter to reduce the percentage of sunlight that enters your lens
Filters are a great way to improve your photography and protect your camera lens. When it comes to reducing the amount of sunlight that enters your lens, you can use a Neutral Density (ND) filter. ND filters are sheets of dark-coloured glass that reduce the amount of light that enters your lens and hits the sensor. They are available in varying degrees of light absorption, from 1/3 to full-stop increments, and can also be purchased as variable-density filters that you can adjust by rotating the filter on its mount. ND filters are particularly useful when shooting in bright sunlight or using wide apertures in low-light conditions, as they allow you to use slower shutter speeds without overexposing your image.
When purchasing an ND filter, it's important to consider the quality of the glass and the type of coatings used. Pricier filters tend to use optically purer and thinner glass, which interferes less with the front element of your lens. Additionally, look for filters with brass retaining rings instead of aluminium, as aluminium is more prone to denting and jamming.
To install an ND filter, simply screw it onto the front of your lens, ensuring it's securely attached. You can then adjust the filter as needed to achieve the desired effect. Keep in mind that ND filters reduce the amount of light entering your lens, so you may need to adjust your camera settings accordingly.
Infrared Cameras: Can They See Through Insulation?
You may want to see also

Avoid changing your lens to prevent impurities in the atmosphere from entering your camera
Changing the lens on your camera can expose the sensor to impurities in the atmosphere, such as sand, salt, or water. To avoid damaging your camera, it is best to change your lens indoors, preferably in a sealed and controlled environment.
If you are shooting in or around a body of water, it is best to avoid changing your lens altogether. If you must change your lens, it is recommended to use a basic plastic bag to cover your camera and protect it from splashes.
- Keep your camera sealed and protected when not in use.
- Clean and lubricate the door and port o-rings before each use with fresh water and silicone grease.
- Soak your camera housing in fresh water after each use to remove any salt or chlorine residue.
- Avoid using chemicals or cleaning agents on your camera housing.
- Store your camera in a warm, dry place with silica gel packs to absorb any moisture.
Watching Live Camera Feeds: A Step-by-Step Guide
You may want to see also

Don't panic about condensation—wait for it to pass before framing your shot
If your camera has been immersed in water, the first thing to do is not panic. Although it may seem counterintuitive, if your camera has been submerged in seawater, you should rinse it with fresh water to remove the salt. Salt is corrosive and can damage the inside of your camera. After rinsing, dry your camera thoroughly with a towel.
Next, you'll want to remove as much moisture from your camera as possible. One way to do this is to use a drying agent, such as rice or silica gel, which will absorb the water. Place your camera in a sealed bag with the drying agent and leave it in a warm, dry place for at least five days. Do not turn on your camera until it is completely dry, as this may cause a short circuit.
If your camera has been submerged in water, it is also important to remove the batteries and memory cards as soon as possible. Batteries can be damaged by water, and seawater can cause corrosion. Memory cards are usually water-resistant, but it is still a good idea to remove them and let them dry completely before trying to access any data.
Finally, if your camera has been exposed to seawater, it is essential to clean the lens as soon as possible. Seawater can damage the lens coating, so gently dab the lens with a microfiber cloth to remove any residue.
By following these steps, you can increase the chances of your camera surviving a dunking. However, if your camera still doesn't work after drying, you may need to send it for professional repair or contact the manufacturer for support.
Wyze Camera: Is Someone Spying on You?
You may want to see also

Stay dry with basic, cheap plastic bag cases to keep your camera splash-proof
Keeping your camera dry is essential, especially if you're shooting in wet conditions or near water. While you can buy a waterproof camera bag, a basic, cheap plastic bag will do the trick to keep your camera splash-proof.
Here's how to make a simple plastic bag case for your camera:
Choose the Right Plastic Bag
Look for a bag that's thick and durable. It should be big enough to fit your camera with some room to spare. You can find these bags at most grocery or convenience stores.
Prepare the Bag
Take your plastic bag and fold the opening edge over a few times to create a tight seal. You can use a rubber band or tape to secure it in place. This will help ensure that no water gets into the bag.
Place Your Camera Inside
Gently place your camera inside the bag, being careful not to touch or scratch the lens. You may want to put a microfiber cloth around the lens for extra protection. Make sure the camera is sealed inside the bag before heading out.
Use a Strap
If your camera has a neck strap, you can cut a small hole on each side of the bag near the top and thread the strap through. This will allow you to carry the camera around your neck or shoulder while keeping it protected inside the bag.
Test It Out
Before taking your camera out in wet conditions, it's a good idea to test the setup. You can do this by simply running the bagged camera under some water or using a spray bottle to simulate light rain. Make sure no water gets inside the bag and that the camera stays dry.
Change the Bag Regularly
Plastic bags are not very durable, so it's important to change them regularly, especially if they get torn or develop holes. Always have a few spare bags with you when heading out for a shoot.
Consider Adding Desiccant
If you're shooting in a humid environment, you can add a small packet of desiccant, like silica gel, inside the bag to help absorb any moisture and keep your camera dry.
Be Mindful of Condensation
When moving between different environments, be mindful of condensation. If you're going from a cold to a warm environment, give your camera time to adjust to the new temperature before taking it out of the bag. This will help prevent condensation from forming on your lens or camera body.
Don't Forget the Lens Cap
Always use a lens cap to protect your lens, even when it's inside the plastic bag. This adds an extra layer of protection and prevents accidental scratches or damage.
Practice Good Camera Care
In addition to keeping your camera dry, regular maintenance and care are important. Make sure to clean your camera and lens according to the manufacturer's instructions. Store your camera in a cool, dry place when not in use, and consider investing in a proper camera bag for long-term protection.
Full Spectrum Cameras: Capturing the Paranormal?
You may want to see also
Frequently asked questions
To adjust your camera settings on Windows 11, type "manage cameras" in the search bar on the Start menu and select "Manage cameras" from the results. Here, you can view and adjust default values for connected cameras.
To change the resolution on your iPhone, go to Settings > Camera > Formats > Photo Mode, and then choose your desired resolution.
To adjust the shutter volume on your iPhone, go to Settings > Camera, and turn the shutter volume on or off.
To adjust your camera settings on your Nikon, first decide whether you want to adjust the aperture, shutter speed, or ISO. Then, depending on your choice and the lighting conditions, adjust the setting using the dials and buttons on your camera.
To adjust your camera settings in Blender, select the camera and use the "Ctrl + Alt + Numpad 0" shortcut or go to "View > Align View > Align Active Camera to View" to point the camera in the desired direction.


