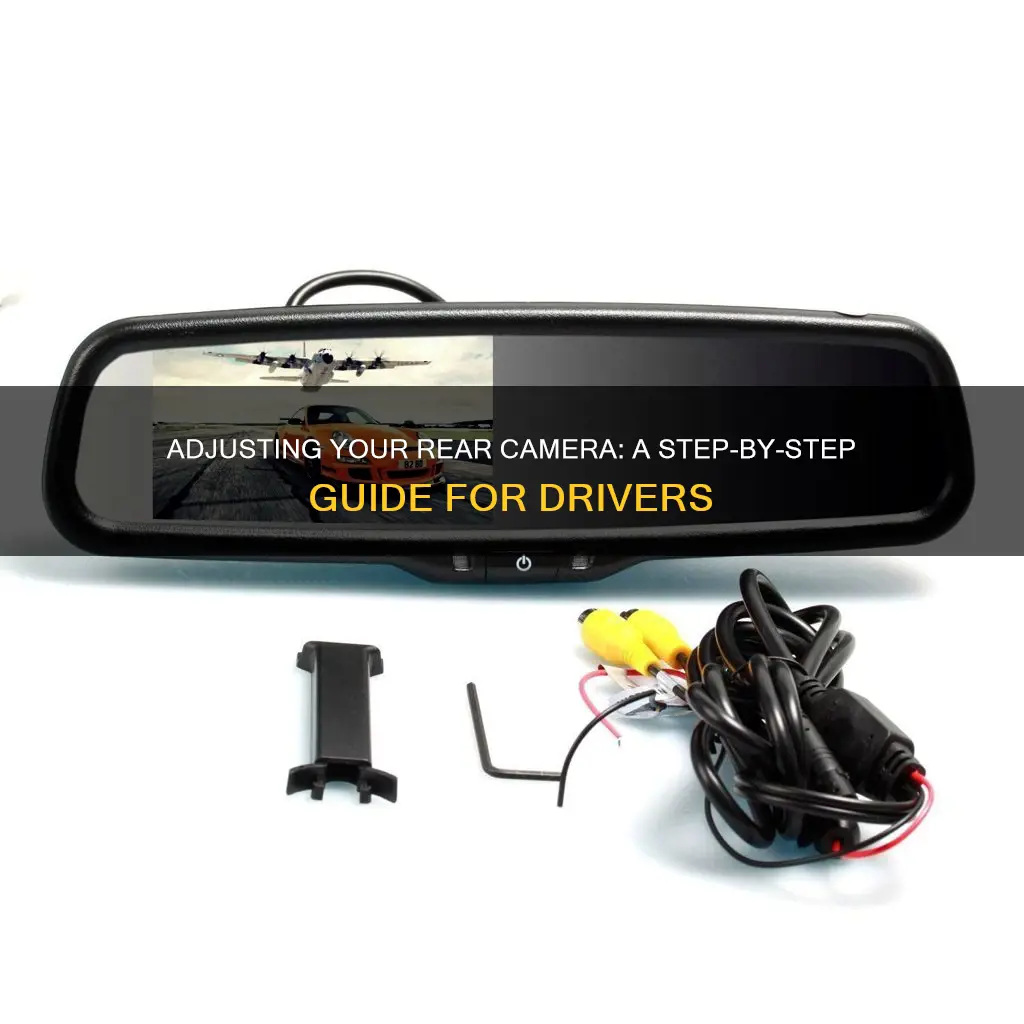
Rear-view cameras, also known as backup cameras, are an essential safety feature for drivers, providing visibility of the area behind the vehicle. While many new car models come with factory-installed rear cameras, older vehicles may require retrofitting. Adjusting the angle of a rear-view camera is important to ensure the driver has an unobstructed view, and this can be done in several ways depending on the type of camera and mount.
| Characteristics | Values |
|---|---|
| Reasons to adjust | Obstructed field of view, not enough range of vision, can see the license plate or bumper, angled too high or low |
| Tools needed | Flathead screwdriver, Phillips screwdriver, 3/32 to ⅛ drill bit, washers, nuts, grommets |
| Mount types | Enclosure-mounted, license plate, flush mount, snap-in, surface-mount, butterfly |
| Camera brands | Garmin, Pioneer Avic |
What You'll Learn

Adjusting the angle of the camera lens
There are a number of reasons why you might need to adjust the angle of your rear-view camera. Perhaps you can see the license plate or the bumper in the frame, or the field of view is obstructed. Maybe the camera is angled too high or too low, or there is not enough range of vision.
Firstly, it is recommended to get a second person to help with the adjustments. One person can move the camera while the other watches the monitor and directs the adjustment.
The process of adjusting the angle of the camera lens will depend on the type of camera and how it is mounted. Some cameras are easy to adjust within their casing, while others require tools to remove, adjust, and refasten. If you need to open the camera enclosure to remove and angle the camera, you will need the right tools. If the enclosure has screws and bolts, you will need a drill or hand screwdriver and the correct bits for the fasteners on the camera and its mount. Many mounts use hex screws or regular screws.
To adjust the angle of the camera lens, you can try the following:
- Adjust the angle of the lens within the enclosure.
- Adjust the angle of the entire enclosure.
- Remove the camera enclosure from the mount by removing the screws.
- Once the enclosure is opened and the camera is free from the mount, adjust the angle of the lens.
- Secure the enclosure back onto the mount to hold the camera in place.
Some cameras with adjustable enclosures or lenses include license plate backup cameras, flush mount backup cameras, and snap-in backup cameras.
If your camera does not have an adjustable lens or enclosure, you will need to adjust the entire mount. Simply remove the mount from the vehicle and place washers, bolts, or grommets between the mount and the surface of the vehicle. Then, refasten the screws or bolts. The positioning of the grommets or other hardware will determine how the mount sits and, therefore, the angle of the camera.
Beating Traffic Camera Speeding Tickets: Strategies for Success
You may want to see also

Calibrating the camera's guidelines
Calibrating the cameras guidelines:
It is important to calibrate your car's cameras to ensure optimal performance and safety. Calibration ensures that all the vehicle's cameras work together seamlessly to provide clear and accurate images, reducing the chances of an accident. Here are the steps to calibrate your car cameras:
- Verify Vehicle Make and Model: Start by checking the model and make of your car. This information is crucial for technicians to prepare for the calibration process as requirements vary across different vehicles.
- Prepare the Car for Calibration: Park your car on a flat surface, ensuring that all tires have the same air pressure and there is sufficient space around the vehicle.
- Connect the Calibration Device: Establish a proper connection between the calibration device and the car's diagnostic port. This connection allows the equipment to communicate with the vehicle's computer systems.
- Adjust the Camera: If adjustments are needed, follow the instructions provided by the calibration equipment. This typically involves adjusting settings such as camera angles, resolution, and sensor alignment.
- Verify Successful Calibration: Once the adjustments are made, take the car for a test drive to ensure that the cameras and sensors are functioning harmoniously.
- Maintain Documentation: Keep a record of the calibration process, including any adjustments made, verification tests, and relevant details. This documentation ensures transparency and provides a reference for future maintenance.
It is worth noting that camera calibration can be complex and often requires trained technicians, specific equipment, and a controlled environment. Therefore, it is recommended to seek professional assistance for accurate and safe calibration.
Additionally, here are some general tips for adjusting the angle of your rear or backup camera:
- Refer to the manufacturer's manual for specific instructions related to your vehicle's camera system.
- Ensure you have the necessary tools, such as screwdrivers, drills, and grommets or washers.
- Consider enlisting the help of a second person to assist with the adjustments.
- Adjust the camera angle to maximise your field of view and eliminate obstructions, such as the license plate or bumper.
- If your camera is mounted on a license plate, consider the height of the plate. For larger vehicles, a higher mount point allows for a wider view.
- Regularly clean your camera lens using isopropyl alcohol and a soft fabric to prevent blurry images and display issues caused by dirt and grime buildup.
Updating Adobe Camera Raw: A Simple Guide
You may want to see also

Using the right tools to adjust the camera
The first step in adjusting your rear-view camera is to check the initial view. Start your car, put it in reverse, and observe the monitor. If you cannot see the area directly behind your car, you will need to adjust the camera.
The type of tools you will need to adjust your camera depends on how it is mounted. Some cameras are easily adjustable within their casing, while others require tools to remove, adjust, and refasten. If your camera enclosure has screws and bolts, you will need a drill or a screwdriver with the correct bits for the fasteners on the camera and its mount. Many mounts use hex screws or regular screws, so a drill or screwdriver is usually needed.
- Flathead screwdriver
- Phillips screwdriver
- 3/32 to 1/8 drill bit
- Washers, nuts, or grommets (preferably rubber to prevent damage)
If your camera is mounted inside an enclosure, you will need to remove the screws and open the enclosure to access the camera. Once the camera is free from the mount, you can adjust the angle of the lens and then secure the enclosure back onto the mount.
If your camera does not have an adjustable lens or enclosure, you can adjust the angle by modifying the mount. Simply remove the mount from the vehicle and place washers, bolts, or grommets between the mount and the vehicle surface. Then, refasten the screws or bolts. The positioning of the grommets or hardware will determine how the mount sits and, consequently, the angle of the camera.
The Exclusive Club of 50th Anniversary Camaros
You may want to see also

Cleaning the camera lens
To clean the camera lens, start by ensuring you are in a safe, open area where you can stand behind your car without the risk of another vehicle hitting you. Never clean your car in a closed garage with the engine running, as the carbon monoxide could be fatal.
The rear camera is usually located just above the license plate, tucked under a lip or ridge in the car's body to protect it from rain. If your car is a hatchback, the camera may be located at the top of the hatchback.
Once you have located the camera lens, take a soft cloth and apply isopropyl alcohol or lens cleaner to the cloth, then gently wipe away any dirt, dust, salt residue, or grime from the lens. You can also use water, as many automakers recommend this as a safer alternative. Avoid using harsh chemicals, as these can damage the protective materials on the lens.
It is recommended to wipe down the lens before leaving for work in the morning, especially if you are dealing with moisture on the lens. If you are driving in messy conditions, it is a good idea to wipe the lens after each drive to ensure optimal performance.
California Camera Tickets: Do You Have to Pay?
You may want to see also

Fixing a loose or improperly connected camera
Firstly, check the fuse box of your car to ensure that there are no blown fuses. If there are any blown fuses, replace them with new ones.
Next, check the connections from the back to the front of the vehicle. The rear camera is connected to the front screen, so there is a possibility that the connections are loose or faulty. Ensure that all the connections are tightened and in the correct places.
If the problem persists, you can try connecting the screen to another source to determine whether the issue is with the camera or the screen. If the camera is still not working properly, you may need to seek professional assistance to repair or replace the camera.
It is also recommended to refer to the instruction manual that came with your rear camera. The manual should include troubleshooting tips and advice on how to resolve any issues with your camera. Additionally, the manual will specify the warranty period for your camera, so you can have it checked and repaired free of charge if it is still under warranty.
The 1970 Cameros: A Comprehensive Production Overview
You may want to see also
Frequently asked questions
You will need a screwdriver, a drill, and grommets or washers.
First, park your car and apply the handbrake. Check that your vehicle is equally spaced on both sides, then shift the gear into reverse to display on the monitor. Adjust the camera angle using the navigation arrows on the head unit.
Park your car in a standard parking space. Access the backup camera settings and select "Adjust Guidance Lines". Select the corresponding endpoints and drag to adjust the guidelines.
You may need to adjust your rear-view camera if you can see your license plate, bumper, or the camera angle is too high or low, obstructing your field of view.


