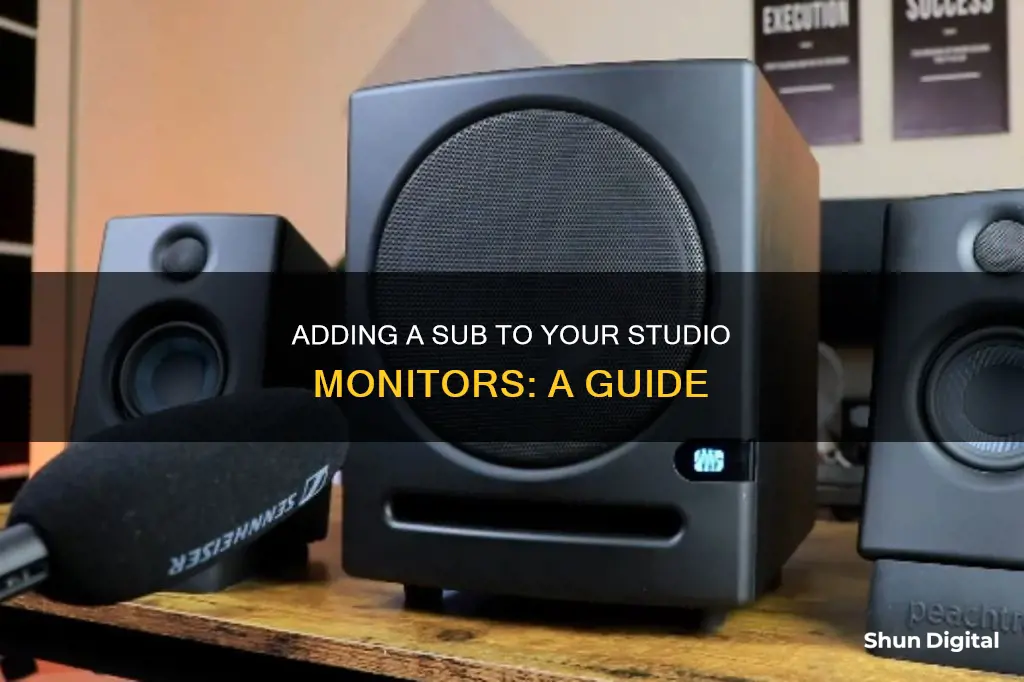
Adding a subwoofer to your KRK Rokit studio monitors can drastically improve your ability to monitor bass. However, it can also negatively impact your setup if not done correctly. The correct method depends on several factors, such as desk placement, monitor placement, and room acoustics. Before adding a subwoofer, ensure your monitors are set up appropriately in an acoustically treated room. You can use acoustic panels to deal with mid to high frequencies, but you'll need thick absorptive material and specialized diffusors for bass frequencies. Additionally, consider using software like Room EQ Wizard or Sonarworks Reference to measure and calibrate the frequency response of your room. When placing your subwoofer, experiment with different positions and choose the option that works best for your setup. Typically, subwoofers are placed along the center of walls or in the corners of the room. Make sure to set the level and crossover frequency of your subwoofer correctly to avoid overpowering your main monitors or creating a notch at the crossover frequency.
What You'll Learn

The benefits of adding a subwoofer to your studio setup
A subwoofer is a loudspeaker designed to handle low-frequency sound waves, typically in the range of 20 to 200 Hz. While regular studio monitors can reproduce some bass frequencies, a subwoofer is specifically designed to handle the extreme low end of the frequency spectrum, providing a powerful and precise bass response.
Improved Accuracy in Bass Response
A subwoofer can help you accurately monitor and control the low-frequency content in your mixes. Without a subwoofer, it's easy to miss low-end information, which can lead to imbalanced mixes and unwanted resonances. With a subwoofer, you can hear every detail of your mix, allowing you to make informed decisions about the low-end content and ensure a more accurate, balanced final product.
Enhanced Sound for Certain Genres
If you work with genres that feature a lot of sub-bass or rely heavily on low-end frequencies (such as club music), a subwoofer is essential. It will allow you to accurately reproduce those frequencies and ensure that your mixes translate well to other systems.
Increased Headroom
A subwoofer can provide increased headroom, giving you more flexibility in your mixes. This is especially useful if you're working with dense arrangements or highly dynamic material.
More Precise Mixes
By revealing the lower spectrum of frequencies, a subwoofer helps you make more educated mixing and EQ decisions. You'll be able to identify and address any issues with the low end of your mix, resulting in a more precise and polished final product.
Better Translation Across Different Systems
Many instruments and sounds go lower than a typical two-way nearfield monitor can register. By adding a subwoofer, you'll have a better understanding of the low-end frequencies in your mix, which will help your mixes translate better across different playback systems, such as car speakers, headphones, or club sound systems.
In summary, adding a subwoofer to your studio setup can provide numerous benefits, including improved accuracy, enhanced sound for certain genres, increased headroom, more precise mixes, and better translation across different playback systems. Just remember to choose the right subwoofer for your specific needs, room size, and budget, and to properly calibrate and treat your studio acoustics for optimal results.
Connecting Studio Monitors to a Receiver: A Comprehensive Guide
You may want to see also

How to set up a subwoofer
To set up a subwoofer, you'll need to consider the following:
Placement
Place your subwoofer near your desk, bearing in mind that its proximity to walls and corners will increase the sub's volume and distort its frequency response. Keep it away from walls and corners unless you know what you're doing.
Connection
Use high-quality, shielded cables to connect your subwoofer to your monitors to avoid noise, interference, and signal degradation.
Crossover frequency
Refer to the technical manual for your monitors and look for the frequency response graph, which shows the range of frequencies in which your speakers are most effective. Set the crossover frequency to take over where your speakers leave off, usually somewhere between 20Hz and 100Hz.
Fine-tuning
Use acoustical measurement software or listen to a variety of reference tracks to fine-tune your subwoofer's output level. Adjust the sub level until every song sounds full yet realistic, without being exaggerated.
Phase cancellation
If you're experiencing phase cancellation, try using a specially wired cable, moving your sub, or using the phase inversion button on your subwoofer or crossover unit.
Additional considerations
- If you're mixing music, be careful with adding a subwoofer as it can ruin your mixes' ability to translate to other systems.
- If your room is untreated, adding a subwoofer can be a candidate for disaster in accuracy.
- If your monitors are not adjusted, treating the room will not improve the sound.
- If you're a hobbyist, load up as much low end as you want and have fun!
Unlocking GPU Usage Monitoring: A Unified Approach
You may want to see also

The importance of room acoustics and treatment
When considering adding a sub to your studio monitors, it is important to take into account the room acoustics and treatment. Room acoustics refer to the behaviour of sound within an enclosed or semi-enclosed space, and it is influenced by various factors such as the room's architecture, interior design, use, and occupants.
In the context of music production and recording, room acoustics play a critical role in achieving high-quality recordings. Poor acoustics can lead to issues such as resonances, reflections, and echoes, compromising the overall sound quality. It can also affect the clarity and definition of sound, making it challenging to distinguish individual instruments and vocals in a mix. Therefore, it is essential to treat the room with acoustic materials to optimise sound behaviour and achieve the desired sound quality.
Additionally, room dimensions significantly influence room acoustics. Larger rooms tend to have more issues with resonances and reflections, while smaller rooms may lack low-end bass. The materials used in the room construction also play a role, with hard and reflective surfaces like concrete or tiles tending to cause more echoes and reflections. On the other hand, soft and absorbent surfaces like carpets and fabrics can improve acoustics.
In conclusion, room acoustics and treatment are vital in achieving high-quality sound production and recordings. By addressing problem areas, experimenting with equipment positioning, and selecting the right room dimensions and materials, you can create an optimal environment for music production. This ensures that the recorded sound is clear, crisp, and professional, meeting professional standards and exceeding client expectations.
Curved Monitor Buying Guide: Size Considerations
You may want to see also

How to set the level of your subwoofer
Setting the level of your subwoofer is a crucial step in ensuring your audio system sounds its best. Here is a detailed guide on how to set the level of your subwoofer:
Controls
First, set the crossover frequency, which determines the highest notes your subwoofer will reproduce. This should match where your speakers start to roll off. For example, if your speakers can't go lower than 80Hz, set the crossover to around 80Hz. This can be found in your speaker specifications.
Crawl
Now, set the subwoofer's volume. Start playing a song and turn down the subwoofer until you can't hear it. Then, turn the volume up until you can just start to hear it filling in the bass. Stop here. This is the ideal level for your subwoofer.
Combine
If you have a phase switch, switch it between 0 and 180 degrees to hear the difference. Choose the setting that sounds better to you. This will depend on your room and gear setup.
Check
Play some of your favourite music, especially tracks with deep bass. How does it sound? Is the bass well-integrated with the rest of the speakers? If you want a bit more impact, increase the level by 2-4 dB, but be careful not to overpower the rest of the soundstage.
Additional Tips
- If you are using a home theatre receiver, leave the subwoofer volume at around the halfway mark and adjust the subwoofer level using the receiver's controls.
- If you are using a stereo or computer system, set the subwoofer volume to what sounds best from your usual listening position.
- The location of your subwoofer matters. Put it in a corner, and it will sound boomy. Try different spots in the room to find the place where the bass feels most evenly spread and blends well with the other speakers.
- If you want consistent bass response for all seats in the room, consider buying two subwoofers and placing them in opposing corners.
- If you are using your subwoofer with a stereo receiver that lacks a subwoofer output, you can connect it using extra speaker cables, provided the subwoofer has speaker-level connections.
ViewSonic VP2468 Monitor: Easy Setup Guide for Beginners
You may want to see also

How to set the crossover frequency on your subwoofer
When adding a subwoofer to your studio monitors, it is important to set the crossover frequency correctly to ensure optimal sound quality. The crossover frequency is the point at which your speakers start to roll off and your subwoofer takes over. Here is a step-by-step guide on how to set the crossover frequency on your subwoofer:
- Check your speaker's frequency range: If you know the lowest frequency your speakers can handle cleanly, set the crossover point roughly 10 Hz above that frequency. For example, if your speakers can handle frequencies down to 50 Hz, set the crossover frequency at 60 Hz.
- Consider the recommended crossover frequencies: The THX standard crossover frequency is 80 Hz. However, this may vary depending on the type and size of your speakers. For on-wall or compact satellite speakers, a range of 150-200 Hz is recommended. For small center, surround, or bookshelf speakers, aim for 100-120 Hz. Mid-size speakers can handle 80-100 Hz, while large speakers can go as low as 40-60 Hz.
- Use a subwoofer matching tool: If you are unsure about the ideal crossover frequency for your speakers, consider using a subwoofer matching tool, such as the SVS Subwoofer Matching Tool. This tool will recommend the best crossover frequency for your specific speakers.
- Listen for a smooth transition: Adjust the crossover frequency until you achieve a seamless blend between your speakers and subwoofer. You shouldn't be able to localize the bass, and everything should play in unison.
- Fine-tune the settings: Pay attention to the inverse relationship between the gain and crossover settings. As you increase the crossover frequency, you will need to lower the gain (volume) setting. Experiment with different settings until you find the perfect balance for your speakers and subwoofer.
- Trust your ears: Ultimately, the best way to know if you've set the right crossover frequency is to listen to your music and assess how it sounds. Feel free to make adjustments until you achieve the sound quality you desire.
Honda Insight: Blind Spot Monitoring Feature Explained
You may want to see also
Frequently asked questions
You will need to connect your subwoofer to a mixer, and then connect the mixer to your studio monitors. This will allow you to control the output of both the subwoofer and the monitors.
You will need two types of cables: XLR cables and RCA cables. XLR cables are typically used for professional audio equipment, while RCA cables are more common for consumer electronics.
Once you've connected the subwoofer to your studio monitors via a mixer, you'll need to set the levels and crossover frequencies for your system. Adjust the levels on the mixer so that the subwoofer and studio monitors are balanced. Set the crossover frequency on the subwoofer so that it only plays the low-end frequencies, while the studio monitors handle the mid-range and high frequencies.


