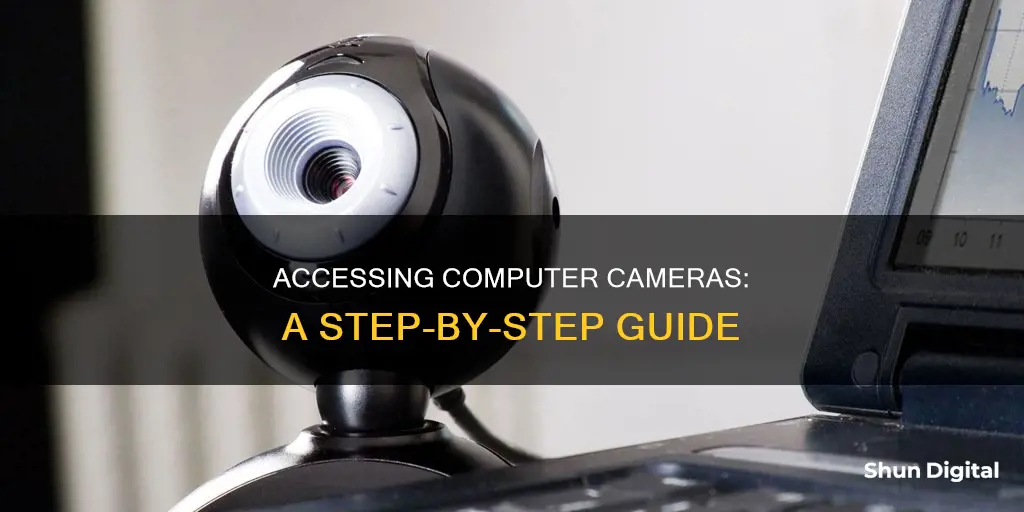
Webcams are a common feature on modern laptops and computers, and accessing them is usually straightforward. Whether you have a built-in or external camera, you can use applications to take photos, record videos, and even apply fun filters. While the specific steps vary depending on your device and operating system, the process generally involves granting permission for the camera to turn on and then using the appropriate software to capture images or videos. However, it is important to be cautious as hackers can sometimes gain unauthorized access to webcams, so staying informed about security measures and updates is crucial.
| Characteristics | Values |
|---|---|
| Operating System | Windows 7, Windows 8, Windows 10, macOS, Chrome OS, Linux |
| Application | Camera, Photo Booth, Cheese |
| Permissions | User must grant permission for the application to access the camera |
| Connection | Ensure a tight connection between the camera and the computer for external cameras |
| Installation | Check if the camera has been installed correctly and follow device-specific instructions |
| Drivers | Ensure drivers are up-to-date (usually up-to-date on built-in cameras) |
| Restart | Restart the device to resolve temporary issues |
What You'll Learn
![]()
How to access a computer camera on Windows 10
If your Windows 10 device has a built-in camera or a connected webcam, you can use the Camera app to take photos and videos.
Using the Start Menu:
- Select the Start button.
- Select All Apps.
- Select Camera in the list of apps.
- If you have multiple cameras, you can switch between them by selecting "Change Camera" in the top right once the Camera app is opened.
Using the Search Bar:
- Search for the Camera application on the Windows Search Bar.
- Execute the application that comes up as a result.
Using Command Prompt:
- Open Command Prompt.
- Execute the following command: "start microsoft.windows.camera".
Using Settings:
- Go to Settings.
- Click on the Privacy option.
- Click on the Camera option.
- Click on the button to enable the camera.
Troubleshooting:
If your camera is not working, try the following:
- Check for updates and install any available updates for your camera.
- Restart your PC.
- Check for a camera switch or button on your device and ensure it is turned on.
- Give your apps permission to access the camera.
- Check your antivirus software for settings that may be blocking access to your camera.
- Check your hardware drivers.
- Try a different USB port and scan for hardware changes.
- Roll back the camera driver.
- Uninstall your camera driver and scan for hardware changes.
- Switch to a UVC driver.
Ghosts: Elusive to Cameras, But Why?
You may want to see also
![]()
Accessing a computer camera on a Mac
Accessing the camera on a Mac is a straightforward process. The built-in camera on your Mac can be used for video calls, live streaming, taking photos, and recording tutorials.
To access the camera, you need to open an app that uses the camera, such as Photo Booth or FaceTime. These apps can be found in the Applications folder, which can be accessed by clicking on the Finder in the menu bar and selecting 'Go' and then 'Applications'. Once you've located and opened the app, the camera will turn on, and you'll see a green light next to the camera lens, indicating that it's active.
If you want to check which apps have access to your camera and manage permissions, you can do so by going to System Preferences. Click on the Apple menu, choose System Preferences, then select Security & Privacy. From there, choose Camera from the left-hand menu and allow or block access for specific apps.
It's important to note that the camera on your Mac won't turn on unless an app that uses it is open. Additionally, always remember to review the privacy practices of third-party apps or websites before granting them access to your camera.
Rexing Camera Charging: How to Know When They're Charged
You may want to see also
![]()
Using a Chromebook camera
To access your Chromebook's camera, first open the Camera app. You can find it by selecting the Launcher icon in the corner of your screen and choosing the Camera app from the menu, or by tapping the "Search" button on your keyboard and searching for "Camera". Alternatively, click the "All Apps" button and look for the camera icon.
Once the Camera app is open, you can take a photo by clicking the shutter button on the right side of the app. By default, the photo will be taken in landscape orientation, but you can change it to a square shape by clicking "Square" before taking the photo. After taking a photo, a thumbnail of the most recent picture will appear in the bottom-right corner, and you can click on it to view the photo in the Gallery app.
In addition to taking photos, you can also use your Chromebook's camera to record videos, create time-lapse videos, or make GIF animations. To record a video, select the "Video" option and then click the shutter button. To create a time-lapse video, select "Video Time Lapse", and to make a GIF, select "Video GIF".
You can also adjust various settings for your Chromebook's camera. For example, you can change the size of the grid, the length of the timer, or the camera resolution by selecting the Settings option. You can also mirror your photo, use gridlines, or set a timer by clicking on the corresponding icons in the app. If you have multiple cameras connected to your Chromebook, you can switch between them by clicking the switch camera icon.
Finally, it's important to manage your privacy settings for the camera. By default, your Chromebook will ask you when a webpage wants to access your camera, but you can also view and change these settings manually. Open your Chromebook settings, go to the Privacy and Security section, and click on Site Settings. From there, you can view and change the permissions for specific websites, as well as choose whether to be asked for permission each time a website wants to access your camera.
Uniview Cameras: Where Are They Manufactured?
You may want to see also
![]()
Protecting your computer camera from hackers
The idea of someone spying on you through your computer camera might sound like a hoax, but it is, unfortunately, a very real possibility. Here are some tips to protect your privacy and prevent webcam hacking:
Keep your computer secure
Use antivirus software: Antivirus software detects and removes viruses that hackers use to access your webcam. Pay attention to any alerts from your antivirus software and take appropriate action.
Keep your computer up to date: Regularly update your computer to fix security issues that hackers could exploit to gain access to your webcam. Enable automatic updates if available.
Avoid downloading random files: Do not download programs from advertisements or open attachments in unexpected emails, as they may contain malicious software.
Restrict webcam permissions
Review and adjust your webcam permissions: In your device settings, you can control which apps have access to your webcam. It is recommended to turn off access for apps that you don't use.
Disable webcam access: If you rarely use your webcam, you can disable access entirely in your device settings. This will prevent most viruses and hackers from accessing your webcam.
Protect your webcam physically
Unplug your webcam when not in use: If your webcam is not plugged in, it cannot be hacked. This is an effective way to ensure your webcam's security.
Cover your webcam: For built-in webcams, such as those on laptops, cover your webcam with tape, a sticker, or a webcam cover. This will prevent hackers from seeing through your camera, even if they gain access.
Additionally, follow these general cybersecurity practices:
- Use strong and unique passwords for all your accounts.
- Enable two-factor authentication (2FA) whenever possible.
- Be cautious of phishing scams and avoid clicking on suspicious links.
- Use a virtual private network (VPN) to encrypt your network connection and protect your privacy.
- Regularly review and update your security options for all connected devices.
South Dakota: Camera Tickets and Your Rights
You may want to see also
![]()
Troubleshooting a computer camera that won't turn on
If your computer camera is not turning on, there are several troubleshooting steps you can take to try and fix the issue. Here is a detailed guide to help you with the problem:
Check for a camera switch or button:
Some laptops and portable devices have a physical switch or button that turns the camera on or off. When it is turned off, your device may not recognize that there is a camera installed, or it may show an image of a camera with a slash through it. Ensure that your laptop's camera switch or button is in the "on" position before proceeding to the next steps. These switches or buttons can sometimes be hard to find, so be sure to check all possible places, including a dedicated camera button on the keyboard or a small slider built into the camera itself.
Check your camera privacy settings:
On Windows, go to "Settings -> Privacy -> Camera" and ensure that "Allow apps to use my camera" is enabled. Also, look at "Choose which apps can access your camera" and make sure the apps you require have camera access enabled. Additionally, check if your apps have the right to access your camera within the app settings of programs like Zoom, Teams, or Google Meet.
Check your antivirus software:
Antivirus software can sometimes block access to your camera to prevent unauthorized access. Check the settings in your antivirus software or visit the software company's website for more information. Usually, you will need to allow access to your camera in the privacy settings of your antivirus software by whitelisting your webcam.
Update or reinstall your camera driver:
A missing or outdated camera driver can cause your camera to malfunction. Windows usually installs the necessary camera driver, but if your webcam is not working, you may need to visit the manufacturer's support website and download the latest driver.
To update your camera driver on Windows, go to "Device Manager -> Cameras/Imaging devices/Sound, video and game controllers" and find your camera device. Right-click on it and select "Update device driver" from the menu. If updating the driver does not work, you can try reinstalling the camera driver by following similar steps and choosing the "Uninstall device" option.
Run the automated camera troubleshooter:
If you are using Windows, you can run the automated camera troubleshooter in the Get Help app. The app will automatically run diagnostics and take the necessary steps to fix common camera issues.
Additional tips:
- If you are using an external camera, try using a different USB port on your device.
- Check for updates for your camera and install any available updates, including optional updates for drivers.
- Restart your computer, especially if you haven't done so since the camera stopped working.
- Test your camera with a built-in camera app and ensure that the issue is not specific to a particular application.
Surveillance Cameras: Crime Reduction in Large Cities
You may want to see also
Frequently asked questions
Tap the Windows key, search for "Camera" in the Start menu, and launch the app.
Open the Start screen, search for "Camera", and launch the Camera app.
You'll need to either use a third-party application or search your Start menu for a manufacturer-provided utility.
You can use the "Photo Booth" application. Open it by pressing Command+Space, typing "Photo Booth", and pressing Enter.
Open the application launcher and search for "Camera". If you don't see it, you can install it from the Chrome Web Store.