Transferring photos from a camera to a computer is a straightforward process. It involves connecting the camera to the computer using a USB cable, and then using software to access and transfer the photos. Most modern cameras have a USB port, and some may also have an HDMI or mini-HDMI port. The USB cable that came with your camera should be used to connect it to the computer. If you don't have the correct cable, you can purchase one from an electronics or office supply store.
| Characteristics | Values |
|---|---|
| Connection type | USB cable, USB card reader, memory card |
| Camera mode | On, Play mode, PC mode, Webcam mode |
| Computer mode | On |
| Software | Windows Photos app, Mac Photos app, Windows Movie Maker, iMovie, SparkoCam, Camera Live |
What You'll Learn

Check your camera and computer ports
Before connecting your camera to your computer, it is important to check what kind of ports they have. Most digital cameras have a USB port, but some may also have an HDMI or mini-HDMI port. Depending on your computer, you may need a USB-A or USB-C port to connect to your camera. Newer camera models have a port shaped like the small end of the cable, which may be hidden under a plastic flap with "Video Out" written on it.
If your camera is equipped with a USB Type-C terminal, you can transfer data faster by using a USB 3.1-compatible USB Type-C cable. If your computer only has a USB Type-C port, you will need to purchase a USB conversion adapter that is compatible with the USB standard.
If you are using a USB cable, ensure that you are using the cable supplied with the camera. Non-standard cables may only be able to charge the camera and not allow image transfer.
If you are having trouble getting your computer to recognise your camera, try connecting the camera to a different USB terminal on your computer. If this does not work, try changing the USB cable connecting the camera to the computer.
Why 18650 Batteries Are Popular in Cameras
You may want to see also

Connect your camera and computer with a cable
To connect your camera to your computer using a cable, you will need a USB cable, a computer with an open USB slot, and your camera.
Firstly, locate the USB slot on your camera. This can sometimes be hidden behind a panel or door, so check your camera's user guide if you are unsure.
Next, connect the USB cable to your camera. Be careful not to force the connection as this could damage the cable and the camera. Ensure that the USB connector is aligned correctly with the USB slot.
Then, connect the other end of the USB cable to the computer. The computer should be powered up, and your camera should be turned on.
Once everything is connected, you should see a pop-up window with photo-downloading instructions. Select an option, follow the prompts, and select "Download" or "Save".
If you are having trouble connecting your camera, you may need to install the necessary software. Insert the CD that came with your camera and follow the on-screen instructions for installing the software. Alternatively, you can usually find the required software on the manufacturer's website.
Charging Your Spy Watch Camera: A Step-by-Step Guide
You may want to see also

Use a software to access your camera
To transfer files from your camera to your computer, you will need to use a USB cable to connect the two devices. Once connected, you can use software to access your camera and transfer files.
If you are using a Windows PC, you can use the built-in Windows Photos app to transfer photos. For videos, you can use video editing software such as Windows Movie Maker. If you wish to use your camera as a webcam, you can use software such as SparkoCam or Camera Live.
For Mac users, the built-in Mac Photos app can be used to transfer photos. For video transfer, iMovie is a suitable option.
If you are connecting a CCTV camera to your computer, you can use third-party surveillance software such as Reolink Client. This software will allow you to configure your camera's functions and access the live view.
Additionally, if your camera came with bundled software, you can use that to download and manage your pictures.
Sigma Dealer Focus Camera: Certified and Trustworthy
You may want to see also

Troubleshooting common issues
- If your computer is not recognising your camera, try connecting it to a different USB terminal.
- Change the USB cable connecting the camera to your computer.
- Try using the Device Manager: leave your camera and computer connected via the USB cable, then turn the power on the camera off and on again. Click on File Explorer in the taskbar, select and right-click on This PC, click on Properties, then Device Manager, and double-click on Portable Devices. Select the device name of your camera, and delete the information from the device. Click on Scan for hardware changes.
- Check your hardware drivers: try a different USB port and scan for hardware changes.
- Roll back the camera driver: in Device Manager, right-click on your camera, then select Properties. Select the Driver tab, then Roll Back Driver, and choose Yes.
- Uninstall your camera driver and scan for hardware changes: in Device Manager, right-click on your camera, then select Properties. Select the Driver tab, then Uninstall Device. Select the check box for Attempt to remove the driver for this device, then select OK. In Device Manager, select Scan for hardware changes. Wait for it to scan and reinstall updated drivers, then restart your computer.
- Switch to the UVC driver: most available USB webcams are UVC-compatible and will work with the UVC driver that is included in Windows. In Search on the taskbar, type Device Manager, then select your camera from the list of devices. Right-click on the webcam device and select Update Driver. Select Browse my computer for drivers, then Let me pick from a list of available drivers on my computer, and choose the USB Video Device.
- Check your antivirus software: in your antivirus software settings, look for any settings that block access to your camera.
- Check for updates: select Start, then Settings, and Windows Update, and Check for updates. If there are no updates for your camera, try to select Advanced Options, then Optional updates, and look for any driver updates for your camera.
- Restart your computer: if you haven't restarted your device since the camera stopped working, you should do so.
- Check for a camera switch or button on your device: some laptops and portable devices have a physical switch or button that turns the camera on or off. Make sure it's in the on position.
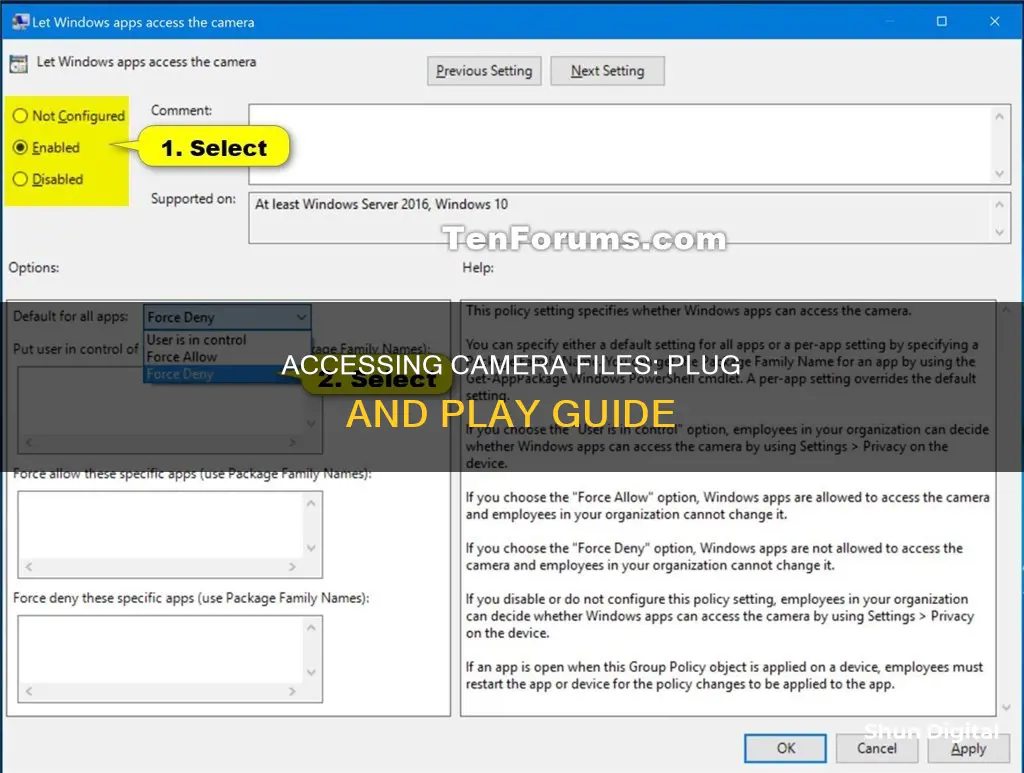
- Give your apps permission: in newer versions of Windows, some apps don't have default access to the camera. Select Start, then Settings, Privacy & Security, then Camera. Allow access to the camera on this device.
- Check your camera's batteries: if your device does not turn on, replace the camera batteries.
- Set your camera to 'Upload': many digital cameras automatically convert to 'Upload' mode for transferring files once connected to a computer, but some do not. If your camera has a manual setting, set it to 'Upload'.
- Check your camera's mode: make sure your camera is set to the right mode so it can be recognised by Windows. This varies by camera model, so you may need to check your manual. On many cameras, this is called Play mode.
- Try using a USB card reader: directly connecting your camera to the computer using a USB cable may drain your camera's batteries. To get around this problem, use a USB card reader.
Camera Tickets: Insurance Impact in Ohio
You may want to see also

Enjoy your camera and computer connection
Now that you've connected your camera to your computer, it's time to enjoy the benefits of this connection! Here are some ways to make the most of your camera and computer connection:
- Transfer and manage your photos: You can now easily transfer photos from your camera to your computer for printing, sharing, or safekeeping. Most cameras come with software that you can use to download and manage your pictures, or you can use built-in software on your computer, such as the Windows Photos app or the Mac Photos app. You can also delete photos from your camera's memory card to free up space for new pictures.
- Edit videos: If you have recorded videos on your camera, you can now edit them using video editing software like Windows Movie Maker or iMovie.
- Use your camera as a webcam: With the right software, you can turn your camera into a virtual webcam for streaming or video calls. Examples of such software include SparkoCam and Camera Live.
- View and organise your media: Your computer provides a larger screen for viewing your photos and videos, making it easier to browse and organise your media files.
- Back up your media: By transferring your photos and videos to your computer, you can create backup copies to ensure that your memories are safe and secure.
- Edit and enhance your photos: In addition to basic photo management, you can use photo editing software to enhance your images, such as by adjusting lighting, colours, and other aspects of your photos.
- Share your creations: With your media now easily accessible on your computer, you can quickly share your photos and videos with friends, family, or online platforms.
Remember that the specific capabilities and requirements of your camera and computer may vary, so you may need to refer to your device manuals or online resources for detailed instructions. Enjoy exploring the creative possibilities of your camera and computer connection!
Surveillance Cameras: Blurry Insights, Privacy Preserved?
You may want to see also
Frequently asked questions
You will need a USB cable to connect your camera to your computer. Most point-and-shoot cameras use mini-USB connectors, so ensure you have the correct connector for your camera.
First, ensure you have located the USB slot on your camera. Camera manufacturers sometimes hide the slot behind a panel or door, so check your camera's user guide if you cannot find it. Once located, connect the USB cable to the camera, ensuring the connector is the right way up.
Once the camera is connected to your computer, turn it on and select the correct mode (e.g. playback or PC). Your computer should then recognise the camera and a pop-up window should appear. From here, you can choose to import photos, open a folder, or launch software.
If your computer does not automatically recognise your camera, you may need to install the camera's software using the CD that came with it. You can also likely find the software on the manufacturer's website. For photo transfer, you can use the built-in Windows Photos app or the Mac Photos app. For video editing, you can use software like Windows Movie Maker or iMovie.
Common issues include incorrect cable connection, outdated drivers, and low battery power or memory space on your camera. To fix these issues, ensure your cable is securely plugged in, update your computer's drivers, and check your camera's battery power and memory space.


