Connecting a mini camera to a computer is a straightforward process. First, you need to check that your camera and computer have compatible ports. Most digital cameras have a USB port, while some may also have an HDMI or mini-HDMI port. Once you've identified the correct ports, you can use a USB cable to connect the camera to the computer. Ensure that your camera is turned off and the computer is on before plugging in the cable. Then, turn on the camera and set it to the appropriate mode, such as Playback or PC Connect. Your computer should automatically detect the camera and install the necessary drivers. You may then be prompted to select an option to download or save your photos or videos.
What You'll Learn
![]()
Check your camera and computer ports
Before you connect your mini camera to your computer, you need to check what kind of ports they have. Most digital cameras have a USB port that can be used to connect to a computer. Some cameras may also have an HDMI or a mini-HDMI port that can transmit video and audio signals. Depending on your computer, you may need a USB-A or USB-C port to connect to your camera. If your camera has a full-sized USB port, any USB cable will do.
Your camera may have come with the correct cable for this connection. If not, you'll need a USB-to-micro-USB cable to connect the two devices.
To locate the USB port on your camera, consult your camera's user guide if you are unsure. Sometimes, the USB slot is hidden behind a panel or door, and manufacturers usually try to make the panel or door blend into the overall design of the camera. Many cameras have a USB logo on them, and you might also see the logo next to the panel. Some camera makers place the USB slot in the same compartment as the battery and memory card. Look on the sides and bottom of the camera for the USB slot.
Once you have located the USB port on your camera, connect the USB cable to your camera. Don't use a lot of force. The USB connector should slide into the camera's USB slot fairly easily. Make sure you align the USB connector with the USB slot. If you try to insert the USB connector upside down, it won't go into the slot properly and may damage the USB cable and the camera. Ensure that any panel or door that hides and protects the USB slot is completely out of the way. If the panel is too close, you could pinch it between the cable and the slot, and the connector will not insert fully.
Next, connect the opposite end of the USB cable to the computer. It should have a standard USB connector, which should fit into a standard USB slot.
Charging the Playskool Camera: A Quick Guide
You may want to see also
![]()
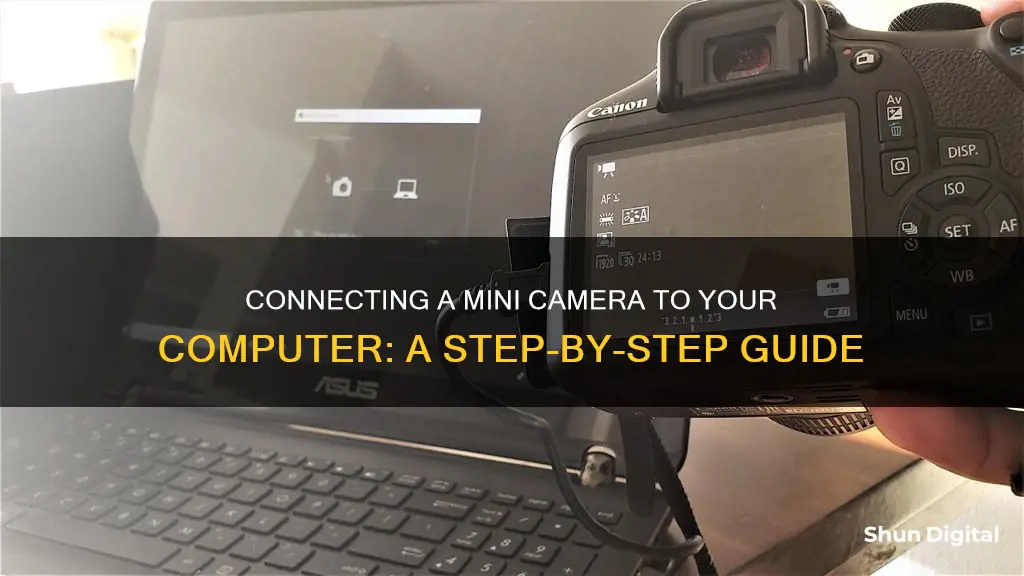
Connect your camera and computer with a cable
To connect your camera and computer with a cable, you will need to gather the correct USB cable, a computer with an open USB slot, and your camera. Most camera models have a port shaped like the small end of the cable on their body, which may be hidden under a plastic flap. The USB end of the cable is rectangular and should fit into a port on the side of your computer.
Before plugging in the cable, ensure that your computer is on. Then, turn on your camera. The steps to do this will vary depending on the model, but most cameras allow you to do this from a dial near the top of the device.
Now, plug the small end of the camera's cable into your camera, and the other end into your computer. Once the cable is connected to both devices, your camera's drivers should install automatically. If it's your first time connecting your camera, this may take a few minutes. You should then see a pop-up window asking what you want to do with the device.
From here, you can review your photos. You can delete them from your camera's memory card, copy them to a file on your computer, or simply view them from within the camera.
The Evolution of Fluke Cameras: A Historical Perspective
You may want to see also
![]()
Use a software to access your camera
To connect a mini camera to your computer, you will need a USB cable. Most camera models have a port for this, which may be hidden under a plastic flap.
Once you have connected the camera to your computer, you will need to open the relevant software to access the camera. If you are using a Windows operating system, you can use the Camera app. To find this, select Start > Camera.
From the Camera app, you can take photos and videos, and change settings such as the aspect ratio, video quality, and grid lines. You can also switch between different cameras if your device has more than one.
If you are using a different operating system, you may need to download and install additional software to access your camera. This should be available on the manufacturer's website.
Surveillance Room Setup: Axis Cameras Configuration Guide
You may want to see also
![]()
Turn on your camera and plug in the USB cable
To hook up a mini camera to your computer, you'll need to turn on your camera and plug the small end of the camera's USB cable into its output port.
First, locate the USB port on your camera. This may be behind a plastic flap, which will usually say something like "Video Out". The USB port on your camera may be in the same compartment as the battery and memory card, so check the sides and bottom of your camera.
Once you've located the USB port, turn on your camera. Then, plug the small end of the USB cable into the camera. The USB connector should slide in fairly easily, so avoid using too much force. Make sure the connector is aligned with the USB slot, as inserting it upside down can damage the cable and the camera.
After that, plug the other end of the USB cable into your computer's USB port. The USB end is rectangular and should fit into a port on the side of your computer. Ensure that the hollow side of the USB end is on top.
Now, your camera should be connected to your computer and ready to use!
Surveillance Cameras: Cloud-Connected Security
You may want to see also
![]()
Ensure your camera is in the right mode
To ensure your camera is in the right mode, you will need to turn it on and switch it to the appropriate mode. This could be a playback, PC, or webcam mode, depending on your camera model. This step is crucial to establishing a successful connection between your camera and computer.
Some cameras have a dial near the top that allows you to turn them on. Once your camera is on, you can then switch it to the correct mode. This step may vary depending on your camera model, so refer to your camera's user manual if you're unsure how to change modes.
After ensuring your camera is in the right mode, you can proceed with connecting it to your computer. This usually involves using a USB cable to connect the camera to the computer, and the computer should then automatically detect the camera and install the necessary drivers.
Charging Your 4K Ultra HD Camera: A Step-by-Step Guide
You may want to see also
Frequently asked questions
You will need a USB cable. Most point-and-shoot cameras use mini-USB connectors, so ensure you have the correct cable for your camera.
First, ensure your computer is on. Then, turn on your camera. Plug the small end of the USB cable into your camera, and the rectangular end into a USB port on your computer.
Ensure your camera is in the correct mode. This varies by model, but is often called "Play mode". You may need to set it to "VCR" or "PC Connect" mode.
A pop-up window should appear on your computer, asking what you want to do with the device. You can then choose to import photos, open a folder, or launch a software.