Bunker Hill security cameras are renowned for their reliable performance and advanced features. The installation process is relatively simple and can be accomplished by following a few basic steps. Once installed, you may need to adjust the focus of your Bunker Hill security camera to ensure optimal performance. To do this, you can take apart the camera for adjustment by removing the cover and loosening the plastic locking nut that holds the lens in place. This will allow you to adjust the lens and improve the focus of your camera.
| Characteristics | Values |
|---|---|
| Installation Process | Relatively simple, can be done by DIY enthusiasts or those with little technical experience |
| Placement | Ensure camera has a clear line of sight, is near a power outlet, is protected from vandalism and extreme weather, and has a strong Wi-Fi signal |
| Mounting | Attach mounting bracket to wall or ceiling, align camera with bracket, and adjust angle |
| Wiring | Connect power cable to camera's power input, connect Ethernet cable to router or network switch, and connect audio or video output cables to respective ports |
| Wireless Setup | Ensure camera is within range of Wi-Fi network, power on the camera, access camera's settings through a mobile app or web interface, and connect to Wi-Fi |
| Configuration | Download mobile app or access camera's web interface, create an account, add camera to the app or interface, configure settings such as motion detection sensitivity and storage options, and test camera functionality |
| Maintenance and Troubleshooting | Regularly clean the camera lens, check for firmware updates, and consult the user manual or manufacturer's website for troubleshooting guides |
What You'll Learn
![]()
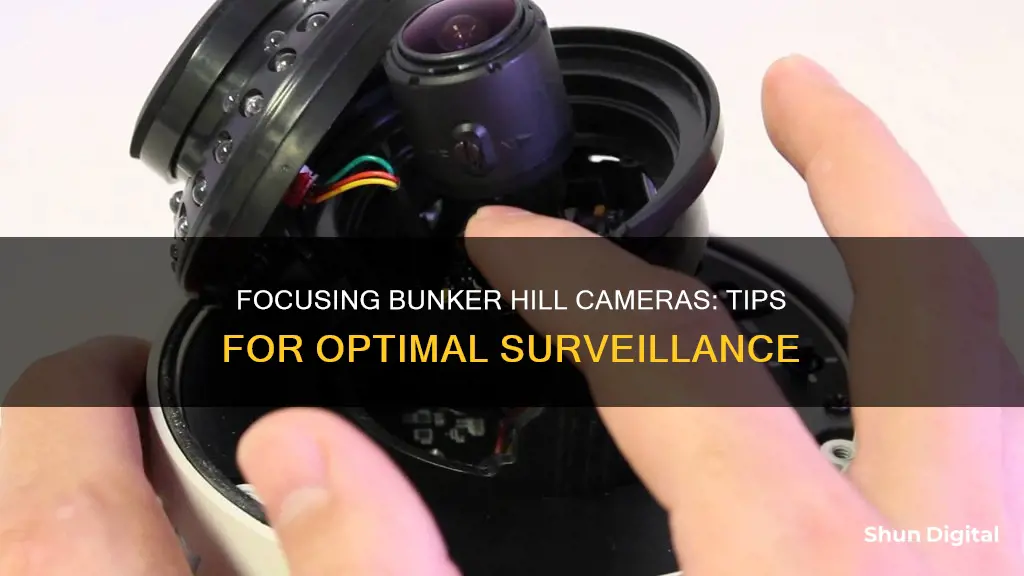
Adjusting the camera lens
To adjust the camera lens of your Bunker Hill security camera, follow these steps:
- Locate the cover of the camera lens.
- Remove the cover by gently prying it open with a suitable tool. Take care not to damage the lens or any other components.
- Once the cover is removed, you should see a plastic locking but (or a similar mechanism) holding the lens in place.
- Loosen this locking but without removing it completely.
- Now you can adjust the lens to achieve the desired focus. You may need to gently move the lens back and forth or adjust its angle until you get a clear image.
- Once you're satisfied with the focus, tighten the locking but again to secure the lens in place.
- Put the cover back on, ensuring it is securely attached.
It is important to handle the camera with care during this process to avoid any accidental damage. If you are unsure about any steps or your camera model differs significantly from the standard design, consult the user manual or seek advice from a technical support service.
How to Keep Your WiFi Camera Charged and Ready
You may want to see also
![]()
Checking power supply
An inadequate power supply is often the cause of Bunker Hill security cameras malfunctioning. To check if your power supply is normal, first, check if the power indicator light is on. If it is not, you will need to find an alternative power supply or cable.
You can fix this by attaching the system to a different power supply and cable to see if the power supply is now normal. It is recommended to organise a suitable power supply for your security camera system, and to change the voltage if necessary. Most security systems have different power cables for video, and these may stop working too.
You should check the video ports to see if the cables are working normally. A voltage meter will help you identify where the problem lies. If you are unsure how to do this, you may need to call a specialist.
If you have a voltage meter and you have identified that one of your cables is faulty, you may be able to fix it yourself. By using the voltage meter, you can see if only a small section of your cable is damaged. If this is the case, you may be able to cut out that piece of cable and join the cable back together. This process can be tricky, as it may involve soldering on new connectors or joining two cables together.
If your camera has a power indicator light, make sure it is on. If it is not, or if your camera does not have one, you will need to attach a backup power supply to the camera to check if you are getting any power. If you now have power, you have identified that your power cable and supply are faulty.
The Biggest Pinhole Camera Project: A Building's Story
You may want to see also
![]()
Checking video cables
Locate the video ports: Begin by locating the video ports on your security system. These are the connection points where the video cables attach to the device. It's important to identify these ports correctly to ensure you're checking the right connections.
Inspect the cables: Once you've found the video ports, carefully inspect the cables connected to them. Look for any signs of damage, such as fraying, kinks, or exposed wires. Gently bend the cables to ensure there are no breaks or cracks that could interrupt the signal.
Check cable connections: Ensure that the cables are firmly and securely plugged into the video ports. Sometimes, a loose connection can cause signal loss or distortion. Try unplugging and replugging the cables to ensure a solid connection.
Test with a voltage meter: To verify that the cables are functioning properly, use a voltage meter to check for continuity. This will help you determine if there is an electrical signal running through the cables as expected. If you don't have a voltage meter, you may need to consult a professional or contact Bunker Hill's technical support team.
Compare with functioning cables: If you have multiple cameras set up, compare the cables of the problematic camera with those of a camera that is working correctly. This can help you identify any visible differences or issues with the cables in question.
Replace the cables if necessary: If you notice any damage to the cables or if they are not functioning properly, it's best to replace them. Use cables that are specifically designed for security cameras and ensure they are the correct type and length for your setup.
By following these steps, you can effectively check the video cables of your Bunker Hill security cameras and identify any potential issues. Remember to consult the camera's user manual or contact Bunker Hill's technical support team if you need further assistance.
Quickly Copy Adjustments: Camera Raw Secrets
You may want to see also
![]()
Resetting the camera
If your Bunker Hill security camera is out of focus, you can try resetting the camera to its default factory settings. This will not affect any user accounts, passwords, or usernames that you have set up on the camera.
To reset your Bunker Hill security camera, follow these steps:
- Check your camera's user manual for specific instructions on how to perform a factory reset. Each camera manufacturer has its own unique procedure, so it's important to refer to the manual for detailed guidance.
- Locate the reset button on your camera. It is usually found near one of the cords when attaching cameras.
- Press and hold the reset button for at least five seconds. This will initiate the factory reset process.
- If you have forgotten your password, you can request a reset by contacting Bunker Hill's customer support. You will need to provide your Order Number and the Full Name associated with the order.
By performing a factory reset, you can potentially resolve any issues related to camera focus and return your Bunker Hill security camera to its optimal functioning state.
History of Brownie Starlet: The Iconic Camera's Evolution
You may want to see also
![]()
Updating software and firmware
Updating the software and firmware of your Bunker Hill security camera is crucial to ensure you have access to the latest features and bug fixes. Here is a detailed guide on how to do this:
Step 1: Check for Updates
First, you need to check if there are any new firmware updates available for your Bunker Hill security camera. You can do this by visiting the official Bunker Hill website or by checking the notifications on your camera's mobile app. It is recommended to check for updates periodically, such as once a month, to ensure your camera has the latest firmware.
Step 2: Download the Update File
If there is an update available, you will need to download the firmware file to your computer or mobile device. Make sure you download the correct file that is compatible with your camera model. The firmware file will typically be provided in a compressed format, such as .zip or .rar.
Step 3: Prepare the File
After downloading the file, extract the contents of the compressed file to a folder on your device. This will give you access to the firmware file that you will need to install on your camera. Make sure you know the location of this file, as you will need to access it during the installation process.
Step 4: Connect to Your Camera
Now, you need to access your camera's settings. This can usually be done through the mobile app or by logging into your account on the Bunker Hill website. Ensure your camera is connected to the internet and that you have a stable connection to avoid any interruptions during the update process.
Step 5: Begin the Update Process
Look for an option in the settings that says "Update Firmware" or something similar. This option may vary depending on your camera model and the app you are using. Once you find the correct option, follow the on-screen instructions to initiate the update process.
Step 6: Upload the File
During the update process, you will be prompted to select the firmware file that you downloaded and extracted earlier. Navigate to the folder where you extracted the file and select the correct file. The app or software will then begin uploading the new firmware to your camera.
Step 7: Wait for the Update to Complete
The update process may take several minutes, during which you should not turn off your camera or interrupt the process. Once the update is complete, your camera may automatically restart to apply the new firmware.
Step 8: Verify the Update
After the update, check your camera's settings or the app to verify that the new firmware version has been installed successfully. If you still encounter any issues or if the update process fails, consult the user manual or contact Bunker Hill customer support for further assistance.
By following these steps, you can ensure your Bunker Hill security camera is running the latest firmware, providing you with enhanced features, improved performance, and a more secure surveillance system. Remember to check for updates regularly and always download firmware files from official sources only.
Charging SimpliSafe Camera Batteries: A Step-by-Step Guide
You may want to see also
Frequently asked questions
Bunker Hill cameras may be adjusted for focus by loosening the plastic locking nut behind the lens.
You can access your Bunker Hill camera settings by downloading the Bunker Hill security camera mobile app or accessing the camera's web interface through a browser.
Many Bunker Hill security systems have a power indicator light. Check if this indicator is turned on. If the indicator isn't working, try connecting the camera to an alternate power supply or cord.