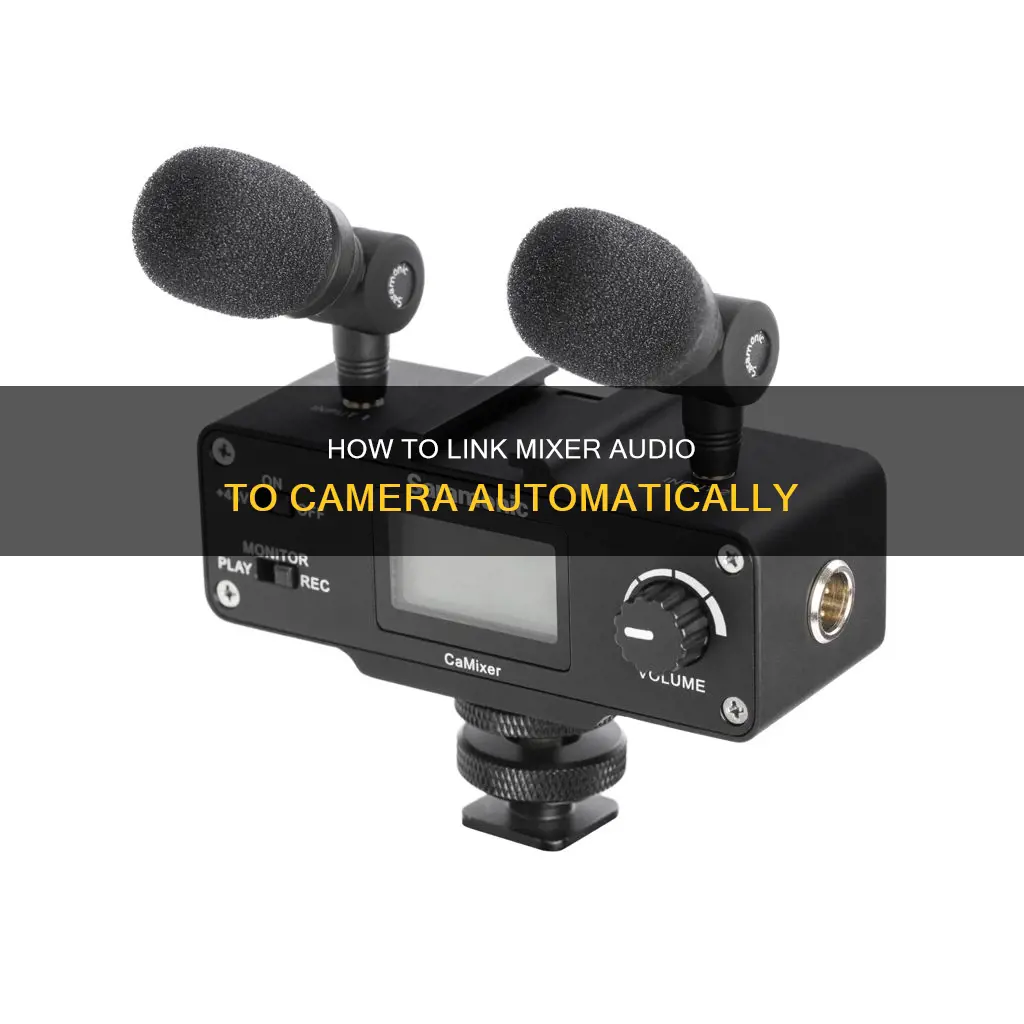
There are several ways to connect an audio mixer to a computer or camera, and the process will depend on the type of outlets your audio mixer has. You can connect an audio mixer to a DSLR-style video camera using a camera audio interface or a dual 1/4 TS to 1/8 TRS cable. The former is more expensive but offers a fully balanced audio solution, while the latter is a cheaper option but requires the camera to be within 10 feet of the audio mixer.
| Characteristics | Values |
|---|---|
| Number of ways to connect an audio mixer to a camera | 2 |
| First way | Using a camera audio interface |
| Second way | Using a dual 1/4″ TS to 1/8″ TRS cable |
| Purpose of using a camera audio interface | To send a balanced line-level signal from the audio mixer to the camera |
| Purpose of using a dual 1/4″ TS to 1/8″ TRS cable | Relatively inexpensive and works well if the audio mixer is close to the camera |
| Balanced audio cables | Designed to run up to 1000ft (300m) without audio degradation |
| Unbalanced audio cables | Will degrade audio quality after 10-15ft (3-5m) |
| Line-level output on audio mixer | Sending a line-level signal from the audio mixer to the camera will result in distortion and clipping |
| Microphone-level input on video camera | Sending a line-level signal from the audio mixer to the camera will result in distortion and clipping |
| Purpose of an audio mixer | To boost the quality of audio inputting into the camera and to record multiple audio inputs simultaneously |
What You'll Learn
![]()
Using an XLR cable to connect the audio mixer to the camera interface
Connecting an audio mixer to a camera can be done in several ways, depending on the desired output and the distance between the camera and the mixer. Here is a detailed guide on using an XLR cable to connect the audio mixer to the camera interface:
Option 1: Using a Camera Audio Interface (Balanced)
This method uses a camera-specific audio interface to convert the line-level signal from the audio mixer to a mic-level signal suitable for the camera.
Equipment:
- Audio mixer
- XLR cable
- Camera interface
- 1/8" cable
- DSLR video camera
Steps:
- Connect the output of your audio mixer to the input of the camera interface using an XLR cable. You may need a 1/4" TRS to XLR Converter.
- Set the camera interface to "line level."
- Connect the camera interface to the video camera using a 1/8" cable.
- Lower the audio input on your camera to the minimum setting.
- Adjust the levels to achieve the desired audio level without clipping or distorting.
Option 2: Dual 1/4" TS to 1/8" TRS Cable (Unbalanced)
This method is a more cost-effective option but has limitations in terms of distance and signal quality.
Equipment:
- Audio mixer
- Dual 1/4" to 1/8" cable
- Video camera
Steps:
- Connect the 1/4" jacks to the stereo output or monitor output of the audio mixer.
- Connect the 1/8" jack to the microphone-level input of the video camera.
- Adjust the levels to get the desired audio level without clipping or distorting.
Factors to Consider:
When choosing between these options, it's important to consider the distance between the camera and the audio mixer. Balanced audio cables can maintain audio quality up to 1000ft (300m), while unbalanced cables will result in degradation after 10-15ft (3-5m).
Additionally, the line-level outputs of the audio mixer and the microphone-level input of the video camera are different. Sending a line-level signal directly to the camera will result in distortion and clipping. Therefore, it's crucial to adjust the audio mixer settings accordingly or use a camera audio interface to convert the signal.
LaView Camera's Private Mode: What You Need to Know
You may want to see also
![]()
Using a dual 1/4 to 1/8 cable to connect the audio mixer to the camera
Connecting an audio mixer to a camera can be done in two ways. This passage will focus on the second method, which involves using a dual 1/4" to 1/8" cable. This method is a more affordable option but comes with a few compromises. Firstly, the signal is unbalanced, limiting the distance between the camera and the audio mixer to within 10 feet (3m). Secondly, a line-level signal will be sent from the audio mixer to the camera, requiring the stereo output on the mixer to be reduced to 10-15%.
To connect the audio mixer to the camera using this method, follow these steps:
- Connect the 1/4" jacks to the stereo output or monitor output of the audio mixer.
- Connect the 1/8" jack to the microphone-level input of the video camera.
- Adjust the levels to achieve the desired audio input level on the camera without clipping or distorting the sound.
This method is suitable when the audio mixer is in close proximity to the camera, and it offers a cost-effective solution.
Polaroid 600 Camera: Battery Placement Guide
You may want to see also
![]()
Adjusting the camera interface to be line level
When connecting an audio mixer to a camera, it is important to consider the difference between the line-level outputs on your audio mixer and the microphone-level input on your camera. Sending a line-level signal from your audio mixer to your camera will result in distorted and clipped audio.
To address this issue, you can use a camera-specific audio interface, which allows you to send a balanced line-level signal from your audio mixer to your camera. The interface will convert the line-level signal to a mic-level signal suitable for your camera.
- Use an XLR cable to connect the output of your audio mixer to the input of a camera interface. You may need a 1/4" TRS to XLR converter.
- Adjust the camera interface to be "line level." This setting allows the interface to accept the line-level signal from the audio mixer.
- Connect the camera interface to your video camera using a 1/8" cable.
- Turn down the audio input on your camera to the lowest setting to avoid clipping or distortion.
- Adjust the levels to get an adequate audio level without clipping or distorting.
By following these steps, you can ensure that the audio signal from your mixer is properly converted and adjusted for use with your camera, resulting in clear and undistorted audio.
OnePlus Camera Upgrades: Significant Improvements or Minor Changes?
You may want to see also
![]()
Connecting the camera interface to the video camera using a 1/8 cable
Firstly, understand the difference between balanced and unbalanced audio cables. Balanced cables can be used for longer distances of up to 1000ft (300m) without any audio degradation, while unbalanced cables will result in degraded audio quality after 10-15ft (3-5m). This is an important consideration when setting up your equipment.
Now, there are two common ways to connect your camera interface to your video camera using a 1/8 cable:
Option 1: Audio Interface (Balanced)
- Connect your audio mixer to the camera interface using an XLR cable. You may need a 1/4" TRS to XLR converter for this step.
- Set the camera interface to "line level".
- Use a 1/8" cable to connect the camera interface to your DSLR video camera.
- Turn down the audio input on your camera to the lowest setting.
- Adjust the levels to get an optimal audio level without clipping or distorting.
Option 2: Dual 1/4" TS to 1/8" TRS Cable (Unbalanced)
- Connect the 1/4" jacks to the stereo output or monitor output of your audio mixer.
- Connect the 1/8" jack to the microphone-level input of your video camera.
- Adjust the levels to get an optimal audio level without clipping or distorting.
Note that Option 2 is more suitable if your audio mixer is close to your camera, and it is a more inexpensive option. However, it requires some compromises, such as the camera being within 10 feet (3m) of the audio mixer and adjustments to the stereo output on the mixer.
Focusing Your S21 Camera: Tips and Tricks
You may want to see also
![]()
Turning down the audio input on the camera
When connecting an audio mixer to a camera, it is important to turn down the audio input on the camera to the lowest setting possible. This is done to prevent audio clipping and distortion.
To turn down the audio input on your camera, follow these steps:
- Ensure that your camera is connected to your computer.
- Open the relevant website or application that you will be using for recording.
- Allow camera and microphone access when prompted. You may choose "Allow this time", "Allow on every visit", or "Never allow".
- If you are using Google Chrome, you can change a site's camera and microphone access by clicking on "Settings" in the top right corner, selecting "Privacy and security", then "Site settings", and finally, selecting "Camera" or "Microphone" under "Permissions".
- Once you have granted the necessary permissions, you can adjust the audio input settings on your camera.
- Locate the audio input settings on your camera. This may be found under "Device settings" or similar.
- Turn down the audio input to the lowest setting to prevent audio clipping and distortion.
Additional considerations
It is important to note that different cameras and audio mixers have various output and input options. For example, when connecting an audio mixer to a DSLR-style video camera, you can use either a camera audio interface or a dual 1/4" TS to 1/8" TRS cable.
Additionally, when using a Sony camcorder, if there is no menu option to turn off the built-in microphone, you can use workarounds such as connecting a microphone with an on/off switch and setting it to the off position or using a dummy stereo minipin plug.
By following these steps and considerations, you can effectively turn down the audio input on your camera when connecting it to an audio mixer, ensuring optimal audio quality for your recordings.
Surveillance Cameras: Benefits and Drawbacks
You may want to see also
Frequently asked questions
You can connect your audio mixer to your camera using either a camera audio interface or a dual 1/4" TS to 1/8" TRS cable.
The audio interface option provides a balanced line-level signal, allowing for longer cable runs and better audio quality. It also gives the camera operator more control over the audio level. The dual cable option is relatively inexpensive but requires the camera to be within 10 feet of the audio mixer.
Some common options for camera audio interfaces include the Kopul CMX2, Tascam DR60D MKII, and Sound Devices MixPre-3.
First, use an XLR cable to connect the output of your audio mixer to the input of the camera interface. Adjust the camera interface to "line level" and connect it to the video camera using a 1/8" cable. Turn down the audio input on the camera to the lowest setting and adjust the levels to get an adequate audio level without clipping or distorting.