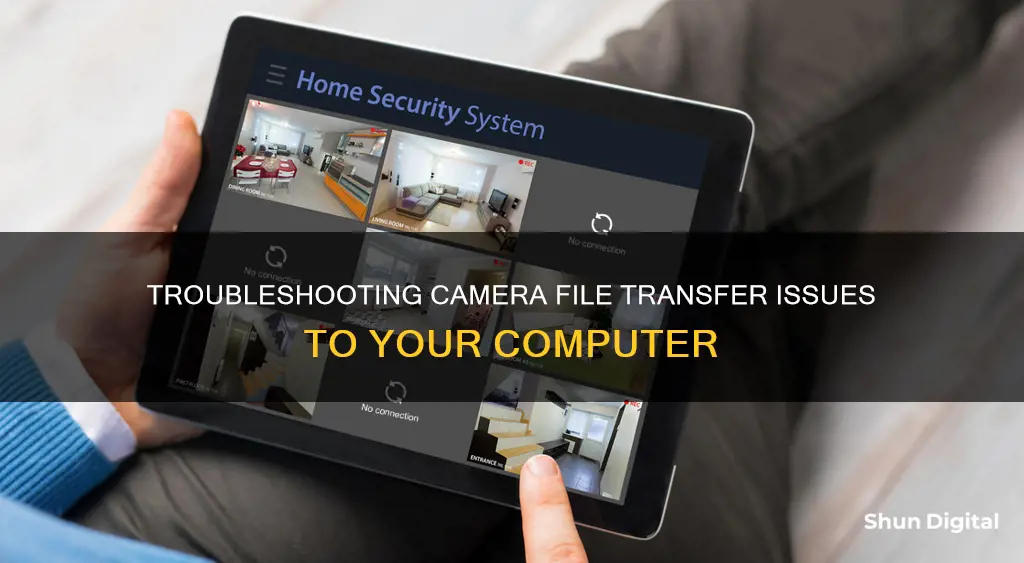
There are several reasons why your camera may not be transferring its files to your computer. This could be due to an issue with the USB cable, SD card, or camera settings. Firstly, ensure that you are using the correct USB cable that came with your camera and that it is properly connected to both the camera and the computer. If your computer doesn't have a suitable USB port, you may need to purchase an adapter. Additionally, check if your camera has a physical switch or button to turn on the camera connection. If your camera uses an SD card, try removing it and inserting it directly into your computer's SD card reader, if available. If your computer doesn't have a built-in card reader, you may need to purchase an external SD card reader. Finally, check your camera's USB connection or transfer mode settings and ensure it is set to Mass Storage, MTP, or Auto. If these suggestions don't work, refer to your camera's user manual for further troubleshooting steps or contact the camera manufacturer for support.
| Characteristics | Values |
|---|---|
| Camera not recognised by computer | Check camera is switched on, check USB connection, check for updates |
| Camera not showing up in File Explorer | Check for driver, check camera is switched on, check USB cable is compatible |
| Camera connected but files not transferring | Check camera is in correct mode (Mass Storage, MTP, or Auto), check antivirus software, check hardware drivers |

Missing drivers
If your camera won't transfer its files to your computer, it might be because of missing drivers. Drivers are software files that are key to making hardware recognizable within Windows. If the drivers are missing, the hardware device associated with the drivers will stop working, and the computer may no longer recognize the device type.
Check for Missing Drivers:
- Click on the "Start" menu and type "Device Manager" in the search box.
- Open the "Device Manager" by clicking on it in the left-side menu of the Computer Management window.
- Look for any sections that are expanded automatically and marked with a yellow warning symbol. This indicates missing drivers.
Update Missing Drivers:
- Right-click on the missing driver component and click on "Update Driver Software."
- If you already have the drivers on your PC, click on "Browse my PC for driver code."
- If you don't have the drivers, Windows can try to find them through Windows Update. Click on the first option, "Search Automatically for Drivers."
- After Windows finds the drivers, click "OK" to allow it to complete the installation.
- Restart your computer for the changes to take effect and the device to start working properly.
Reinstall Device Drivers:
- In the search box on the taskbar, enter "Device Manager" and select it.
- Right-click on the name of the device (in this case, your camera) and select "Uninstall."
- Windows will attempt to reinstall the driver automatically.
Use Windows Update to Find a Device Driver:
- Check for Windows updates by clicking on the Windows icon and selecting "Settings" > "Windows Update."
- Click on "Check for Updates" and install any available updates, especially those related to your camera.
- If Windows Update is unable to find the required device driver, you can visit the camera manufacturer's website to download the latest driver.
By following these steps, you can resolve the issue of missing drivers and hopefully transfer files from your camera to your computer successfully.
The Magic of Pinhole Camera Focus: How Does It Work?
You may want to see also

Antivirus blocking transfer
If your antivirus software is blocking your camera from transferring files to your computer, it is likely because the software is trying to protect your system against potentially unwanted applications (PUAs) that are attempting to access your camera. Cybercriminals can deliver malware or viruses to your computer that can open your camera without your knowledge, allowing them to record your activities and spy on you.
To resolve this issue, you can try the following methods:
Method 1: Change Windows Defender Settings
- Open the 'Windows Defender' app.
- Go to 'Virus & Threat Protection' and then 'Virus & Threat Protection Settings'.
- Click on 'Add or Remove Exclusions'.
- Ensure that the program causing the issue is included in the 'Exclusion List' if you still want to access your camera with that app.
- Save the changes and check if the problem is resolved.
Method 2: Modify Kaspersky Internet Security Settings
- Open the 'Kaspersky Internet Security' software.
- Go to 'Settings > Additional'.
- In the right pane, select 'Threats and Exclusions'.
- Click on 'Configure Exclusion Rules' and follow the on-screen instructions to resume the exclusion process.
- You can add certain apps that are causing the 'webcam not working' issue to the exclusion list. Once done, check if the problem is resolved.
Method 3: Change Bitdefender Internet Security Settings
- Open the 'BitDefender' antivirus software.
- Click on the 'Privacy' icon in the left pane and select 'View Features'.
- Access the webcam protection ON/OFF switch by clicking on the 'Settings' menu in the lower-right corner of the 'Webcam Protection Panel'.
- You can also add certain expectations in BitDefender: from its main window, click on the 'Protection' tab and go to 'View Modules', then click 'Settings'.
- Follow the on-screen instructions to add a new exclusion for the app you want to access your computer camera.
- If you are trying to use an external webcam, click on 'Firewall' from the 'View Modules' link and select 'Adapters', then click on 'Network Exceptions'.
- Now, add the 'IP address' of your camera to the exceptions list. Once done, check if the issue is resolved.
Method 4: Change BullGuard Premium Protection Settings
- Open the 'AV interface' and go to 'Settings > Real-time antivirus', then navigate to the 'File/program' section that you want to skip from the scanning process.
- Click 'Add' to add the file/program to the exclusion list within your antivirus. Once done, check if the issue is resolved.
Method 5: Modify Avast Antivirus Software Settings
- Open the 'Avast Antivirus Software'.
- Go to 'Basic Settings' in the left pane and select 'Troubleshooting'.
- Go to the 'Web' section and select the 'Ignored address' field.
- Enter your camera's IP address and save the changes. Check if the issue is fixed.
Method 6: Disable or Uninstall Your Antivirus Software
If the problem persists even after adding the file/program to the 'Exclusion List' within your antivirus, you can try disabling or uninstalling your antivirus software.
- To disable, right-click on your antivirus icon in the 'System Tray' and select 'Stop', 'Disable', or a similar option.
- To uninstall, open the 'Settings' app and go to 'Apps > Apps & Features'. Find and select your antivirus software, then select 'Uninstall'. Follow the on-screen instructions to finish the process.
- Once done, restart your computer and check if the issue is resolved.
Highway Camera Tickets: Are You Being Watched?
You may want to see also

Privacy settings
If your camera won't transfer its files to your computer, it could be due to your privacy settings. Here are some steps you can take to check and adjust your privacy settings:
Windows 10:
- Go to Start > Settings > Privacy > Camera. Ensure that "Camera access for this device" is turned on.
- Find "Allow apps to access your camera" and make sure it is turned on.
- Go to "Choose which Microsoft apps can access your camera" and turn on camera access for the desired apps.
- If you don't see the desired app in the list, it might be a desktop app. Go to "Allow desktop apps to access your camera" and ensure it is turned on.
- For individual desktop apps, such as Microsoft Edge or Microsoft Teams, you cannot change camera access settings, but you can control their access by toggling "Let desktop apps access your camera."
Windows 11:
- Go to Start > Settings > Privacy & Security > Camera. Ensure that "Camera access" is turned on.
- Find "Let apps access your camera" and make sure it is turned on.
- Choose which apps should have access. Only apps installed from the Microsoft Store will appear in this list.
- If you are having issues with an app that is not from the Microsoft Store, ensure that "Let desktop apps access your camera" is turned on. You cannot turn off camera access for individual desktop apps.
- If you are still having issues, check your antivirus software settings to ensure they are not blocking access to your camera.
General Tips:
- If you cannot change the camera access settings, you may need an administrator to turn it on for you.
- Some laptops have a physical switch or button that turns the camera on or off. Ensure it is in the "on" position.
- If your camera stopped working after a recent update, try rolling back the camera driver or uninstalling and reinstalling the camera driver.
Focusing on the Small: DVX200's Minimum Focus Range
You may want to see also

SD card reader
If your camera's SD card won't transfer its files to your computer, it could be due to a number of reasons relating to your SD card reader.
First, check that your SD card reader is working. Try inserting another SD card into the reader. If the reader successfully reads the alternate card, then your card reader is functioning properly.
If your SD card reader is working, the issue could be related to the file format settings of your photos. If you adjusted the file format settings on your camera before taking pictures, you may have saved the photos in a format that is not compatible with your computer's operating system. Check the user manual for your camera to learn how to reset the default file type for saving your photos to JPEG or another compatible format.
If your SD card reader is not working, you may need to purchase a new one. SD card readers are available from a variety of retailers, including Amazon and Best Buy, and are compatible with a range of devices, including MacBook, iPad, iPhone, Android, and Windows. When choosing an SD card reader, consider the type of device you will be using it with, as well as the type of SD card you have. Some SD card readers are designed specifically for certain types of devices or cards, while others are more versatile and can be used with multiple types.
- The Platinum USB 3.2 Gen 1 SD, microSD, CF 3 Slot Memory Card Reader from Best Buy, which is compatible with USB-C and USB-A ports and can read and write multiple cards at the same time.
- The SanDisk USB 3.0 SD UHS-II Card Reader, which is compatible with both PC and Mac devices and has a flexible design that won't block other ports.
- The Anker USB 3.0 SD Card Reader, a 2-in-1 card reader that is compatible with a wide range of SD and microSD cards.
Understanding Raw Camera Support: Unlocking Photography's Full Potential
You may want to see also

USB cable
If your camera won't transfer its files to your computer, there could be an issue with the USB cable. Here are some troubleshooting tips to try:
- Ensure you are using the correct USB cable. Use the cable that came with your camera, as other cables may not be compatible with file transfer. Check the cable for any damage, and try using a different cable if possible.
- Check that the USB cable is securely connected to both the camera and the computer.
- If your camera has a USB Type-C terminal, try using a USB 3.1-compatible USB Type-C cable for faster data transfer.
- If your computer only has a USB Type-C port, you will need a USB conversion adapter to connect certain cameras.
- Try connecting the camera to a different USB port on the computer. Certain ports may not work, and it is worth trying a port that you know has recognised other devices.
- If your camera has a built-in USB cable that is too short to reach the computer's USB port, use a USB extension cable.
- If you are using a third-party USB cable, be aware that it may not function properly. Sony, for example, does not guarantee the operation of USB cables from other manufacturers.
- Make sure the USB ports on both the camera and the computer are not dusty or dirty. Use a soft, dry cloth to clean them if necessary.
- If you are using a Windows computer, check that your USB Connection and USB LUN settings are correct. Refer to your camera's instruction manual for details.
The Ultimate Guide to Cleaning CGR-S006A Camera Battery Contacts
You may want to see also
Frequently asked questions
There could be a number of reasons for this. Firstly, check that you have the correct USB cable and that it is connected properly to both the camera and the computer. If you are using an SD card, ensure it is inserted correctly. You may need to change your phone's USB settings to 'Transfer Files' or 'Transfer Photos'. If your camera has a switch or button to turn the camera on or off, ensure it is in the 'on' position. You may also need to update your privacy settings to allow camera access.


