There are many reasons why an outdoor camera may be out of focus. Firstly, the camera's autofocus feature may be continuously readjusting as the subject moves, causing the image to appear blurry. Additionally, the camera lens may not be properly attached, resulting in miscommunication between the camera and lens contacts. Another common issue is dirt or foreign objects on the lens, which can interfere with autofocus. Furthermore, the lighting conditions can play a significant role in focus, with low-light environments often requiring a larger maximum aperture to allow more light for better focus. Finally, the camera's position in relation to the subject and background can impact its ability to stabilize focus accurately.
| Characteristics | Values |
|---|---|
| Camera lens not attached properly | Remove and remount the lens |
| AF/M switch on the lens is not set to AF (Autofocus) | Set the switch to AF |
| No contrast in the scene | Aim the focus point at an area of contrast |
| Not using the center focus point | Use the center focus point |
| Being too close to the object | Back up a little |
| Low light conditions | Choose a lens with a larger maximum aperture |
| Dirty lens | Clean the lens with a soft, dry, lint-free cloth |
| Tracking auto-focus is enabled | Deactivate Tracking auto-focus |
| Outdated camera software | Update camera software |
| Auto iris feature | Place a neutral density filter on the lens, set the zoom to wide, set the focus to near, and adjust the focus |
![]()
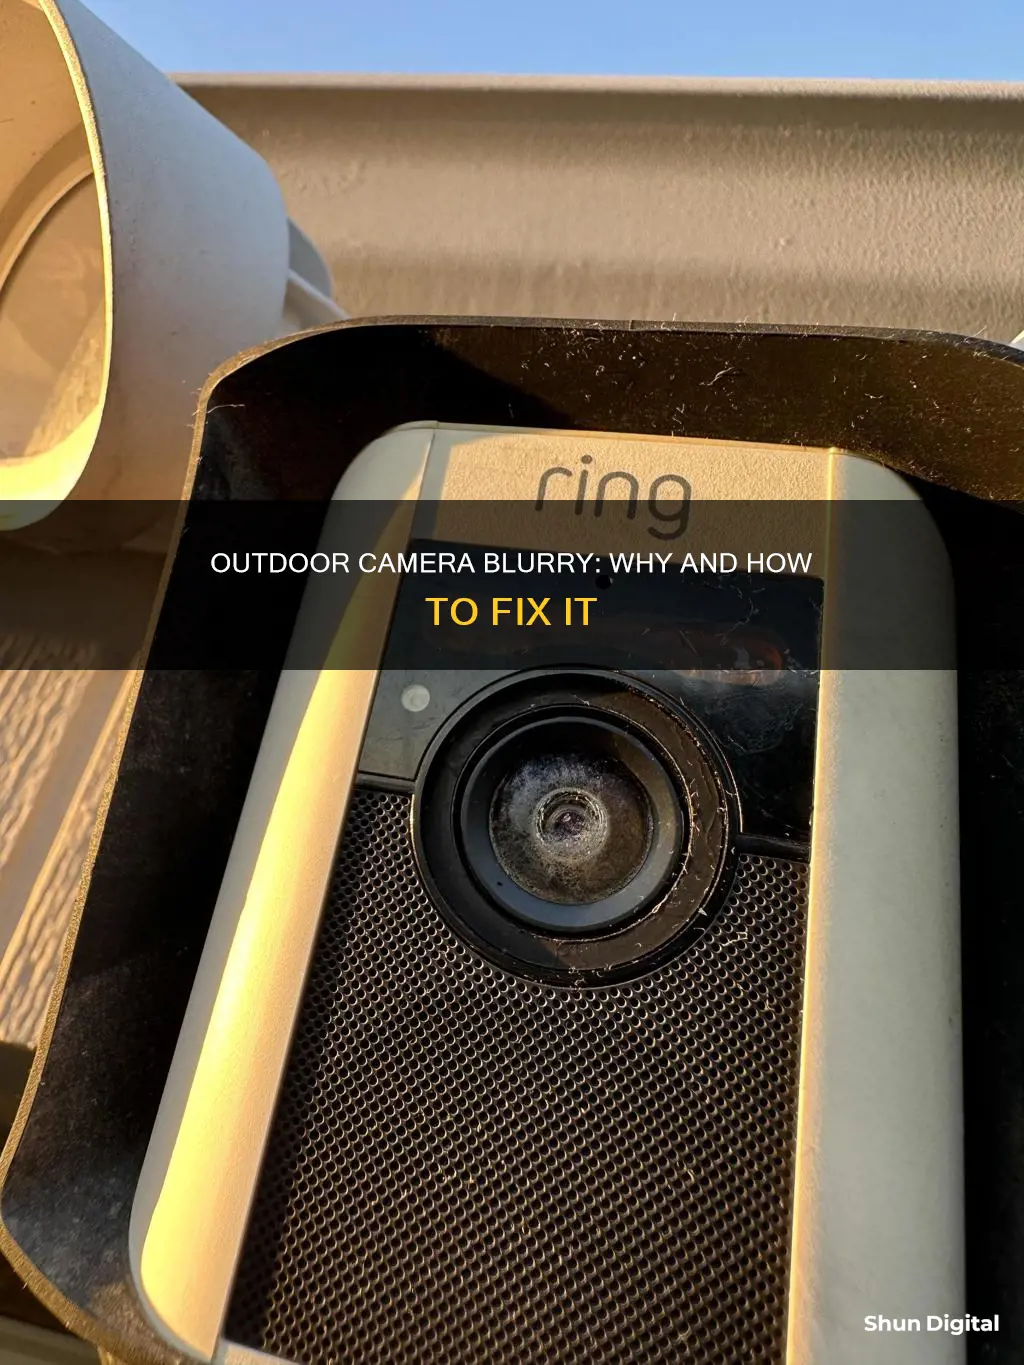
Dirty lens
If your outdoor camera is out of focus, a dirty lens could be the culprit. Even brand new lenses normally have some foreign particles in between lens elements. Dust and debris on the lens can cause the camera to produce blurry images, especially if the lens is not cleaned regularly. To check if your lens is dirty, visually inspect the lens front and clean it with a soft, lint-free cloth to remove any dust or debris. Additionally, you can try using a bright LED flashlight to inspect the lens for dust particles.
If your lens is dirty, it is recommended to clean it with a soft cloth. In some cases, you may need to disassemble the lens for a thorough cleaning, but this should be done with caution as it may void the warranty. It is also important to note that dust inside the lens is normal and usually does not affect image quality.
Other factors that can contribute to a blurry outdoor camera include the autofocus feature, lighting conditions, and the camera's position relative to the sun. Ensure that your camera is set up correctly, taking into account the lighting conditions and potential glare from the sun. Adjusting the camera's focus settings and positioning may also help improve image quality.
Charging Camera Batteries: Power Bank Essentials
You may want to see also
![]()
Autofocus issues
First, check that the focus switch on the side of the lens is set to autofocus. It should be marked as AF or A. This setting can sometimes change accidentally when handling the lens, so it is worth checking first.
Next, ensure that the lens is attached correctly. Remove and remount the lens, listening for a small click to indicate it is locked into place. The camera and lens have metal contacts that must be touching for the two to communicate properly. If the lens is not attached properly, the camera won't be able to send the message to focus when you press the shutter button.
If the above steps don't work, try aiming your focus point at an area of contrast. Your camera uses contrast to determine the subject, and it needs this to be able to focus the lens. Locate the active focal point in your viewfinder (it will usually be a red dot or square) and place this on something in the scene with contrast between light and dark areas.
Another thing to try is to use the centre focus point. All cameras have a focus point in the centre of the frame, and this will always be more accurate as it can find contrast in two directions.
If you are still having issues, you may be too close to your subject. Every lens has a minimum focus distance, and if you are closer than this, your camera will attempt to focus but won't be able to lock on. Try backing up a little and trying again.
Finally, if all else fails, it may be too dark. Your camera may struggle to focus in low-light conditions. Try choosing a lens with a larger maximum aperture, as this will let in more light.
Correcting GoPro Photos: Camera Raw Techniques
You may want to see also
![]()
Camera settings
The focus of a camera depends on the type and curvature of the lens, the position of the object, the position of the lens, and the position of the sensor. The focus ring only changes the position of the lens, so if your outdoor camera is out of focus, you may need to adjust the position of the lens or sensor, or even swap out the lens for one with a different curvature.
If you are using an autofocus feature, the camera will continuously readjust the lens as the subject moves, and it may have trouble stabilizing the focus. Disabling autofocus may help to keep your camera in focus.
If your camera is set to auto iris, the iris will open wider in low-light conditions to let in more light and capture more detail, but this can cause the image to become blurry. To fix this, you can place a neutral density filter on the lens to reduce the amount of light entering the lens, or switch to manual iris mode.
If your camera lens isn't attached properly, the metal contacts on the camera and lens may not be touching, and the camera won't be able to send a message to the lens to focus. Remounting the lens properly can fix this issue.
If you are using a phone camera, make sure that your phone cover and accessories do not cover the edges of the camera lens, as this can prevent the camera from focusing properly.
AI Camera Mode: Transforming Photography with Intelligence
You may want to see also
![]()
Lighting conditions
The position and quality of light can affect any number of things in your final image, from clarity to tone to emotion. By paying attention to how light plays off the angles and curves of your subject and which parts of the subject are illuminated and which are in darkness, you will become a stronger photographer.
The time of day and weather conditions also affect lighting. At noon on a clear day, the sunlight is top-down, cool in colour, and creates harsh shadows. In contrast, close to dusk, the low angle of sunlight is warmer, softer, and more atmospheric. The light carves out details, emphasising the surroundings with an appealing play of highlights and shade. Clouds and mist will soften and diffuse the natural light for moody results.
The lighting conditions in a video surveillance setting can greatly impact the quality of the footage captured. Low-light conditions can make it difficult for cameras to capture clear images, leading to grainy or blurry footage. Backlighting and glare can cause a halo effect around the individual or object, obstructing important details. Night vision and infrared (IR) lighting are often used to capture clear footage in dark environments, but too much IR lighting can cause overexposure. Artificial lighting can aid in capturing clear footage, but it’s important to use lighting fixtures that are compliant with industry standards and don’t create hot spots or shadows in the footage.
The correct placement of cameras is crucial to achieving optimal coverage and minimizing blind spots, while lighting has a direct impact on the clarity of the footage.
Master Madden 10: Camera Angle Tricks
You may want to see also
![]()
Lens attachment
If your outdoor camera is out of focus, it could be due to a number of reasons related to the lens attachment. Here are some possible causes and solutions:
Cause 1: Improper Focus or Zoom Adjustment
If the focus or zoom on your camera is not adjusted correctly, your images may appear blurry.
Solution: Try manually adjusting the focus or zoom using the mobile app or client. Refer to your camera's instructions on how to manually focus to ensure you are doing it correctly.
Cause 2: Condensation or Water in the Camera Lens
If condensation, water, or fog gets inside the camera lens, it can affect image quality and cause blurriness.
Solution: Check for any signs of moisture inside the lens. If present, ensure that you install the camera properly, taking measures to protect it from the elements. Contact the manufacturer's support team if you need further assistance or to inquire about a warranty.
Cause 3: Improper Camera Installation
If your camera is newly installed and you notice that part of the image is blurry or out of focus, it may be due to incorrect installation.
Solution: Try exchanging the camera's position with another location to see if the issue persists. Ensure that the camera is securely mounted and correctly aligned.
Cause 4: Faulty Lens Attachment
The issue could be related to the physical attachment of the lens to the camera body.
Solution: Check for a poor electrical connection between the lens and the camera body. Detach and reattach the lens to ensure it is properly and securely connected. You should hear a distinct click and feel a stop when attaching the lens correctly. Also, inspect the contact points on both the lens and the camera for any dirt or grime. Clean them with a cotton swab and a drop of isopropyl alcohol if necessary.
Additionally, some cameras have lens calibration tools or lens-focusing levers that can help adjust the lens attachment for better focus.
If you have tried all the above solutions and your camera is still out of focus, it may be due to other factors such as firmware issues, hardware defects, or lens damage. In such cases, it is recommended to contact the manufacturer's support team for further assistance.
Focus Screen Scratches: Do They Impact Autofocus?
You may want to see also
Frequently asked questions
There could be a few reasons for this. Firstly, check that the camera lens is clean. Dirt or debris on the lens can interfere with autofocus. Secondly, if your camera has an autofocus feature, it may be continuously readjusting as the subject moves, causing the focus to be unstable. Try disabling autofocus and see if that improves the focus. Finally, if your camera is set to auto iris, it may be that the depth of view is shrinking as the lighting changes throughout the day, causing the image to become blurry.
To disable autofocus, simply locate the AF icon (usually at the top of the Sources panel) and tap it to turn it off. There may be a blue box around the AF icon when it is enabled, which should disappear when disabled.
If your camera is set to auto iris, you can place a neutral density filter on the lens to simulate low lighting conditions and optimise the focal range. Alternatively, you can switch to manual iris mode, which will provide more consistent footage but may result in a loss of light compensation features.