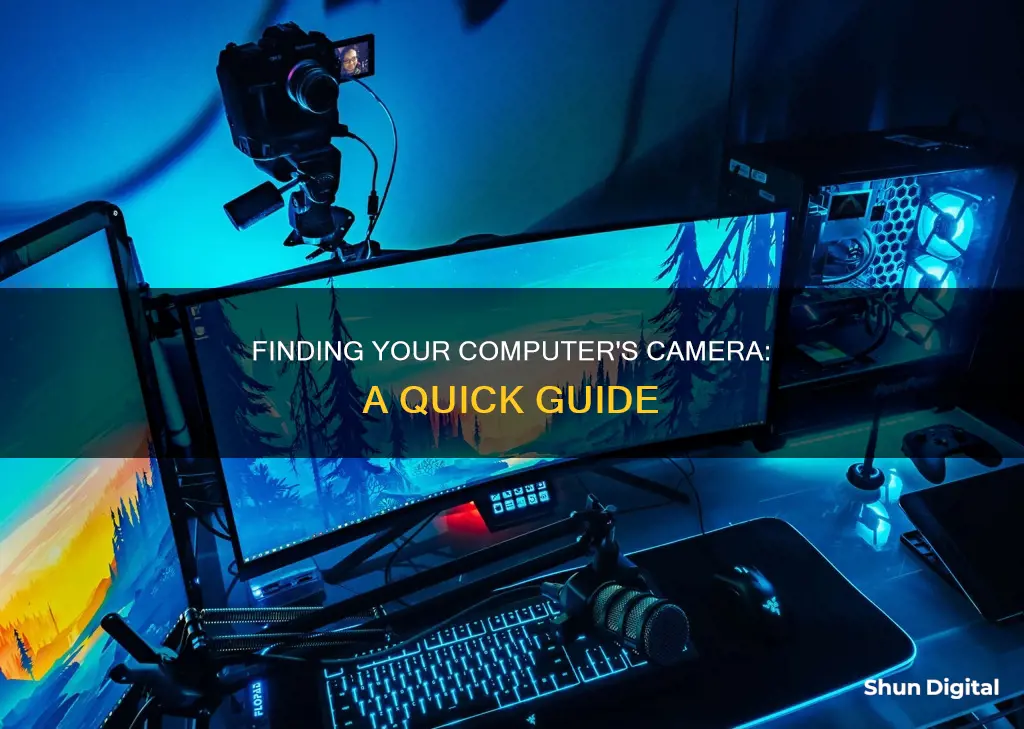
Many laptops come with built-in cameras, often positioned at the top centre of the screen. These internal webcams are used for video calling, selfies, and livestreaming. If you're using a Windows 10 computer, you can turn on your camera by clicking on the search bar in the bottom-left corner of the screen, searching for Camera, and clicking on the Camera app. If you're having trouble getting your camera to work, you may need to check your privacy settings, restart your computer, or check your antivirus software.
| Characteristics | Values |
|---|---|
| How to turn on the camera | Click the search bar/magnifying glass icon in the bottom-left corner of the screen. Search for "Camera" and click the Camera app in the results. |
| How to check if the camera is working | Open the Camera app and check if the light for the webcam turns on. You should also see a small window displaying the feed from the webcam. |
| How to enable the camera for use in other programs | Click on the Start button, then click on "Settings". Select "Privacy" and click on "Camera" on the left side of the menu. Toggle on the displayed option and enable "Allow Apps to Access Your Camera". |
| How to switch between multiple cameras | Open the Camera app and select "Change Camera" in the top-right corner. |
| How to disable the camera | Open the Settings app or the Device Manager utility and navigate to the "Privacy" or "Camera" section. Toggle off the camera option or select "Disable Device". |
What You'll Learn
![]()
How to turn on your camera in Windows 10
To turn on your camera in Windows 10, you can follow these steps:
Using the Camera Application:
- Press the Windows logo key (Win) on your keyboard to open the Start menu.
- Click on the "Camera" application, which should be in the "C" section of the listed apps. Alternatively, you can press Win + S to open the search bar, then type "Camera" to find the app.
- Once the Camera app is open, you can use the video camera and camera icons on the right side of the application window to switch between taking photos and videos.
- Your photos and videos will be saved in the "Pictures > Camera Roll" folder by default.
Allowing Apps to Access the Camera:
- Press Win to open the Start menu.
- Click on the Settings icon (gear icon).
- In the Settings menu, click on "Privacy," which should be at the bottom of the menu next to a padlock icon.
- In the left sidebar of the Privacy menu, click on "Camera."
- Under "Allow apps to access your camera," toggle the setting to the "On" position. This will allow any apps you install to access your camera.
Troubleshooting:
If you are having issues with your camera, there are several things you can try:
- Check for a physical camera button or shutter on your device. Some laptops have a sliding switch, button, or shutter on the side, near the keyboard, or near the built-in camera. Ensure that it is in the "On" position.
- Run the Camera troubleshooter: Copy and paste this link into your web browser: ms-contact-support://smc-to-emerald/TroubleshootCamera. This tool will run diagnostics on your camera and guide you through fixing any issues.
- Check for Windows updates: Go to Settings > Update & Security > Windows Update > Check for updates. Install any available updates and restart your computer.
- Check your antivirus software: Sometimes, antivirus software can prevent apps from using your camera. Check the settings of your antivirus software to see if it is blocking camera access.
- Update your drivers: You can do this through the Device Manager or by installing updates through Windows Update.
Mastering Camera Raw White Balance
You may want to see also
![]()
How to check if your camera is working
If you're using a Windows 10 or Windows 11 device, you can check if your camera is working by following these steps:
- Click on the Start icon and select 'Camera' from the list of apps. If you can't see the Camera app, try searching for it in the search bar.
- When you open the Camera app, you may be asked to allow access to your camera. Select 'Yes' or Allow.
- If your camera is working, it will immediately turn on and display whatever is in front of it. You will also see a recording light turn on beside the camera to indicate that it is active.
If your camera is not working, you can try the following:
- Check for updates: Go to Start > Settings > Windows Update > Check for updates. If there are no updates available, try checking for optional updates by going to Advanced options > Optional updates.
- Restart your device: If you haven't restarted your device since the camera stopped working, try doing so. Simply turning your device off and on again may fix the issue.
- Check your privacy settings: Go to Start > Settings > Privacy & Security > Camera. Make sure 'Camera access for this device' is turned on. Then, under 'Allow apps to access your camera', ensure that 'Let apps access your camera' is enabled.
- Try a different USB port: If you're using an external camera, try plugging it into a different USB port on your device.
- Check your antivirus software: Some antivirus programs may block access to your camera. Check your antivirus settings to see if there are any restrictions on camera access.
If you're still having issues with your camera, you can try using an online webcam test site such as WebcamMicTest or Vidyard. These sites will guide you through enabling camera permissions and will allow you to see if your camera is working as expected.
Understanding Camera Modes: Capturing Scenery with Landscape Mode
You may want to see also
![]()
How to enable your camera for use in other programs
If you're using a Mac, enabling your camera for use in other programs is simple. First, open an app that uses the camera, such as Photo Booth or FaceTime. You can do this by clicking on any empty area of your Mac desktop to bring up the Finder, then clicking on 'Go > Applications' in the menu bar at the top left of the screen. Locate and double-click on Photo Booth or FaceTime, and the camera will turn on, indicated by a small green light next to the lens.
If you want to check or change your camera permissions on a Mac, go to the Apple menu (by clicking the Apple logo in the top-left corner of your screen), then click 'System Preferences' and select 'Privacy & Security' to see which apps are allowed to use the camera.
If you're using a Windows PC, you'll need to turn on some permissions in your Camera settings. First, select 'Start > Settings > Privacy & Security > Camera', and make sure ''Camera access' is turned on. Then, make sure 'Let apps access your camera' is also turned on. Once you've done this, you can turn on camera access for specific apps by finding the app in the list and changing its settings. If you can't change the Camera access settings, you may need an administrator to turn it on for you.
To open your camera on a Windows PC, select the 'Start' button, then 'All apps', and select 'Camera' in the list of apps. If you have multiple cameras, you can switch between them by selecting 'Change Camera' in the top-right corner once the Camera app is open.
Speeding Ticket Arrival: Mobile Camera Edition
You may want to see also
![]()
What to do if your camera isn't working
If your camera isn't working, there are several things you can try. Here is a step-by-step guide to help you troubleshoot the issue:
Restart your device:
Try restarting your device. This can help clear any minor glitches or bugs that might be causing the issue.
Check your camera access:
Ensure that your camera is enabled and turned on. On a Windows device, go to Start > Settings > Privacy & Security/Privacy > Camera and make sure "Camera access" is turned on. You can also check this by opening the Camera app and seeing if your camera feed appears.
Check your app permissions:
Make sure that the app you are trying to use has permission to access your camera. In Windows, go to Start > Settings > Privacy & Security/Privacy > Camera, and under "Allow access to the camera on this device," choose which apps should have access.
Close other apps:
If you are using your camera with multiple apps, close any other apps that might be using the camera. This can free up resources and allow your camera to work with the desired app.
Update your software:
Check for any available updates for your operating system, apps, and camera drivers. Updating your software can fix any known bugs and improve compatibility.
Check your antivirus software:
Your antivirus software might be blocking access to your camera. Check the settings of your antivirus program to see if there are any options to allow camera access.
Check your hardware:
If you are using an external camera, try using a different USB port. If your camera is built-in, try scanning for hardware changes in the Device Manager.
Restart your device:
If you haven't restarted your device since the camera stopped working, do so now. This can help clear any software conflicts and give you normal access to the camera.
Test your camera:
Use the built-in Camera app to test if your camera is working. If it works in the Camera app, the problem might be with the specific app you are trying to use.
Check for physical switches:
Some laptops and portable devices have a physical switch or button that turns the camera on or off. Make sure that this switch is in the "on" position.
If you are using an Android device, you can also try force-stopping the Camera app, clearing the app cache, and updating your Android OS. Additionally, make sure your phone is fully charged and has sufficient storage space.
Understanding Unexpected JPEGs in Your RAW Photos
You may want to see also
![]()
How to disable your camera
Disabling your camera is a good way to ensure your privacy and security. Here is a step-by-step guide on how to disable your camera on Windows and Mac.
Disabling Your Camera on Windows:
There are several ways to disable your camera on a Windows device. One way is to use the Device Manager:
- Open the Start menu.
- Right-click on the Start button.
- Select "Device Manager".
- Expand "Imaging devices" by clicking on the dropdown arrow next to it.
- Right-click on your camera's name (it may be labelled as "Integrated Camera", "VGA WebCam", "USB Camera", or something similar).
- Select "Disable" or "Disable device".
- If a confirmation window pops up, click "Yes".
You can also disable your camera through the BIOS. The steps may vary depending on your device, but generally, you would need to disrupt the boot process by pressing a specific Function key, then search for your camera in the BIOS and disable it.
Disabling Your Camera on Mac:
To disable your camera on a Mac, follow these steps:
- Click on the Apple menu.
- Select "System Preferences".
- Click on "Security & Privacy", then "Privacy".
- Locate the "Camera" option in the list of privacy settings.
- Click the checkbox next to specific apps to disable or enable camera access.
Additional Tips:
- If you want to disable your camera for specific apps or services, you can adjust your privacy settings. On Windows, go to Start > Settings > Privacy, then turn on "Allow apps to access" and choose the apps. On Mac, simply remove permissions for specific apps in the Privacy settings.
- You can also physically block your camera by covering the lens with tape or by turning the camera around to face a wall.
- To ensure your privacy and security, it is recommended to regularly scan your computer for malware and check which apps have access to your camera.
Understanding Camera's AHD Mode: What, Why, and How?
You may want to see also
Frequently asked questions
To turn on your camera on Windows 10, go to Settings > Privacy > Camera, select "Change", and enable "Allow Apps to Access Your Camera". Then, use the Windows 10 Camera app to test your webcam.
To open your camera on Windows, select the Start button, then select All Apps, and then select Camera from the list of apps. If you have multiple cameras, you can switch between them by selecting Change Camera at the top right once the Camera app is opened.
To check if your camera is working on your laptop, go to the search bar in the bottom-left corner of your Windows desktop and search for the Camera app. Select it, and the application will launch, turning on your camera.
To enable your camera for use in other programs, click on the Start button, then click on Settings. Select Privacy, scroll down to Camera, and click on it. From here, you can enable or disable the use of your camera with other applications.
Many laptops come with built-in or integrated webcams, typically positioned in the top centre of the screen.