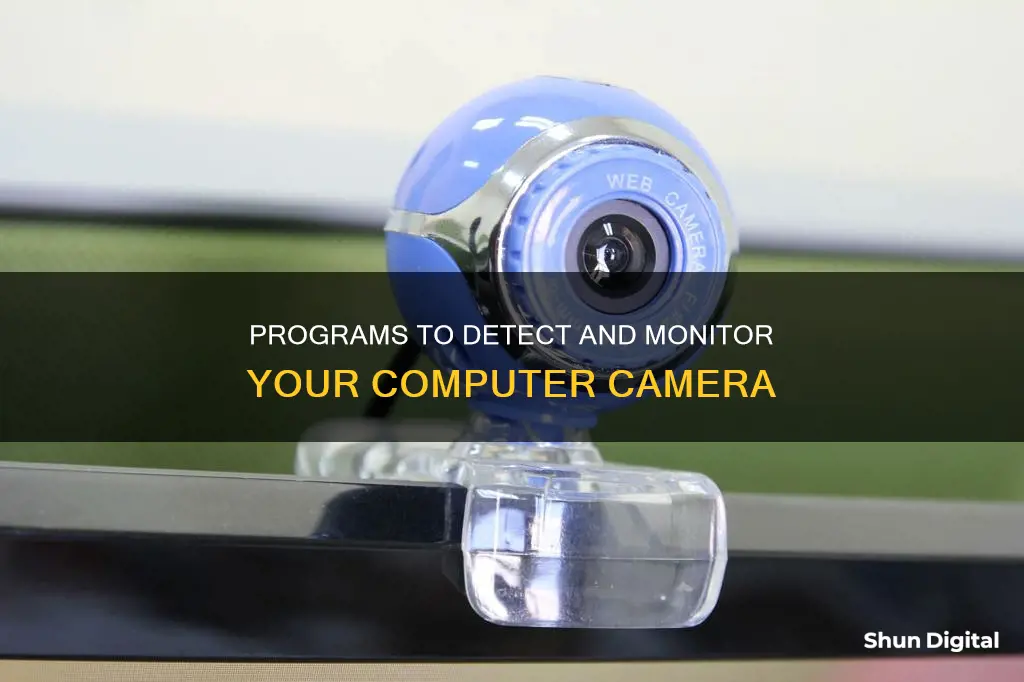
If you want to know which program is using your computer's camera, there are several ways to find out. On a Windows computer, you can go to Settings > Privacy > Camera to see a list of applications that have previously used your camera and whether an app is currently using it. You can also open Device Manager and identify your camera device to see which processes are using it. Additionally, you can use third-party software such as Process Explorer to identify which programs are using your camera. It's important to note that not all applications will appear in the Windows Settings list, and malware may access your camera without your knowledge. To completely disable camera access, unplugging your webcam or covering it up is recommended.
| Characteristics | Values |
|---|---|
| How to check which apps are using the camera | Go to Settings > Privacy > Camera. You will see two lists: one for Microsoft Store apps and one for traditional desktop applications. |
| How to disable camera access | Go to Settings > Privacy > Camera and toggle the corresponding button to turn off camera access. Alternatively, unplug the camera or cover it up. |
| How to switch between cameras | Select "Change Camera" at the top right once the Camera app is opened. |
| Camera settings | Change the photo aspect ratio or video quality, turn location info on or off, show or hide grid lines, turn video stabilization on or off, turn the microphone on or off, turn the video lamp on or off, change what happens when you tap the screen. |
| How to take a photo or video | Select "Photo" or "Video" and then select it again to take a picture or start a video. |
What You'll Learn
![]()
How to check which applications are using your webcam
If you're using a Windows PC, there are several ways to check which applications are using your webcam. Here are the steps you can follow:
Using Windows Settings (for Windows 10 and 11)
- Open Windows Settings by pressing Win+I on your keyboard.
- Navigate to the Privacy & Security tab.
- Find the heading "Let apps access your camera" and click on it.
- Here, you will see a list of all the apps that have been granted permission to use your camera.
- To prevent a specific app from using your camera, simply toggle the button next to its name to the off position.
Using Process Explorer (for Windows 7, 8, and 10)
- First, you need to find your webcam's device object name. To do this, open the Device Manager by right-clicking the Start button and selecting "Device Manager".
- Locate your webcam in the list of devices. It is usually found under the \"Imaging Devices\" category.
- Right-click on your webcam and select "Properties".
- Click on the "Details" tab and then select "Physical Device Object Name" from the list.
- Copy the device object name by right-clicking on it and selecting "Copy".
- Download and install the Process Explorer tool from the Microsoft website.
- Run Process Explorer as an administrator.
- Go to "Find > Find Handle or DLL".
- In the "Handle or DLL substring" box, paste the device object name you copied earlier and click "Search".
- Process Explorer will display a list of all the processes currently using your webcam.
Using Windows Task Manager
- Open the Windows Task Manager by pressing Ctrl + Shift + Esc on your keyboard.
- Click on "More Details" to expand the Task Manager.
- Go to the "Performance" tab and select "Webcam" from the sidebar.
- The Task Manager will now display all the applications that are currently using your webcam.
It is important to note that some malicious programs may disable the LED indicator on your webcam, so it is always a good idea to keep an eye on the list of applications with camera access and revoke permission if you notice any suspicious activity.
Mastering Halo 5: Camera Mode Explained
You may want to see also
![]()
How to disable your webcam
There are several reasons why you may want to disable your webcam. For example, you may have security concerns, or you may want to prevent children from accessing certain websites or applications.
Using Device Manager
This method will turn off your webcam completely.
- Open the Start menu and type "Device Manager" into the search field. Select the first result to open Windows' Device Manager.
- Locate "Imaging devices" or "Cameras" in the list of devices. This category should display any webcams installed.
- Right-click on your webcam and select "Disable" or "Disable device". Confirm your choice when prompted.
- Your webcam will now be turned off for all applications. If you need to use it again, return to the Device Manager, right-click on your camera, and select "Enable" or "Enable device".
Disabling for Specific Apps (Windows 11 and 10)
This method allows you to keep your webcam enabled for certain apps while disabling it for others.
- Click on the Start menu and select "Settings".
- Choose "Privacy" or "Privacy & Security".
- In the left-hand menu, find and click on "Camera".
- Find the setting "Allow apps to access your camera" or "Camera access" and toggle the switch to enable it.
- You will see a list of apps under "Choose which Microsoft Store apps can access your camera". Turn off access for any apps that you don't want to have access to your camera.
Note: Disabling camera access for your web browser will also turn off access for any websites you visit.
Using Tape
A low-tech solution is to simply place a piece of tape, such as duct tape or masking tape, over your webcam's lens. This method doesn't require any changes to your software or settings, but it may not be aesthetically pleasing and could leave sticky residue.
Vivotek Cameras: Where Are They Manufactured?
You may want to see also
![]()
How to switch between multiple cameras
If you're using a Windows PC, you can use the Camera app to switch between multiple cameras. Here's how to do it:
First, connect all the webcams you want to use to your computer. Make sure they are properly connected and detected by your PC. If you have a laptop or monitor with a built-in camera, you only need to connect one external webcam.
Then, open the Camera app. You can usually find it by selecting the "Start" button and then selecting "Camera" from the list of apps. Once the Camera app is opened, you should be able to see the view from one of your connected webcams.
To switch between the different cameras, you can either:
- Right-click anywhere on the screen and then select "Change camera" from the menu. This will allow you to switch the current view to the other connected webcam. Repeat this step to change back to the first webcam.
- Select the "Change camera" option within the app. On Windows 10, this option is typically located in the top-right corner of the screen.
It's worth noting that some users have reported issues with using multiple identical webcams on the same computer. This may be due to hardware or driver limitations, and in some cases, a new PC or USB card may be necessary.
Additionally, if you wish to use two webcams simultaneously, you can drag the Camera app to one side of the screen and then launch another app, such as Skype, and configure it to use the other webcam.
The Evolution of Surveillance Cameras: A Historical Perspective
You may want to see also
![]()
How to adjust camera settings
Adjusting your camera settings can help improve your video call experience and ensure your privacy. Here is a step-by-step guide on how to adjust your camera settings on Windows:
Accessing Camera Settings
- Go to the Start menu.
- Search for "camera" in the search bar.
- Select the Camera app from the search results.
- Open the Camera app.
- Swipe in from the right edge of the screen and select "Settings". Alternatively, if you're using a mouse, right-click within the app to access the settings.
Adjusting Camera Settings
Once you're in the Settings menu, you can adjust various options:
- Change the photo aspect ratio or video quality.
- Turn location information on or off.
- Show or hide grid lines.
- Turn video stabilisation on or off.
- Adjust the microphone and video lamp settings.
- Change the default camera if your device has multiple cameras.
- Zoom in or out using two fingers on the screen or by using the mouse scroll wheel.
- Enable Pro Mode to access additional settings, such as brightness and timer.
Adjusting Privacy Settings
In addition to the camera settings, you can also adjust your privacy settings:
- Go to the Start menu and select "Settings".
- Select "Privacy & Security" or "Privacy", depending on your Windows version.
- Choose "Camera" under the App Permissions tab.
- Here, you can manage which apps have access to your camera and enable or disable camera access for all apps.
Resetting Camera Settings
If you want to reset your camera settings to the default values:
- Go to "Devices > Cameras" in the Windows Settings.
- Find your camera in the list and click on "Configure".
- Click on "Restore Defaults" to reset the settings.
Note: The steps mentioned above may vary slightly depending on your Windows version (Windows 10 or Windows 11) and your device's capabilities. Always make sure to check your device's specific instructions for the most accurate information.
Softening Skin Tones in Camera Raw: A Guide
You may want to see also
![]()
How to use a DSLR as a webcam
Using a DSLR as a webcam can be a great way to improve the quality of your video content. Here's a step-by-step guide on how to set up and use a DSLR as a webcam:
Step 1: Check DSLR Compatibility
First, you need to check if your DSLR camera is compatible with being used as a webcam. Not all DSLR cameras have this capability, so it's important to verify before proceeding. You can usually find this information on the camera manufacturer's website or in the camera's manual.
Step 2: Install Webcam Utility Software
If your DSLR is compatible, the next step is to install the appropriate webcam utility software for your camera. Different camera brands have their own software, such as Canon's EOS Webcam Utility, Nikon's Webcam Utility, or Sony's Imaging Edge Webcam Software. Download and install the software that corresponds to your DSLR model and operating system (Windows or macOS).
Step 3: Connect DSLR to Computer
Once the software is installed, use a USB cable to connect your DSLR to your computer. This is usually the same cable used to transfer photos and videos from your camera. Turn on your camera after connecting it.
Step 4: Select DSLR as Webcam
Open your chosen video conferencing or streaming software. In the video settings, select your DSLR camera as the webcam input device. It should appear with the name of your camera followed by "Webcam Utility" (e.g., "Canon EOS Webcam Utility").
Step 5: Adjust Camera Settings
Now, you can adjust your camera settings according to your preferences. Depending on your specific DSLR model, some settings might not be adjustable when connected to your computer. You may also need to adjust settings like frame rate, ISO, shutter speed, and aperture.
Step 6: Consider Additional Equipment
Using a DSLR as a webcam may require some additional equipment for the best results. Consider using a tripod or stand to ensure your camera is at the right height and angle. Additionally, DSLRs may not have the best built-in microphones, so you may want to use an external microphone for improved audio quality.
Step 7: Start Streaming or Recording
With your DSLR set up as a webcam, you're now ready to start streaming or recording. Keep in mind that DSLRs can generate a lot of heat, so be cautious of potential overheating during extended use.
Old Cameras: Ancient Computers or Not?
You may want to see also
Frequently asked questions
On Windows 10, head to Settings > Privacy > Camera. Here, you will see a list of applications with access to your camera. If an application is currently accessing your webcam, you will see the text "Currently in use" under the application's name.
To change camera settings on your Windows device, open the Camera app and swipe in from the right edge of the screen, then select Settings. Here, you can adjust settings such as the photo aspect ratio, video quality, location information, grid lines, video stabilization, and microphone access.
If your device has multiple cameras, such as a front-facing and a rear-facing camera, you can switch between them by opening the Camera app, swiping in from the bottom edge of the screen, and selecting "Change camera".