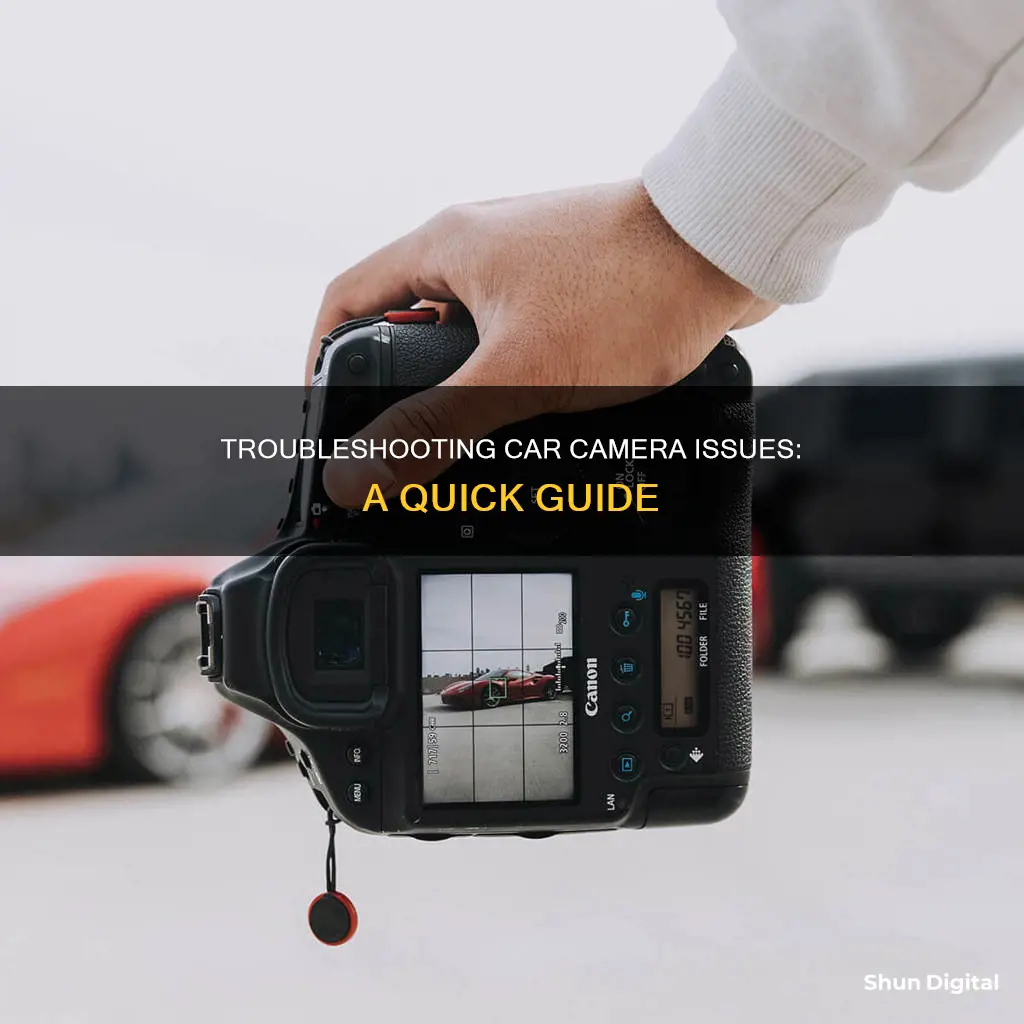
Car cameras are an essential tool for road safety and security, but they can sometimes malfunction. When troubleshooting a car camera, it's important to identify the specific issue, which could be related to power, recording, connectivity, or mounting.
One common issue is when the camera is not turning on, which could be due to a faulty power adapter, damaged wiring or cables, or a problem with the camera itself. Another issue is intermittent power loss, which may stem from loose cable connections or a malfunctioning power source.
Recording problems can include no video/image capture, poor video/image quality, and memory card errors. This could be a result of incorrect settings, a damaged memory card, or a malfunctioning camera.
Connectivity issues, such as Wi-Fi connection problems or difficulties connecting to a mobile app, may also arise. Ensuring that the camera and mobile device are within range of each other and updating firmware can help resolve these issues.
Additionally, it's important to maintain the camera lens, cables, and wiring, and keep the camera dashboard clean to ensure optimal performance.
| Characteristics | Values |
|---|---|
| Camera not turning on | Check power supply, fuses, wiring, and connections. |
| Intermittent power loss | Ensure cable connections are secure and consider using a dedicated power source. |
| No video/image capture | Check camera settings, memory card, and camera malfunction. |
| Poor video/image quality | Check camera settings, memory card quality, and lens damage/dirt. |
| Memory card errors | Format memory card, check for corruption, and replace if necessary. |
| GPS signal problems | Ensure camera is mounted correctly and has a clear view of the sky. |
| Wi-Fi connection issues | Check Wi-Fi settings, device range, update firmware, and troubleshoot connection. |
| Connection to mobile app | Ensure camera and mobile device have latest firmware and software versions. |
| Mounting problems | Verify the camera is securely mounted and positioned correctly. |
| Screen issues | Contact manufacturer or seek professional assistance. |
| Audio recording issues | Ensure microphone is unobstructed and adjust audio settings if needed. |
What You'll Learn
![]()
Check for power issues
If your car camera is not turning on, there could be a problem with its power supply. Here are some steps to help you troubleshoot power issues:
Check the power source and fuse:
- Ensure the car camera is adequately connected to the power source, which is usually the car's fuse box or battery.
- Inspect the wiring for any damage, such as fraying, cuts, or loose connections. Repair or replace the wiring if necessary.
- Locate and inspect the fuse in the car's fuse box. If it appears damaged or blown, replace it. You can test the fuse for continuity using a multimeter.
Inspect the video cable:
- Verify that the video cable is firmly connected to both the car camera and the monitor or receiving device.
- Check the cable for any signs of damage, such as fraying, cuts, or kinks.
- If possible, test the video cable by connecting it to another compatible device. If the issue persists, the cable may be faulty and needs replacement.
Assess the monitor or receiving device:
- Ensure the monitor or receiving device is connected to a power source and functioning correctly. Test it with another compatible video source.
- Check the monitor's settings, including the input/source and resolution, to ensure they match the camera's specifications.
- Inspect the video input and output connectors for any damage or debris. Clean them carefully if needed.
- If issues persist, test the camera with another compatible monitor or receiving device to determine whether the problem lies with the camera or the original device.
Test with an alternative power source:
- If you've checked all connections, fuses, and wiring but still experience power issues, try connecting the camera to an alternative power source. Ensure this power source meets the voltage and current requirements for your device.
- If the camera functions correctly with the alternative power source, the issue likely lies with the original power source, which may include a faulty outlet, wiring, or power supply unit. Consult a qualified electrician if needed.
- If power issues persist with the alternative power source, the problem may be due to an internal fault within the camera itself, and professional repair may be necessary.
Uninstalling Cameras on Windows 10: A Step-by-Step Guide
You may want to see also
![]()
Inspect the camera lens
Inspecting the camera lens is an important step in troubleshooting car camera issues. Here are some detailed instructions on how to do this:
Check for Scratches and Physical Damage:
Firstly, carefully examine the surface of the lens for any scratches. Even small scratches on the lens can impair the quality of the captured images. Pay close attention to the front and back parts of the lens, as scratches on these surfaces can affect image quality. Remember that scratches on the rear element of the lens are more critical than those on the front.
Inspect the Glass and Internals:
Besides scratches, other imperfections like coating problems can also impact image quality. Check both the front and rear lens elements for any signs of coating issues. Additionally, look for any dust or debris inside the lens. While a small amount of dust is normal, excessive dust or larger particles like hair can cause problems.
Test the Zoom Mechanism:
The zoom mechanism is crucial to the proper functioning of your car camera. Rotate the zoom ring to test its smoothness and ensure that the barrel extends and retracts smoothly without any looseness. Make sure the barrel doesn't sway back and forth when fully extended.
Inspect the Lens Mount:
The lens mount is another area that warrants attention. Check for any signs of wear and tear on the mount, as this can indicate heavy usage and potential mechanical issues. Look for scratches, dirt, or grit on the mount, especially if the previous owner didn't keep the lens cap on when it was detached.
Check the Contact Points and Mount Rings:
Modern lenses have contact points that enable electrical communication between the camera and the lens, facilitating autofocus and aperture adjustment. Ensure these contacts are clean and undamaged. Also, inspect the mounting ring for any signs of damage.
Test Aperture Blades:
Before attaching the lens, check the aperture blades from the front and rear. They should appear to be in good working order. If your lens has an aperture button, you can manually test the aperture by moving the lever.
By carefully following these steps, you can thoroughly inspect the camera lens and identify any issues that may be causing problems with your car camera.
Traffic Camera Tickets: Legal in Newburgh Heights, Ohio?
You may want to see also
![]()
Check for connectivity issues
When facing connectivity problems with your car camera, the first step is to check for error messages or codes displayed on the camera or the monitor. These codes can help identify the nature of the problem. Refer to the camera's user manual or manufacturer's website for an explanation of the error codes and suggested solutions.
Verify Connection to Power Source:
- Ensure the camera is connected to the power source correctly and that the wiring is not damaged.
- Inspect the fuse responsible for the car camera's circuit. Locate the appropriate fuse in the car's fuse box, remove it, and visually inspect it for damage. You can also use a multimeter to test for continuity. Replace the fuse if necessary.
Inspect the Video Cable:
- Verify the video cable connections between the camera and the monitor or receiving device. Ensure the connectors are firmly plugged in.
- Check the cable for any signs of damage, such as fraying, cuts, or kinks. Run your hand along the length of the cable to feel for inconsistencies.
- Test the video cable by connecting it to another compatible device. If the issue persists, the cable may be faulty and require replacement.
Assess the Monitor or Receiving Device:
- Verify the monitor's power source and ensure it is functioning correctly. Test the device with another compatible video source.
- Check the monitor's settings, including the input/source selection and necessary settings like resolution, according to the camera's specifications.
- Inspect the video input and output connectors for damage or debris. Clean the connectors with a soft cloth or compressed air if necessary.
- If possible, test with another camera to determine if the problem is with the camera or the receiving device.
Who Gets the Ticket? Speeding Camera Tickets Explained
You may want to see also
![]()
Check for recording issues
If your car camera is not recording, there are several potential causes and solutions to troubleshoot the issue.
Firstly, check if there is an issue with the memory card. Ensure that the memory card is correctly formatted and contains no files that are not generated by the car camera. If the memory card is damaged, you will need to replace it. It is recommended to use a high-endurance memory card and to replace it annually.
If the memory card is not the issue, check the power supply to the camera. Verify that the camera is correctly connected to the power source and inspect the wiring for any damage, such as fraying, cuts, or loose connections. If there is damage to the wiring, it may need to be repaired or replaced.
Additionally, ensure that the camera lens and sensor are clean and free of any dirt, smudges, or obstructions. This can significantly impact the quality of the recorded videos. Also, make sure there is no damage or scratches on the lens, which might require replacement.
If the issue persists, it may be necessary to adjust the camera settings, such as video resolution, frame rate, and quality. Reducing the resolution, frame rate, or quality can help determine if the camera is struggling to save higher-quality videos due to hardware limitations.
If you continue to experience recording issues, consult the camera manufacturer's website or user manual for further troubleshooting steps or contact their customer support for assistance.
Attaching Camera Battery Pack: A Step-by-Step Guide
You may want to see also
![]()
Check for mounting issues
When checking for mounting issues with your car camera, it's important to ensure that the camera is securely mounted and correctly positioned. Here are some detailed steps to help you troubleshoot mounting issues:
- Inspect the camera mount: Check the camera mount for any signs of damage or looseness. Make sure the mounting angle is adjusted correctly and tighten any screws or fasteners to ensure the camera is safely secured.
- Adjust the mounting position: Verify that the camera is positioned correctly and firmly attached to the mounting surface. If using a suction cup mount, ensure it is properly attached and the suction is strong.
- Stabilize the camera: Add weight or rigidity to the mount to reduce vibrations. Consider using ratcheted cargo straps or fibre tape to stabilize the camera further.
- Triangulate the mounting: If possible, create a triangulated mounting setup by adding a pick point at the top of the camera. This will enhance stability and reduce vibrational overshooting.
- Use a soft mount: If the vibrations persist, try using a soft mount such as a bean bag instead of a rigid mount. This can help absorb vibrations and provide a smoother recording experience.
- Check the lens: Ensure that the camera lens is clean and free from smudges or dirt. A dirty lens can affect image quality and stability.
- Inspect the power connection: Confirm that the power cable is securely connected to the camera and the power source. A loose power connection can cause interruptions and affect the camera's performance.
- Test different power sources: If the camera has multiple power options, such as a cigarette lighter socket or a hard-wired connection, try using a different power source to see if the issue persists.
- Verify the power output: Check if the power source provides the correct voltage and current required for the camera to function properly. Inconsistent power output can lead to camera malfunctions.
- Consider camera compatibility: Some cameras may not be suitable for car mounting due to their design or lens system. Spring-loaded zoom, focus, and iris mechanisms in prosumer cameras can be sensitive to vibrations.
By following these steps, you can effectively troubleshoot mounting issues with your car camera and improve the stability and quality of your recordings.
Fighting Franklin Township Speeding Tickets: Is It Worth It?
You may want to see also
Frequently asked questions
There are several potential causes, such as a faulty power adapter, damaged wiring or cables, or an issue with the camera itself. Begin by inspecting the power adapter and cords for any visible damage, such as fraying or breaks.
You will need to check the wiring diagrams for your car. If you installed the monitor yourself, double-check your work. Also, make sure you have the right level of power sent to the display.
First, use a soft-bristled brush or a microfiber cloth to wipe away any dust, grime, or other debris. Then, spray with your cleaner of choice and wipe away with your microfiber cloth using gentle circular motions.