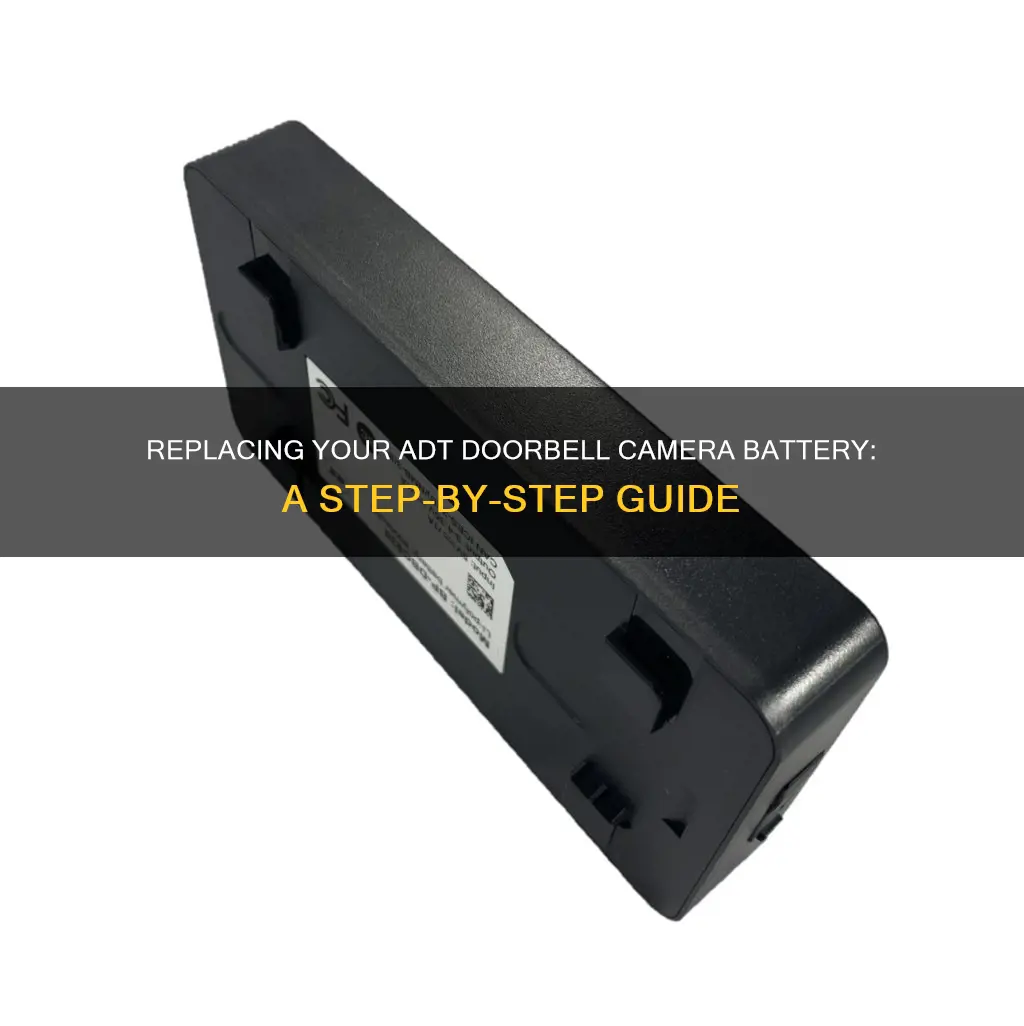
The ADT Doorbell Camera is a smart home technology device that requires a power source to function. The device can be powered by either a battery or a wired connection. If you opt for the battery-powered option, you will need to replace or charge the batteries periodically. The ADT battery-powered doorbell comes with a rechargeable battery pack that can be charged using a micro USB cable. In this article, we will provide a step-by-step guide on how to replace and charge your ADT Doorbell Camera battery, ensuring your device remains operational and secure.
What You'll Learn

Check the ADT Pulse app for low battery warnings
The ADT Pulse app is an easy way to keep an eye on your ADT doorbell’s battery level. The app provides a low battery warning when your battery’s power is running low, sending a push notification to your smartphone when the battery needs to be charged soon. The app also allows you to see your current battery level so you can approximate when charging will next be required.
To check the ADT Pulse app for low battery warnings, open the app on your smartphone and locate the battery level indicator for your ADT doorbell. This will show the current battery level, and if the level is low, a warning notification will be displayed. The app will also send a push notification to your smartphone when the battery needs to be charged.
It is important to regularly check the ADT Pulse app for low battery warnings to ensure your ADT doorbell camera is always functional. By monitoring the battery level, you can plan to charge the battery before it runs out of power, ensuring uninterrupted security and peace of mind.
Additionally, the ADT Pulse app offers remote access to your ADT doorbell camera, allowing you to view live footage, receive motion-triggered alerts, and communicate with visitors via two-way audio. This integrated system provides a seamless way to manage your home security and stay connected to your doorstep, no matter where you are.
Charging Camera Batteries: First-Time User Guide
You may want to see also

Remove the doorbell from its bracket
To remove the ADT doorbell from its bracket, start by locating the mounting bracket. This bracket is what keeps your doorbell attached to the wall or door frame. On this bracket, you will find a small metal release tab directly below the doorbell. This tab locks the doorbell in place. Press this release tab firmly. This will unlock the doorbell, allowing you to remove it from the bracket.
While continuing to hold the release tab, gently pull the doorbell up. It should slide up and off the bracket with ease. If you feel resistance, double-check that you are pressing the release tab sufficiently. The doorbell should not be forced off the bracket.
Once the doorbell is released from the bracket, you will have access to the rechargeable battery pack. There is no need to remove the battery pack from the doorbell during the charging process, as the charging port is accessible with the battery attached. This keeps the process simple, without the need to worry about small parts or cords.
The ADT battery-powered doorbell is designed for ease of use and maintenance. The rechargeable battery eliminates the need for frequent battery replacements, and the mounting bracket allows for quick removal and attachment without the hassle of screws or tools.
The Magic Behind Polaroid Cameras Charging
You may want to see also

Find the rechargeable battery pack
The ADT battery-powered doorbell has a fully rechargeable battery pack attached. There is no need to remove the battery pack from the doorbell during the charging process, as the charging port is accessible while the battery is attached to the doorbell.
To access the rechargeable battery pack, first, remove the doorbell from its bracket. Every ADT battery-powered doorbell is attached to your house with a bracket that keeps the doorbell mounted securely to the wall. The mounting bracket has a small metal release tab directly below the doorbell that locks the doorbell in place. Press this tab to unlock the doorbell from the bracket and allow you to remove it from the wall. While holding the release tab, gently pull up on your doorbell, and it should slide up and off the bracket easily.
Now that the doorbell has been removed from its bracket, you can access the battery pack. There is no need to remove the battery pack from the doorbell, as mentioned earlier. Simply connect any micro-USB charger to the charging port in the battery.
Your battery is fully charged when the light on the battery shines a solid green. Once the battery is fully charged, slide the charged doorbell and battery pack downward on the mounting bracket until you hear it click into place.
Charging Your SLS Camera: A Step-by-Step Guide
You may want to see also

Charge the battery via the micro USB port
To charge your ADT doorbell camera battery via the micro USB port, follow these steps:
First, check the battery level in the ADT Pulse app, which will notify you when the battery power is running low. Remove the doorbell from its bracket by locating and pressing firmly on the small metal release tab directly below the doorbell that locks it in place. While holding the release tab, gently pull up on the doorbell, and it should slide up and off the bracket easily.
Next, locate the rechargeable battery pack attached to the doorbell. You don't need to remove the battery pack during the charging process as the charging port is accessible with the battery attached to the doorbell. Simply use the micro USB charging cable provided with the ADT doorbell or any other micro USB cord to charge the device.
The charging time can vary from 5 to 8 hours, and the camera will not be functional during this period. Therefore, it is recommended to charge the doorbell when you are home and don't require the camera to be active.
Once the doorbell has been charging for several hours, check the indicator light to ensure it is fully charged before unplugging. The battery is fully charged when the indicator light turns solid green. After the battery is fully charged, slide the doorbell back onto the bracket until you hear a click, indicating that it is locked in place.
Effective Ways to Clean Your Camera's Battery Compartment
You may want to see also

Place the doorbell back on the bracket
Now that your ADT doorbell is charged, you can place it back onto the bracket. Line up the back of the doorbell with the bracket and slide the doorbell down until you hear a click. You should also feel the doorbell lock into place. This is how you know it's secure and ready to use.
The bracket is important because it keeps your doorbell securely attached to the wall. It's also what allows you to remove the doorbell without needing to remove screws or use tools. The bracket has a small metal release tab directly below the doorbell that locks it in place. When you want to remove the doorbell, press this tab and gently pull the doorbell up and off the bracket.
If you're placing the doorbell back on the bracket after charging, make sure you've charged it for long enough. It can take between five and eight hours to charge, and you should avoid using the camera during this time. Check the indicator light to make sure the battery is fully charged before putting the doorbell back on the bracket. The light should be a solid green colour and not flashing.
Once the battery is charged, simply slide the doorbell back onto the bracket until you hear the click. Now your ADT doorbell is ready to continue keeping your home safe.
Alternative Charging Methods for Your Zimodo Camera
You may want to see also
Frequently asked questions
Depending on the battery span, your battery might need recharging between 8–13 months. The ADT battery-powered doorbell comes equipped with a rechargeable battery, which can be charged using a micro USB cable.
The ADT Pulse app is an easy way to keep an eye on your ADT doorbell’s battery level. The app provides a low-battery warning and allows you to see your current battery level. Additionally, the default LED light on the ADT Doorbell Camera is blue. If the light turns red, it may be an indicator of a low battery.
First, remove the doorbell from its bracket by locating and pressing the release tab, which will unlock the doorbell. Next, find the rechargeable battery pack attached to the doorbell. You can then charge the battery pack using a micro USB cable. After charging for 5-8 hours, check the indicator light to ensure the battery is fully charged before remounting the doorbell to the bracket.
An alternative to using a rechargeable battery system is to hardwire the ADT Doorbell Camera. This involves connecting the camera to your domestic wiring system, allowing it to use the same power source as your household. While this eliminates the need for regular battery checks and replacements, it may render the device useless in the event of a power outage.


