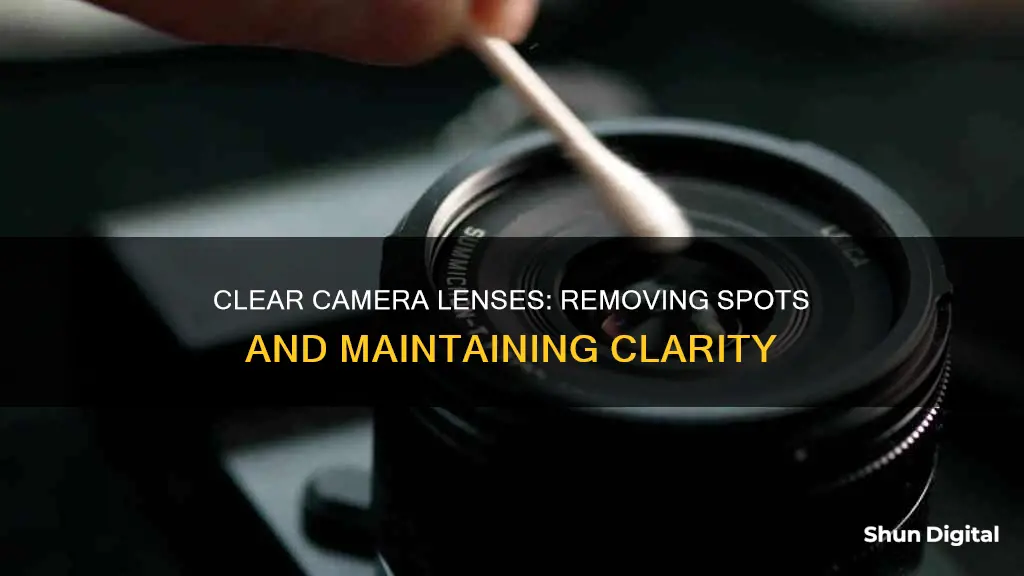
Camera lenses are magnets for dust and dirt, especially the front element. This is why camera manufacturers develop lens coatings to repel water, dust, and dirt. However, black spots may still appear on camera lenses. There are several ways to remove spots from camera lenses, including using a blower, brush, or cleaning solution.
| Characteristics | Values |
|---|---|
| Safest way to remove spots | Take it to a professional repair shop |
| Home repair option 1 | Use a blower |
| Home repair option 2 | Use a brush |
| Home repair option 3 | Use a cleaning solution with a microfiber cloth |
| Home repair option 4 | Use a lens pen |
| Home repair option 5 | Use a bulb air blower |
What You'll Learn

Use a blower or bulb air blower
Using a blower or bulb air blower is a safe and effective way to remove spots from your camera lens. It is a cheap and straightforward method that can be easily carried out at home.
Firstly, it is important to note that you should never breathe on your camera lens to try and blow away dirt, as the acids in your breath can damage the lens coatings. Instead, invest in a manual air blower or bulb air blower, which can be purchased as part of a camera cleaning kit. These devices are designed to remove specks of dust and dirt from your lens without causing any damage.
To use a blower, simply point it at the spot where you see dirt or other particles, and use it to blow air until the dirt is gone. It is important to hold the camera so that the lens is facing downwards, so that the dirt can fall out of the camera. This method can also be used to clean your camera sensor, but again, ensure that the camera is facing downwards so that the debris can fall out.
While using a blower is a safe and effective way to clean your camera lens, it may not work in every case. If you find that the blower is not removing the spots, you may need to try a different method, such as using a soft-bristled brush designed specifically for lens cleaning.
Can Your TV Spy on You?
You may want to see also

Use a brush
If you have black spots on your camera lens, it's most likely caused by dust or dirt. This is more likely to occur if your lens isn't weather-sealed.
Before you start cleaning, it's important to inspect the camera lens and sensor to find out where the dust is. Use a powerful light source, like a flashlight or tube light, to help you identify any dust or dirt.
If you find dust on your lens, using a blower or brush is a good way to remove it without touching the lens. Get a good grip on your camera or lens, and hold the blower a minimum distance away from the lens. Do a few gentle puffs with the blower, and then check if the dust particles have been removed.
If there are still dust particles remaining, you can use a lens cleaning brush. Make sure to use a brush specifically designed for lens cleaning, as ordinary brushes can scratch the lens surface. Do not make many swipes with the brush, as this may also cause scratches.
If the lens still isn't clean, you can try using a cleaning cloth and solution. Take a piece of lens cleaning tissue paper or a microfiber cloth, and dampen it with a few drops of cleaning solution. Avoid getting the cloth too wet. Then, using gentle circular motions, clean the lens from the centre outwards. Again, be careful not to press too hard on the lens to avoid causing damage.
By following these steps, you can effectively remove dust and dirt from your camera lens, keeping your equipment in good condition and ensuring clear, spot-free photos.
Unlocking Apple Watch's Camera Remote: A Guide
You may want to see also

Use a cleaning cloth
Using a cleaning cloth is an effective way to remove spots from your camera lens. Here is a step-by-step guide on how to do it:
Firstly, it is important to inspect your camera lens and sensor to identify where the dust or dirt is located. Use a flashlight or a powerful source of light to thoroughly check the lens for any particles. If you don't find any dust on the lens, it may be on your sensor. To check the sensor, remove the camera lens from the body and hold the sensor up to the light.
Once you have identified the location of the dust, it is time to remove it. Start by using a blower or brush to gently remove any loose dust or debris from the lens. Ensure you maintain a minimum distance between the blower and the lens to avoid scratching the surface. After using the blower, check if all the dust particles are removed. If not, you can use a lens cleaning brush to gently brush away any remaining particles. Make sure to use soft, gentle strokes to avoid scratching the lens.
If there are still smudges or dirt on the lens, you can proceed to use a cleaning cloth. Take a piece of lens cleaning tissue paper or a microfiber cloth, as these are best suited for this task. Avoid using regular cloth, tissue, or toilet paper, as they can leave fibres or streaks on the lens.
Dampen the cleaning cloth with a few drops of a cleaning solution specifically designed for lenses. Avoid using chemical or caustic cleaners like ammonia, bleach, glass cleaner, or disinfectant, as they can damage the lens coating. Gently wipe the lens in a circular motion, starting from the outer part and working your way to the centre. Be careful not to press too hard on the lens to avoid causing any damage.
Finally, use a dry, clean microfiber cloth to gently polish the lens and remove any remaining streaks. Your lens should now be spotless and ready for use!
Unlocking and Reconnecting a Rigid Camera Head
You may want to see also

Use a cleaning solution
Once you have blown away the dust and brushed away stubborn particles, it's time to use a cleaning solution.
For this step, you will need lens cleaning liquid and lens cleaning tissues or paper. Using a suitable lens cleaning fluid ensures you don't damage the protective coatings that the lens manufacturer applied to the glass. Whatever you do, don't use Windex, Glen 20, or any other chemical cleaning fluid.
Take a folded lens cleaning paper or lens tissue and apply 3-5 drops of the lens cleaner onto it. With the lens facing upright, hold it firmly with one hand. Take the damp lens cleaning tissue in your other hand and gently wipe across the lens surface. Use a side-to-side motion rather than a spiralling motion if possible.
Once you've wiped all of the surface, take a clean and dry piece of lens cleaning tissue to gently wipe away any remaining moisture. Wait for the lens to completely dry and inspect the surface to ensure that you've removed smudges, oils, fingerprints, and stubborn grime.
If necessary, repeat this step to ensure that you have streak-free glass. If you don't have lens papers, use a microfiber lens cloth.
Accessing and Viewing CC Camera Footage: A Step-by-Step Guide
You may want to see also

Send the lens for professional repairs
If you're unsure about how to remove spots from your camera lens, or you're concerned about making the problem worse, it's best to send the lens for professional repairs. This is especially true if the spots are caused by something other than dust or dirt, such as fungus or damage to the glass.
There are many camera repair services available, both locally and online. Some services, like Best Buy's Geek Squad, offer protection plans that cover accidental drops, spills, and power surges. When choosing a repair service, it's important to make sure they are trustworthy and authorized by the manufacturer. You can usually find this information in the manual or on the manufacturer's website.
Some companies that offer camera lens repair services include:
- KEH CAMERA: A US-based store that offers an excellent repair service. They provide mail-in services and will inspect your lens for free before providing an estimate.
- Canon: Canon offers free inspections and maintenance services for a set cost. You can find information on their websites for the US, Europe, and Australia.
- Nikon: Nikon provides local help and service centers where you can book a repair. You can find information on their websites for the US, Asia, and Europe.
- Sony: Sony has a diagnostic form, a repair shop locator, and a guide to preparing your gear for repair on their UK and Asia websites.
- Olympus: Olympus has a troubleshooting guide and a request submission form for professional services on their website.
- Sigma: Sigma offers help and solutions for their lenses on their website, as well as inspection and repair services.
- Tamron: Tamron has customer service contacts and a repair request form that can be downloaded from their US and Europe websites.
In addition to these brand-specific services, there are also independent repair shops, such as Perfect Image Camera Repair, that work on multiple brands. Perfect Image has been providing professional and amateur photographers with repair services for over 45 years. They offer free estimates and a 6-month warranty on all repairs.
While sending your lens for professional repairs may be more costly than doing it yourself, it's the safest option to ensure your lens is properly cleaned and maintained.
Removing Nanit Camera: Detaching from Wall Mounts Easily
You may want to see also
Frequently asked questions
The safest way to remove spots from your camera lens is to take it to a professional repair shop. However, if you want to save money, you can try using a blower or brush to remove dust and dirt. If that doesn't work, you can use a lens cleaning solution with a microfiber cloth to gently wipe the lens surface.
You should use a specialised lens cleaning cloth or a microfiber cloth. Regular cloth can scratch the lens.
You can use lens cleaning solutions, alcohol, or de-ionized water. Avoid using glass cleaning solutions or any other solvents as they can damage the lens coating.
It depends on how often you use your camera and how dirty it gets. A good rule of thumb is to clean it when you see dust or any other spots on the lens.


